
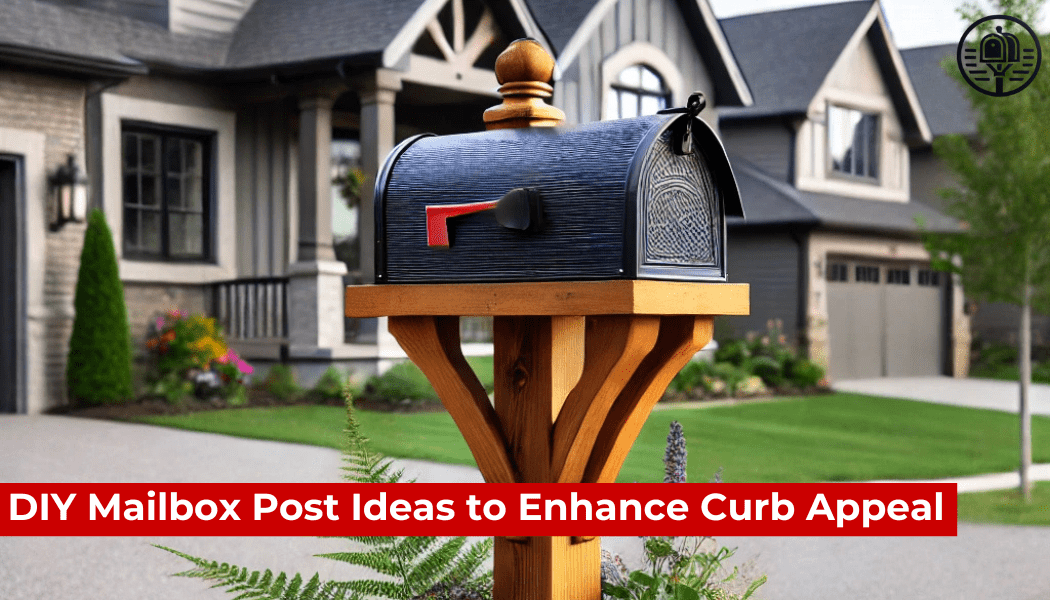
A well-designed mailbox post can significantly enhance your home’s curb appeal. As one of the first things visitors and passersby notice, a stylish and sturdy DIY mailbox post adds personality and charm to your property. Whether you prefer a rustic, modern, or classic look, this guide will help you explore creative and practical mailbox post ideas you can build yourself.
Why Upgrade Your Mailbox Post?
A custom mailbox post is more than just a functional necessity—it’s an opportunity to showcase your home’s style and make a lasting first impression. Upgrading your mailbox post can:
-
Boost curb appeal with a unique and aesthetically pleasing design.
-
Increase durability by using high-quality materials that withstand weather elements.
-
Provide customization options to match your home’s exterior decor.
-
Enhance security by making it more stable and resistant to external forces.
Essential Tools and Materials
Before diving into your DIY mailbox post project, gather the necessary tools and materials:
-
Wood or metal posts (pressure-treated wood, cedar, or steel)
-
Concrete mix for securing the post
-
Shovel or post-hole digger
-
Measuring tape and level for accurate alignment
-
Paint, stain, or weatherproof sealant for finishing touches
-
Decorative elements such as house numbers, flower boxes, or brackets
-
Drill, screws, and brackets for assembly
Creative DIY Mailbox Post Ideas
1. Rustic Wooden Mailbox Post
A rustic wood mailbox post adds warmth and charm to any home. Use reclaimed wood, cedar, or pressure-treated pine for a natural, weather-resistant look.
Steps:
-
Cut a 4x4 wooden post to the desired height (typically 42-45 inches above ground).
-
Dig a hole 24 inches deep and set the post using concrete.
-
Stain or seal the wood for added protection.
-
Add decorative touches like a carved design or rope accents for a rustic feel.
2. Modern Steel Mailbox Post
For a contemporary look, a steel or metal post offers durability and a sleek aesthetic.
Steps:
-
Choose a galvanized steel or powder-coated metal post.
-
Secure the post in concrete to withstand wind and heavy loads.
-
Pair it with a locking mailbox for added security.
-
Use matte black or brushed metal finishes for a stylish, modern appearance.
3. Classic Brick Mailbox Post
A brick mailbox post provides a timeless and elegant touch, blending seamlessly with traditional home exteriors.
Steps:
-
Build a concrete foundation for stability.
-
Lay bricks around a steel or wooden post to reinforce the structure.
-
Use mortar and leveling tools to ensure even layers.
-
Optionally, add a stone cap or decorative plaque for extra flair.
4. Farmhouse-Style Mailbox Post with Flower Box
A farmhouse-style post with an attached flower box creates a charming and welcoming entrance.
Steps:
-
Install a white or stained wooden post.
-
Attach a small flower box beneath the mailbox.
-
Fill it with seasonal flowers or greenery.
-
Add decorative brackets or house numbers for a polished look.
5. Dual Mailbox Post for Multi-Unit Homes
For homes with multiple residents or shared properties, a dual mailbox post provides a functional and stylish solution.
Steps:
-
Choose a sturdy wooden or metal post to support two mailboxes.
-
Ensure proper spacing for easy access and balanced aesthetics.
-
Customize with house numbers and post caps for a refined appearance.
Tips for a Durable and Weatherproof Mailbox Post
A DIY mailbox post should be both stylish and long-lasting. Here are essential tips for a durable, weatherproof mailbox post:
-
Use weather-resistant materials like cedar, pressure-treated wood, or metal.
-
Secure the post with concrete to prevent tilting or shifting.
-
Apply a protective sealant or paint to withstand sun, rain, and snow.
-
Ensure proper installation height according to USPS regulations (41-45 inches from the ground).
-
Add reflective numbers or lighting for visibility at night.
Frequently Asked Questions (FAQ)
What is the best material for a mailbox post?
Pressure-treated wood, cedar, steel, and brick are all excellent choices, depending on the desired look and durability.
How deep should I install a mailbox post?
A mailbox post should be buried at least 24 inches deep and secured with concrete for maximum stability.
Can I customize my mailbox post?
Yes! You can paint, stain, or decorate your mailbox post with flower boxes, house numbers, or ornamental brackets.
Do I need a permit to install a mailbox post?
In most areas, a permit is not required, but always check local regulations to ensure compliance with USPS and HOA guidelines.
How can I protect my mailbox post from damage?
To prevent damage from weather, vehicles, or vandalism, consider adding a protective cover, reflective tape, or a breakaway post design.
Conclusion
A DIY mailbox post is an excellent way to enhance your home’s curb appeal and functionality. Whether you prefer rustic wood, modern steel, classic brick, or a farmhouse-style post, a customized mailbox post can make a big impact. By selecting durable materials, securing the post properly, and adding personal touches, you’ll create a stylish and sturdy mailbox post that enhances your home’s exterior for years to come.