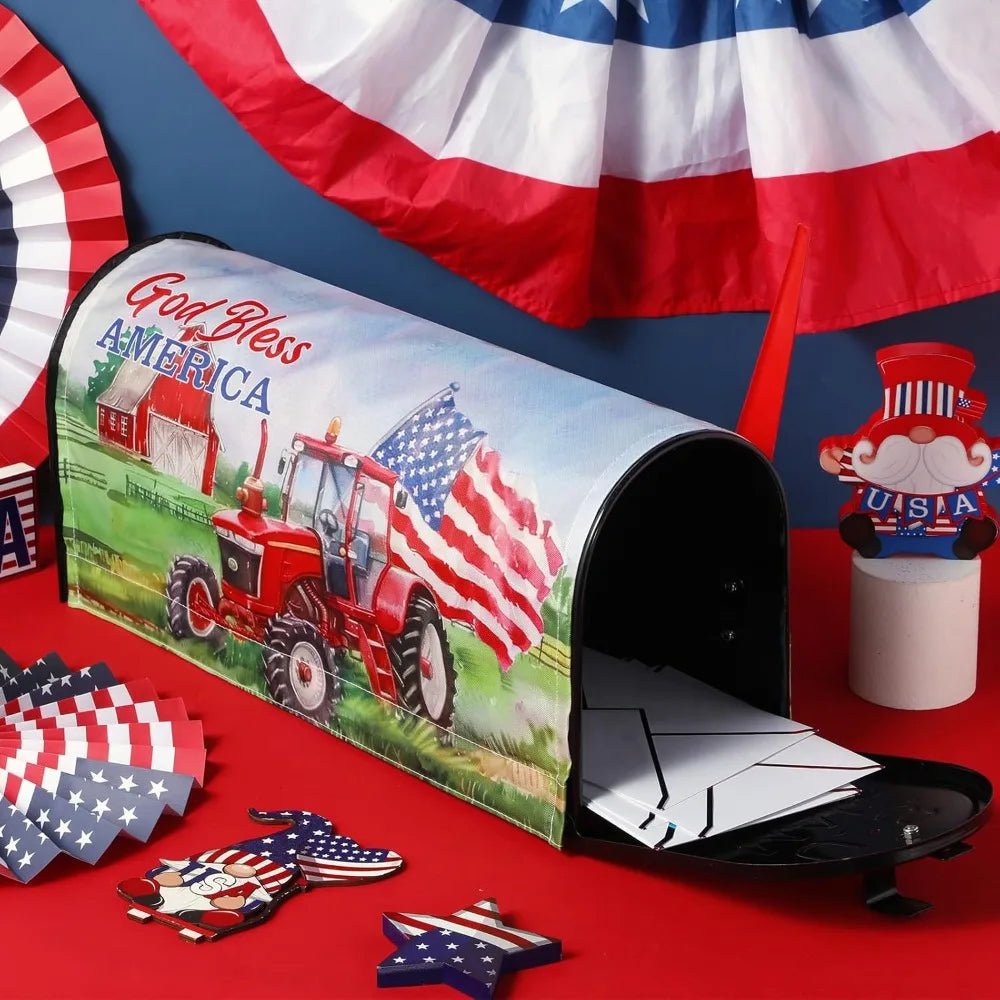
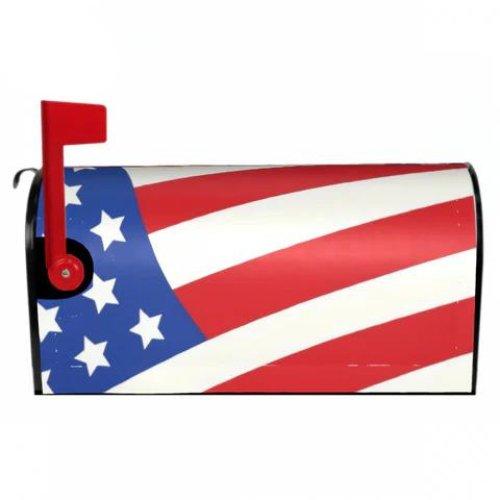
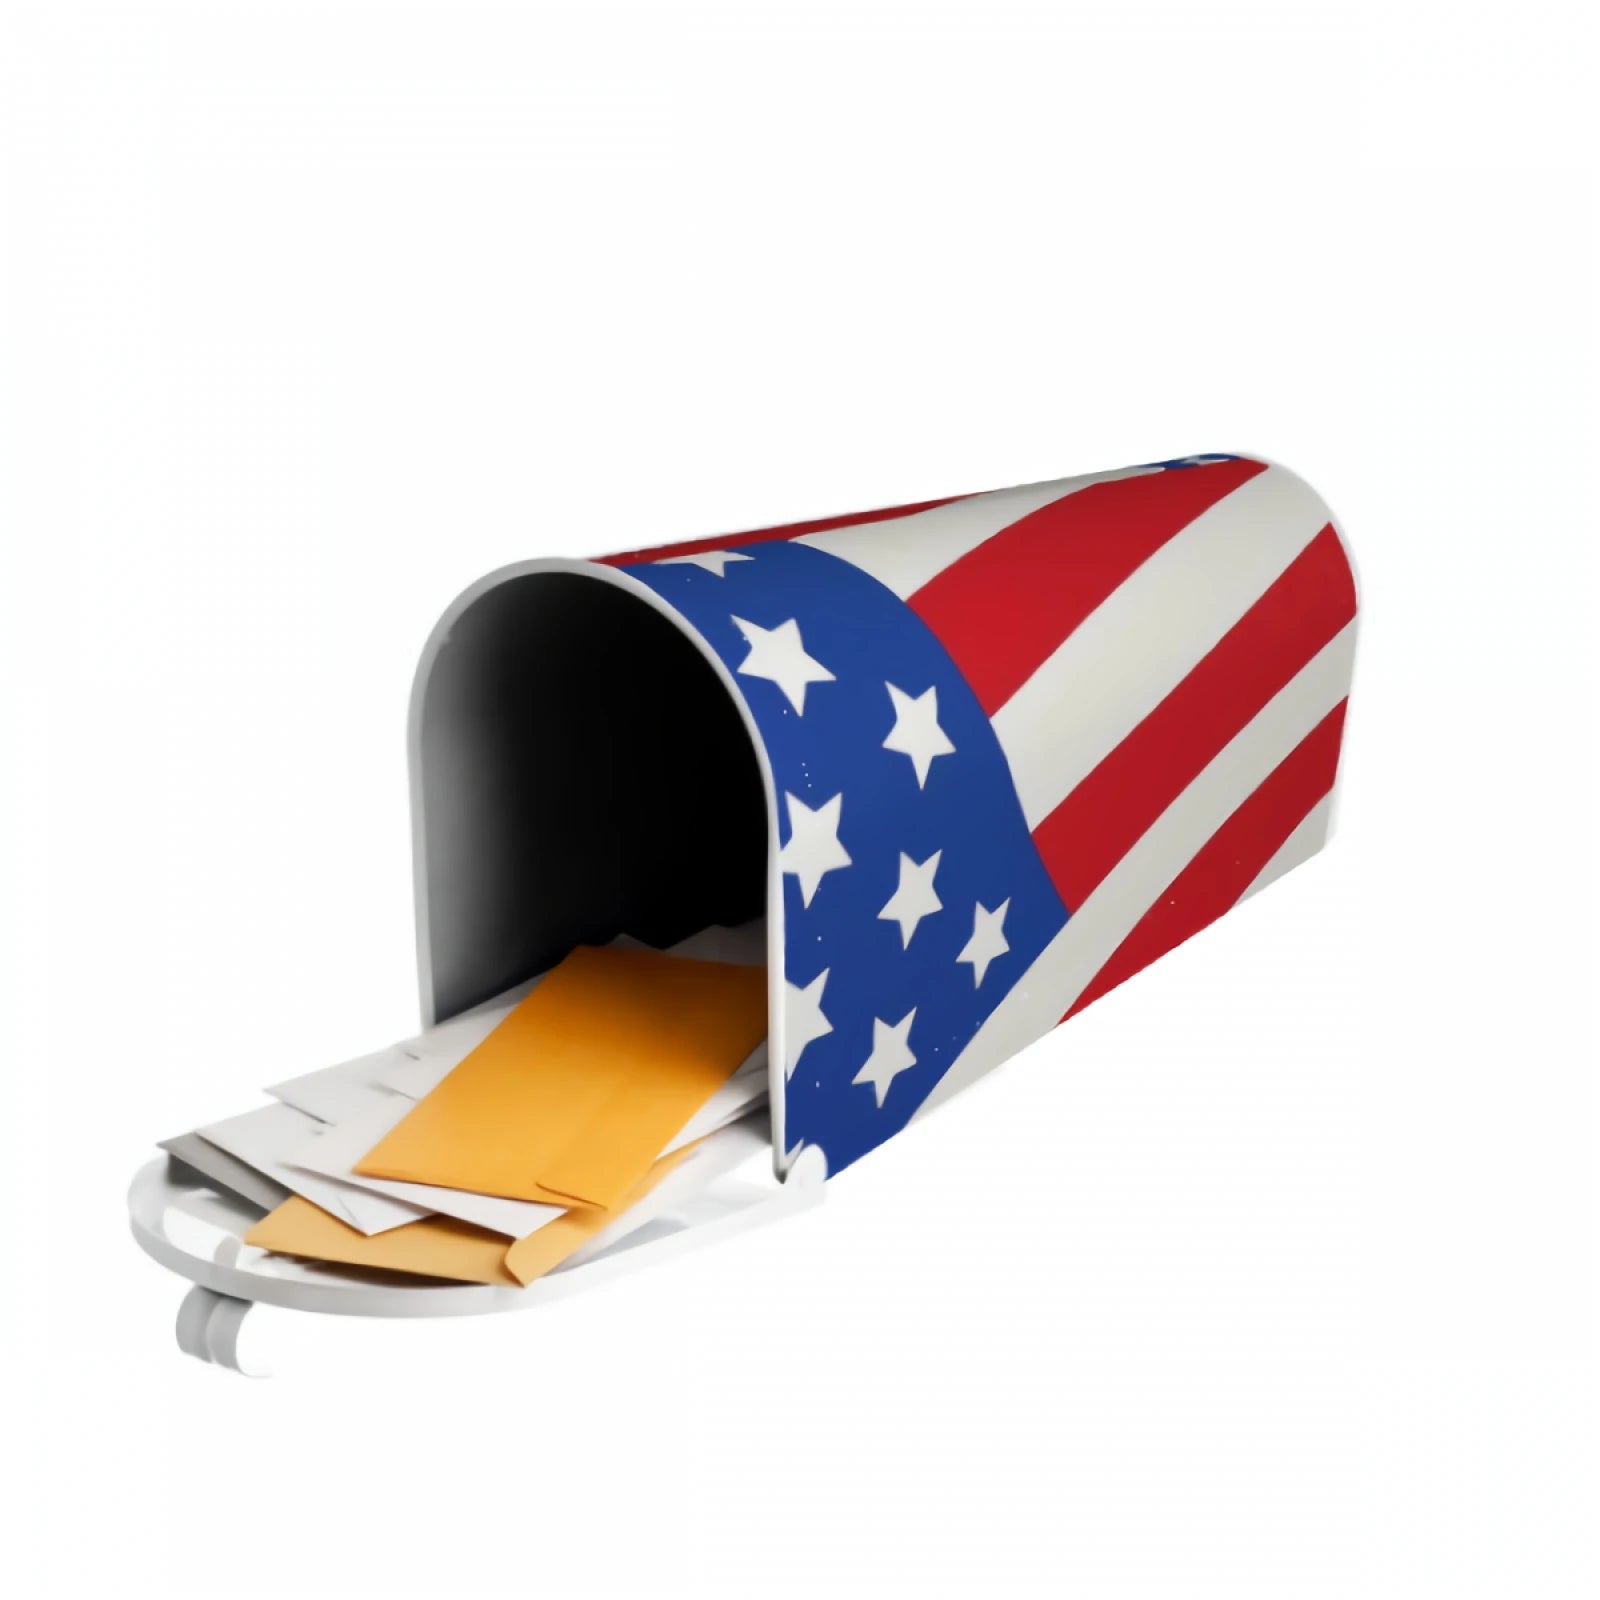
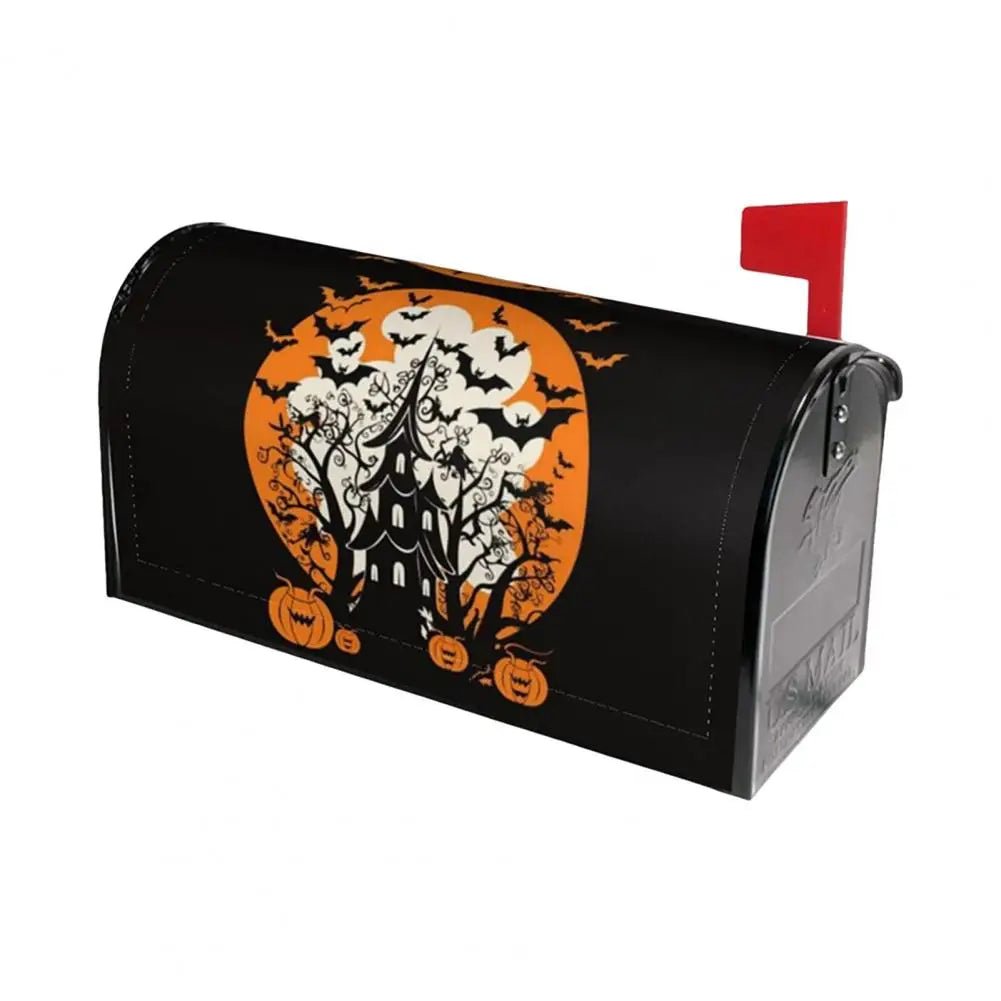
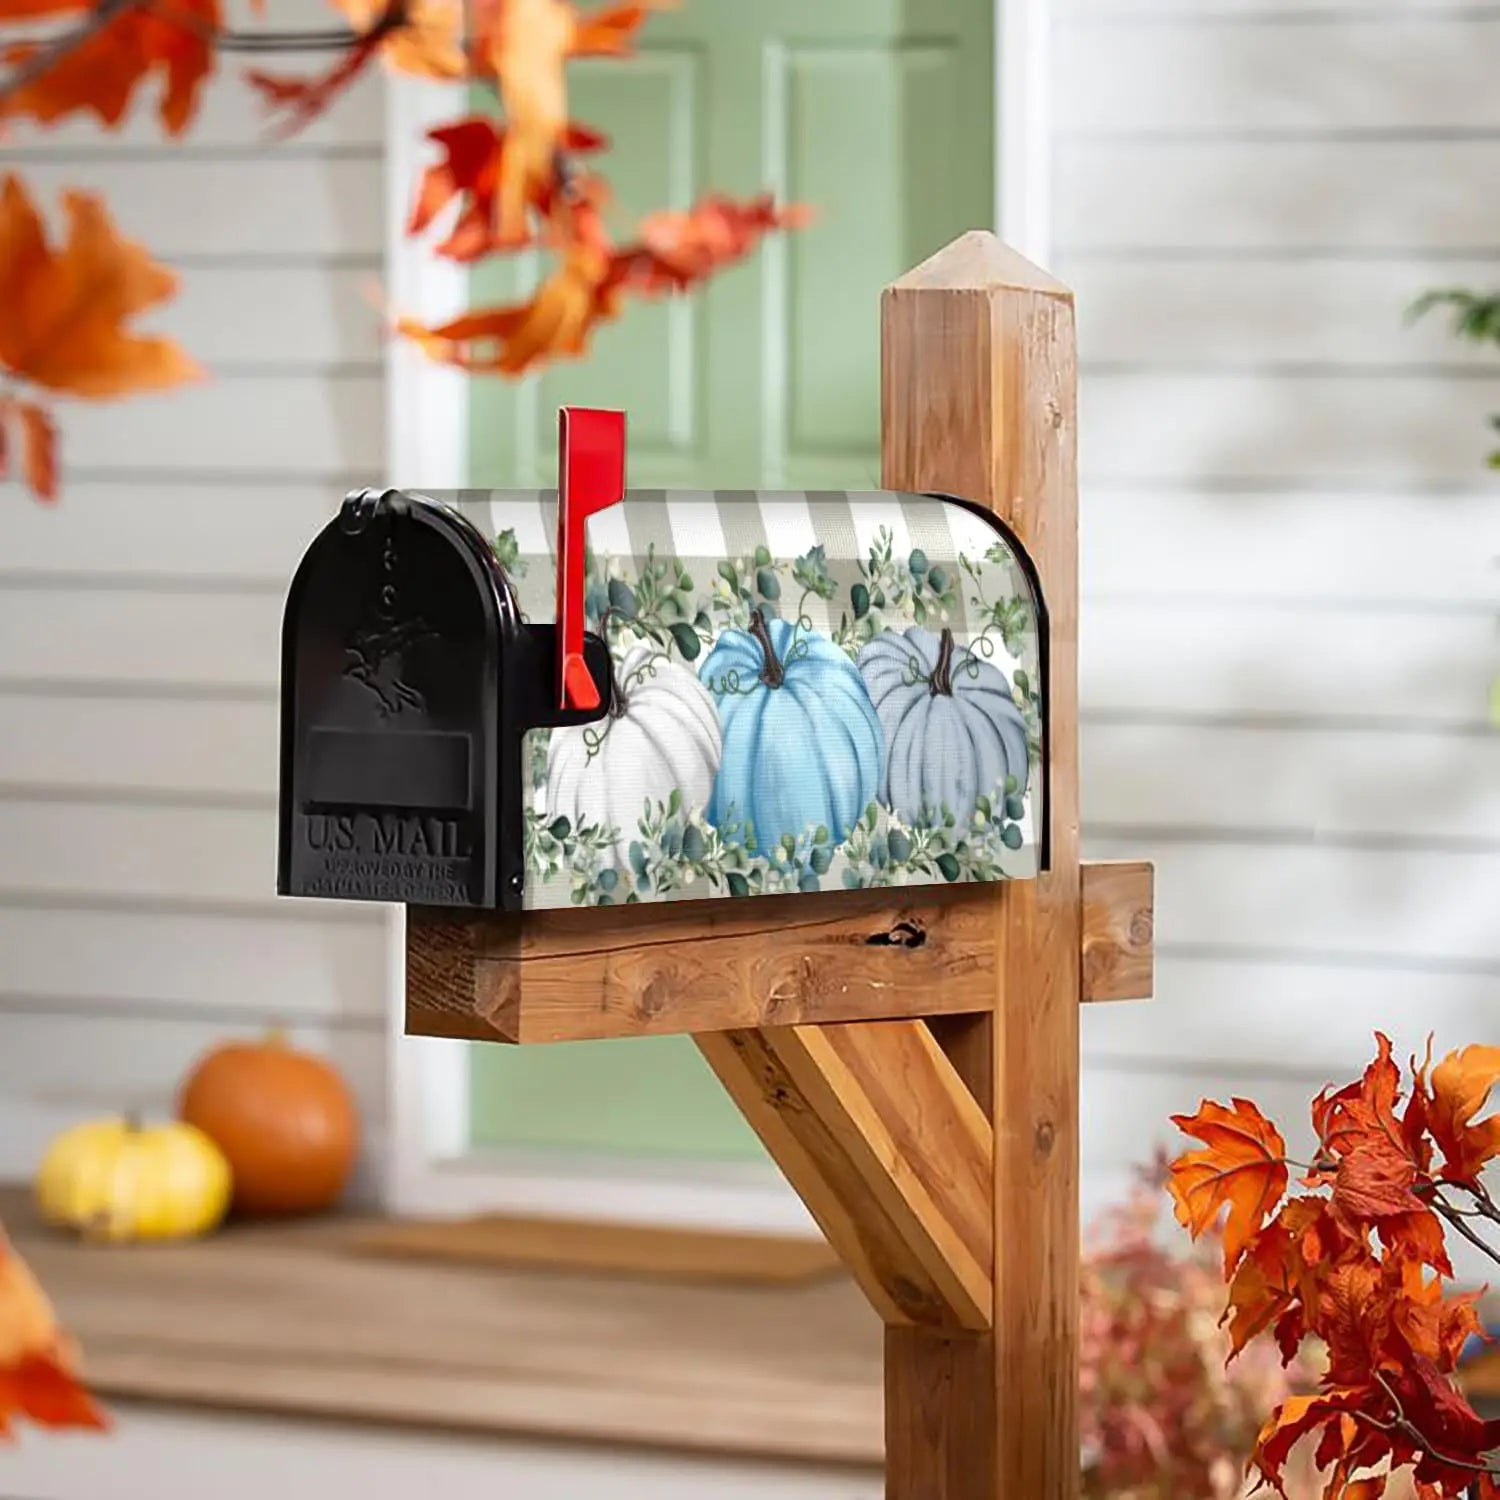
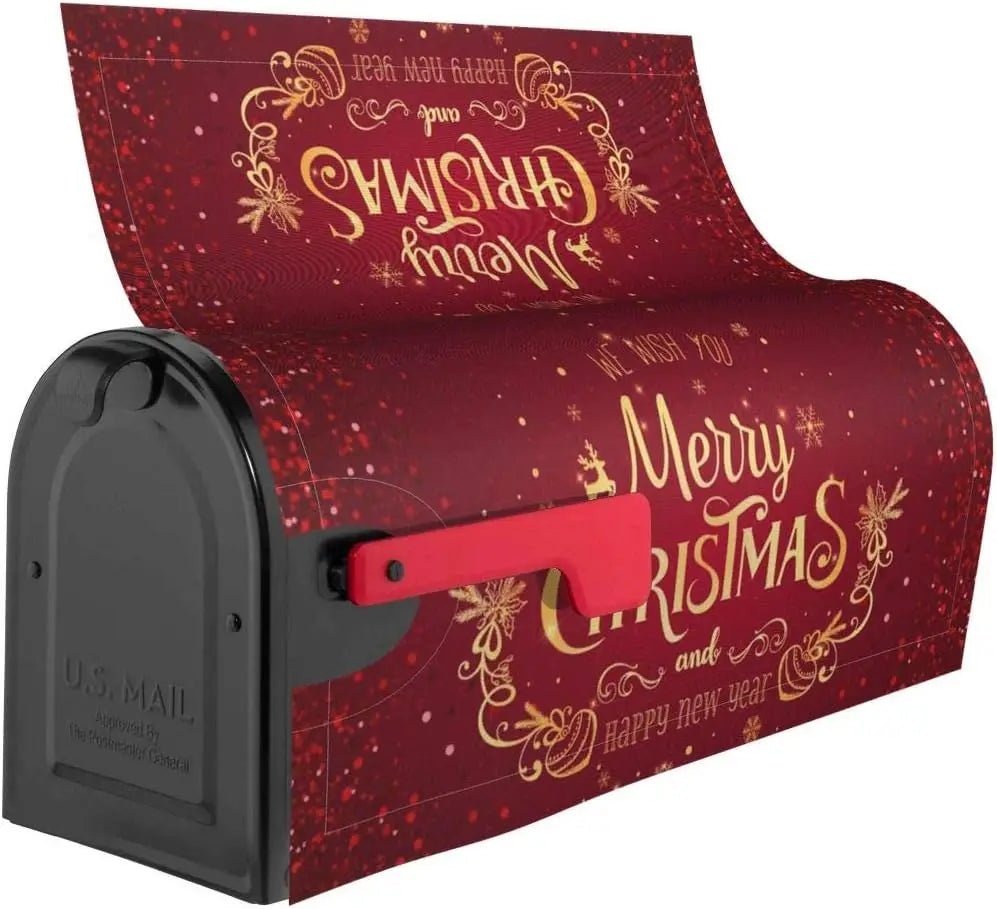
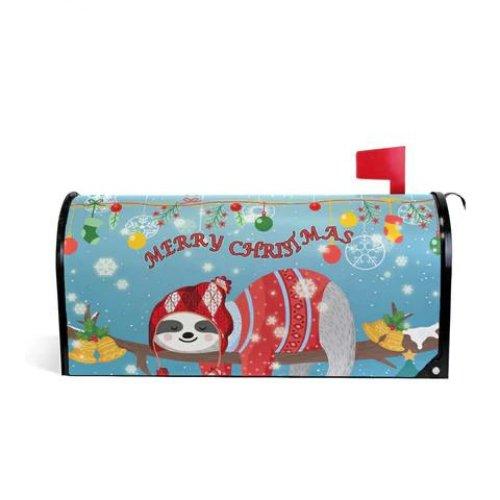
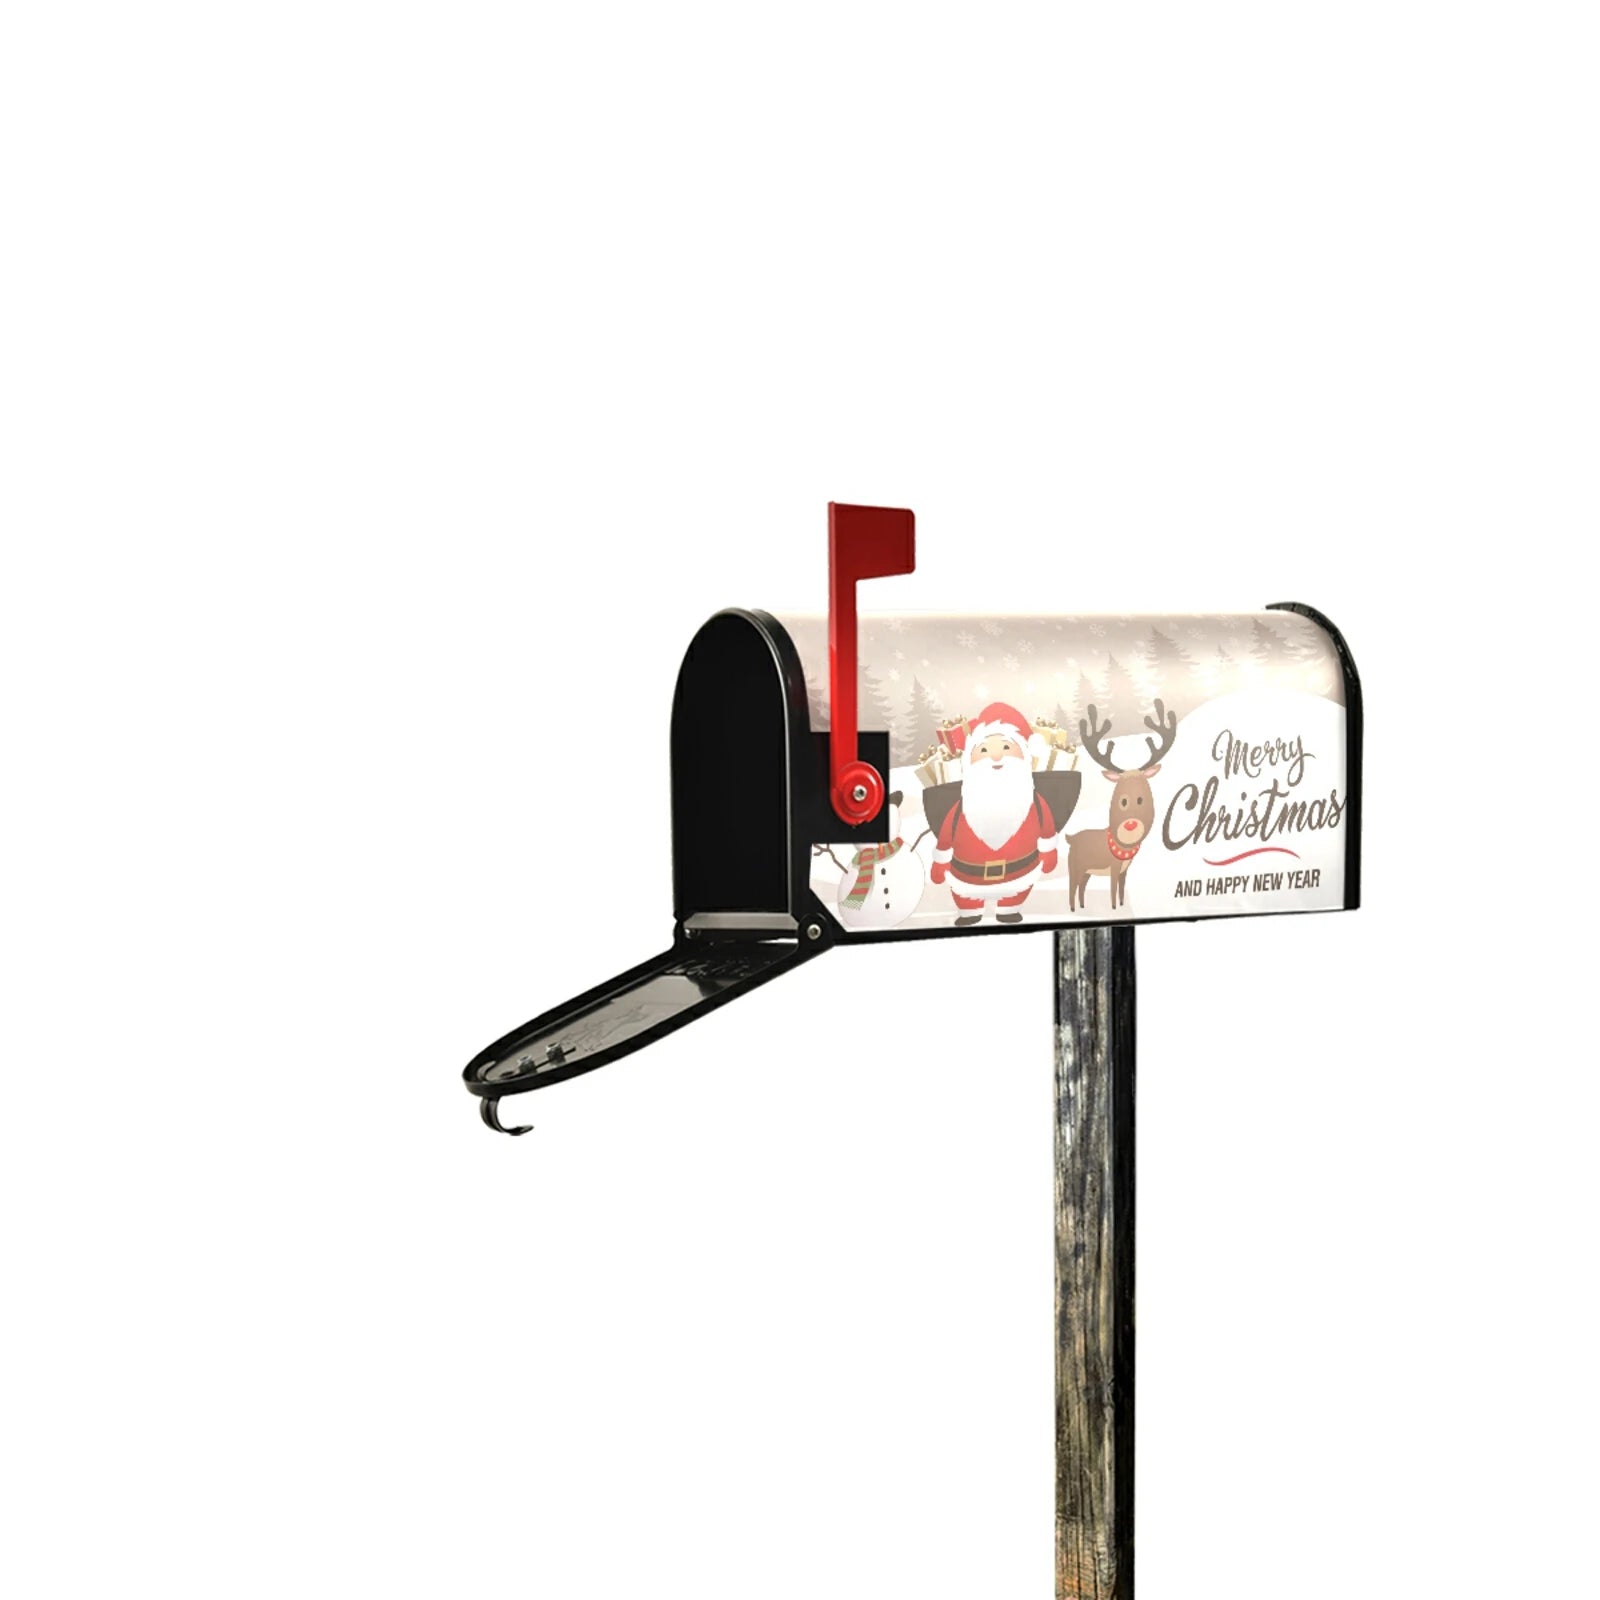
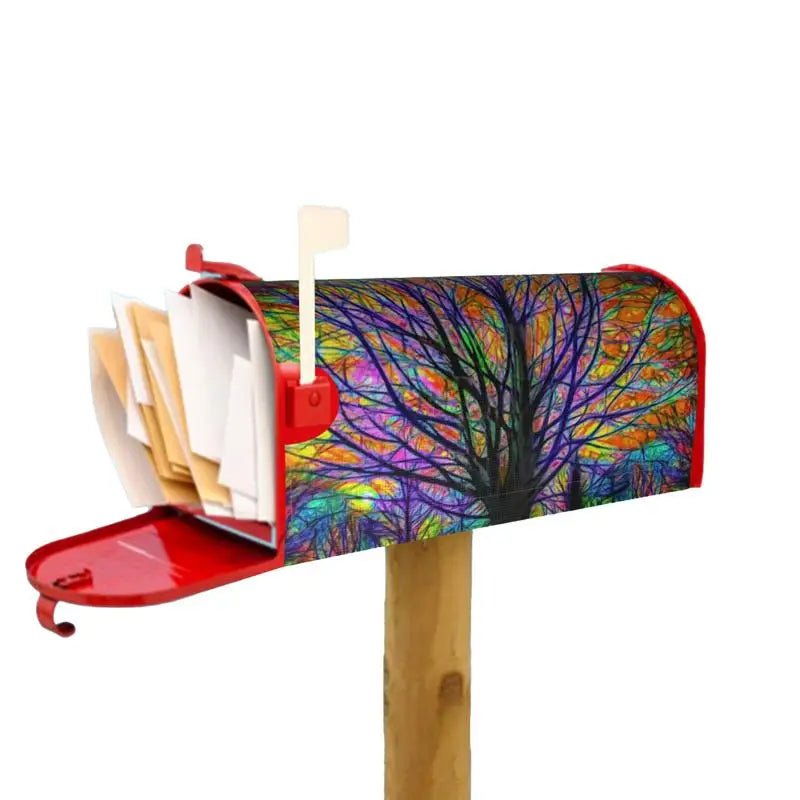
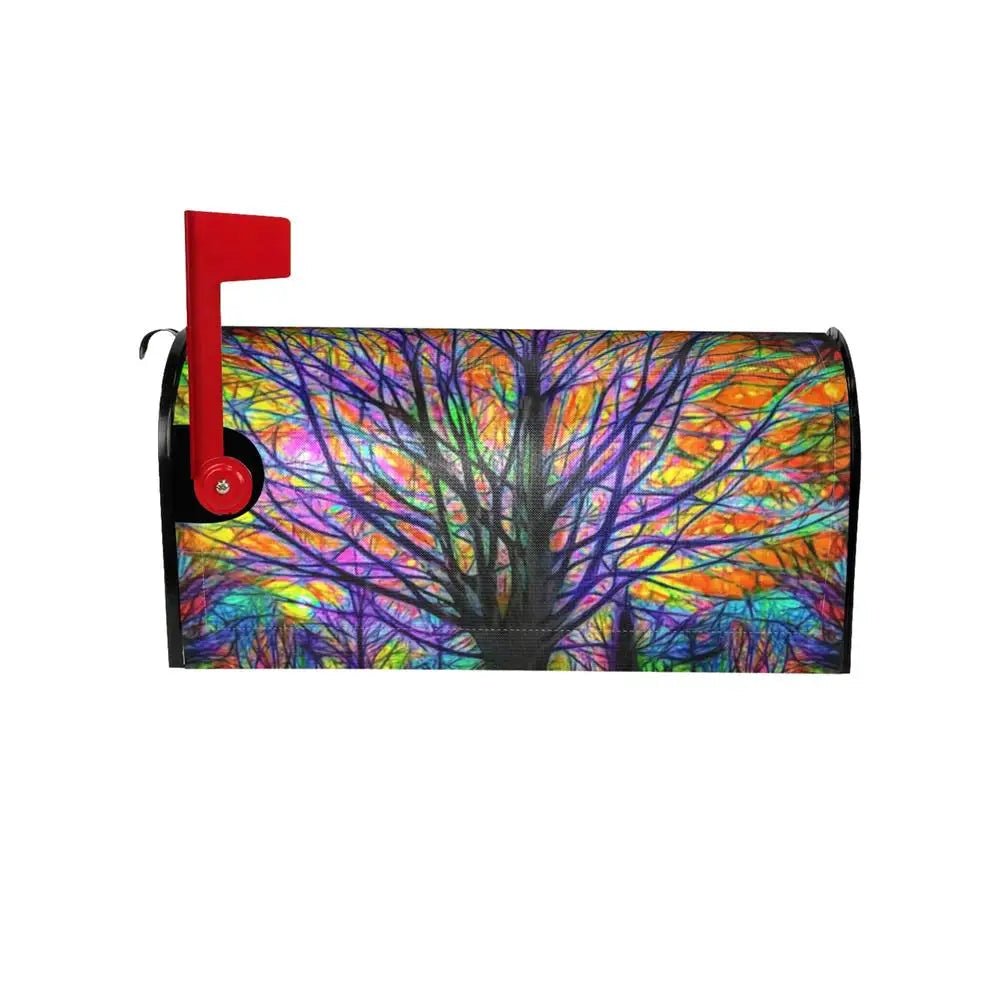
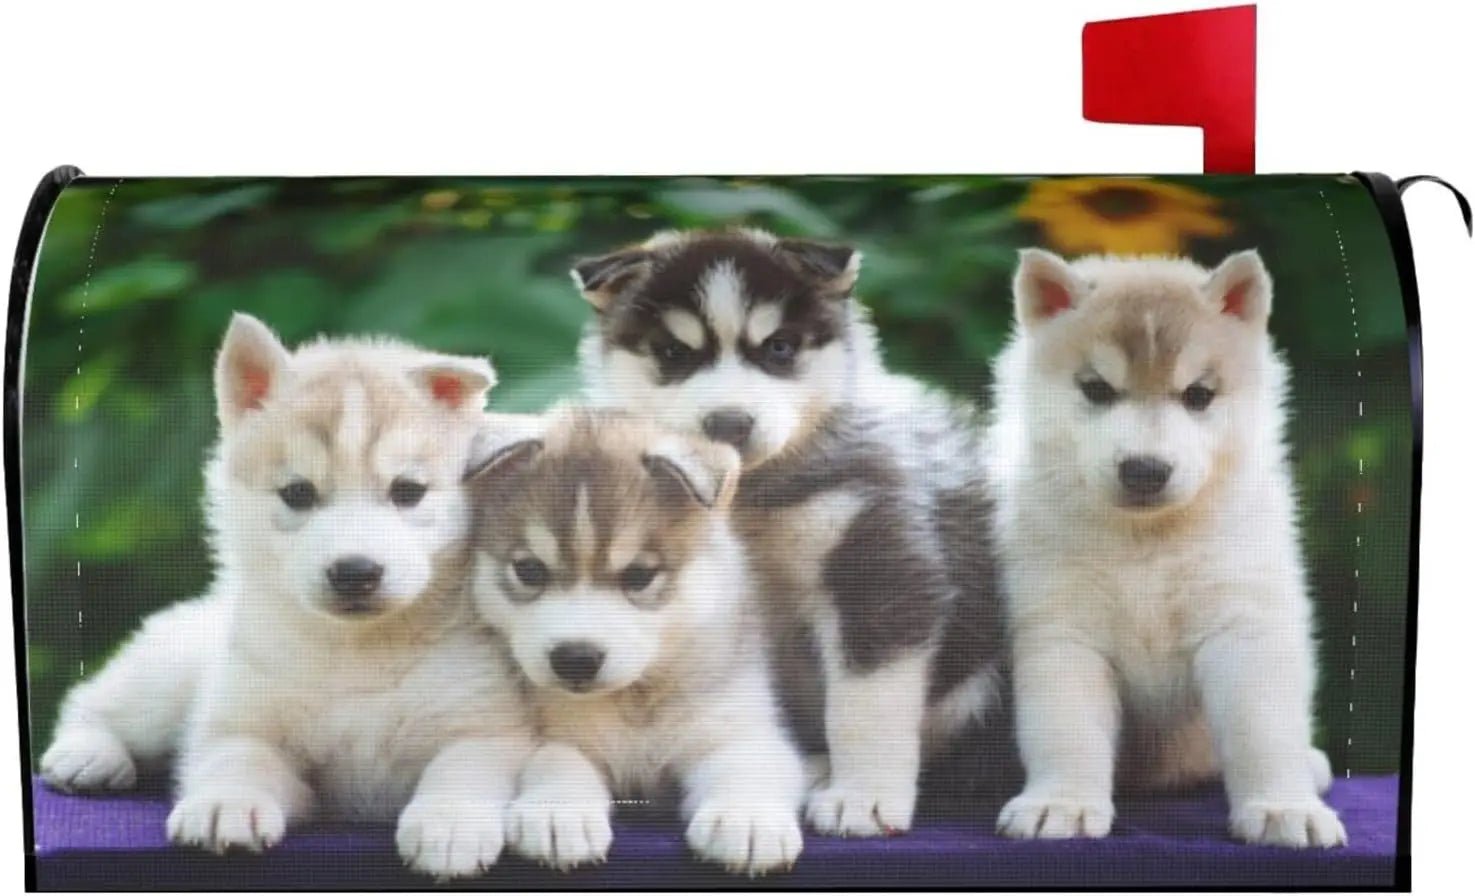
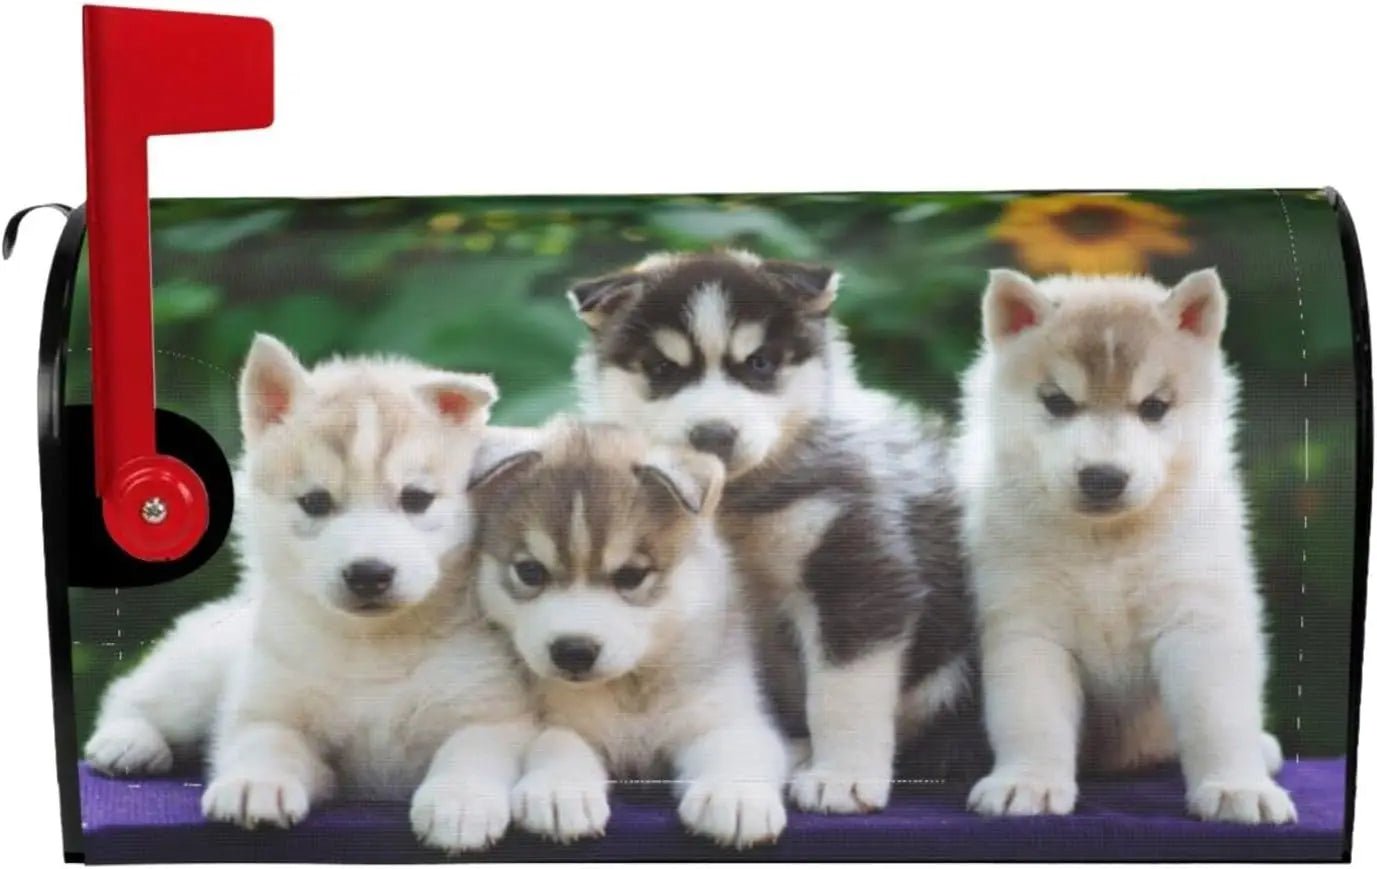
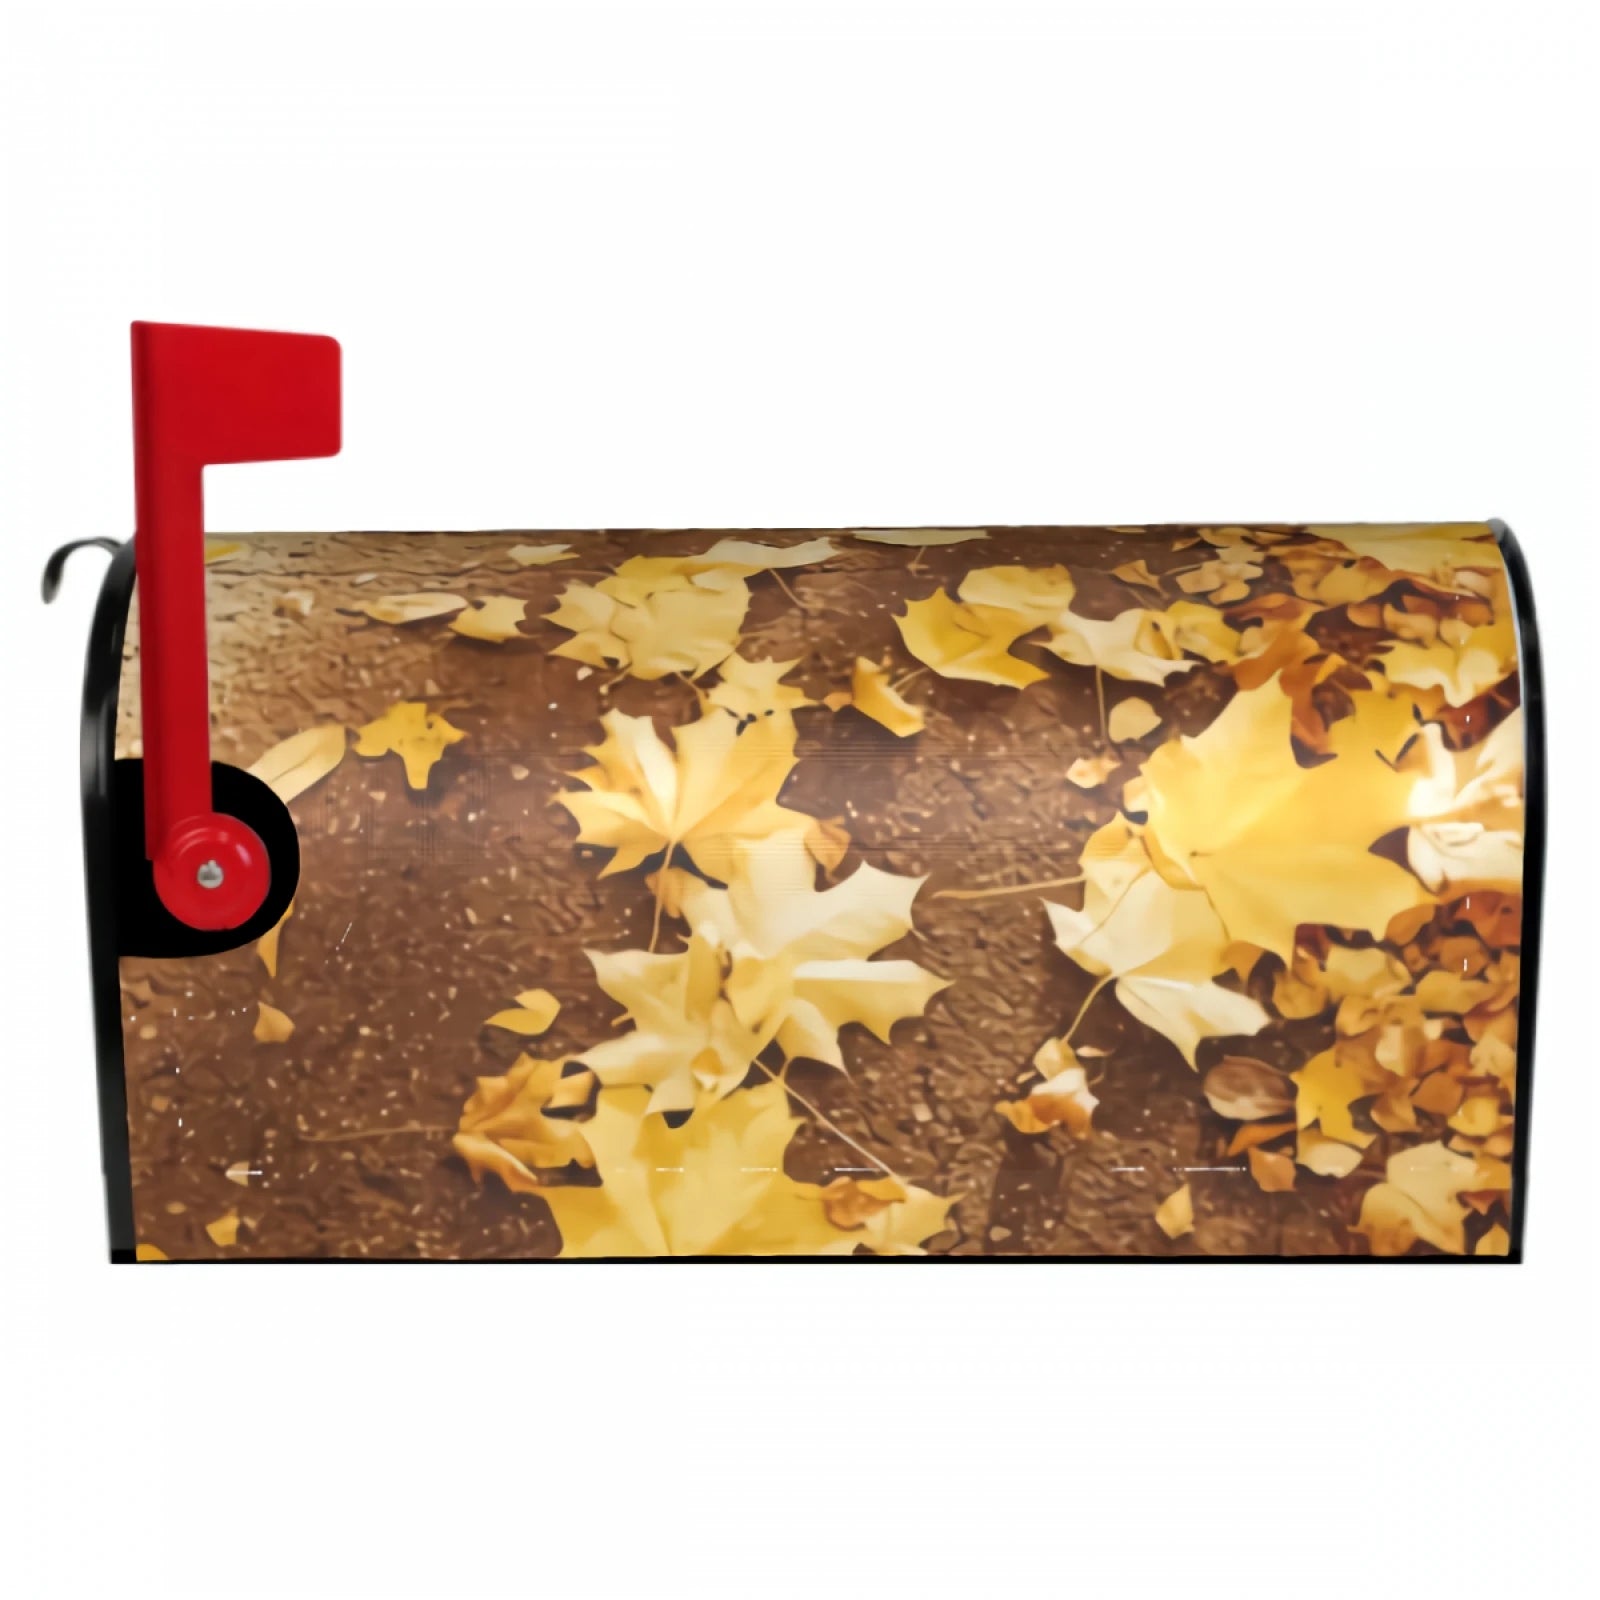
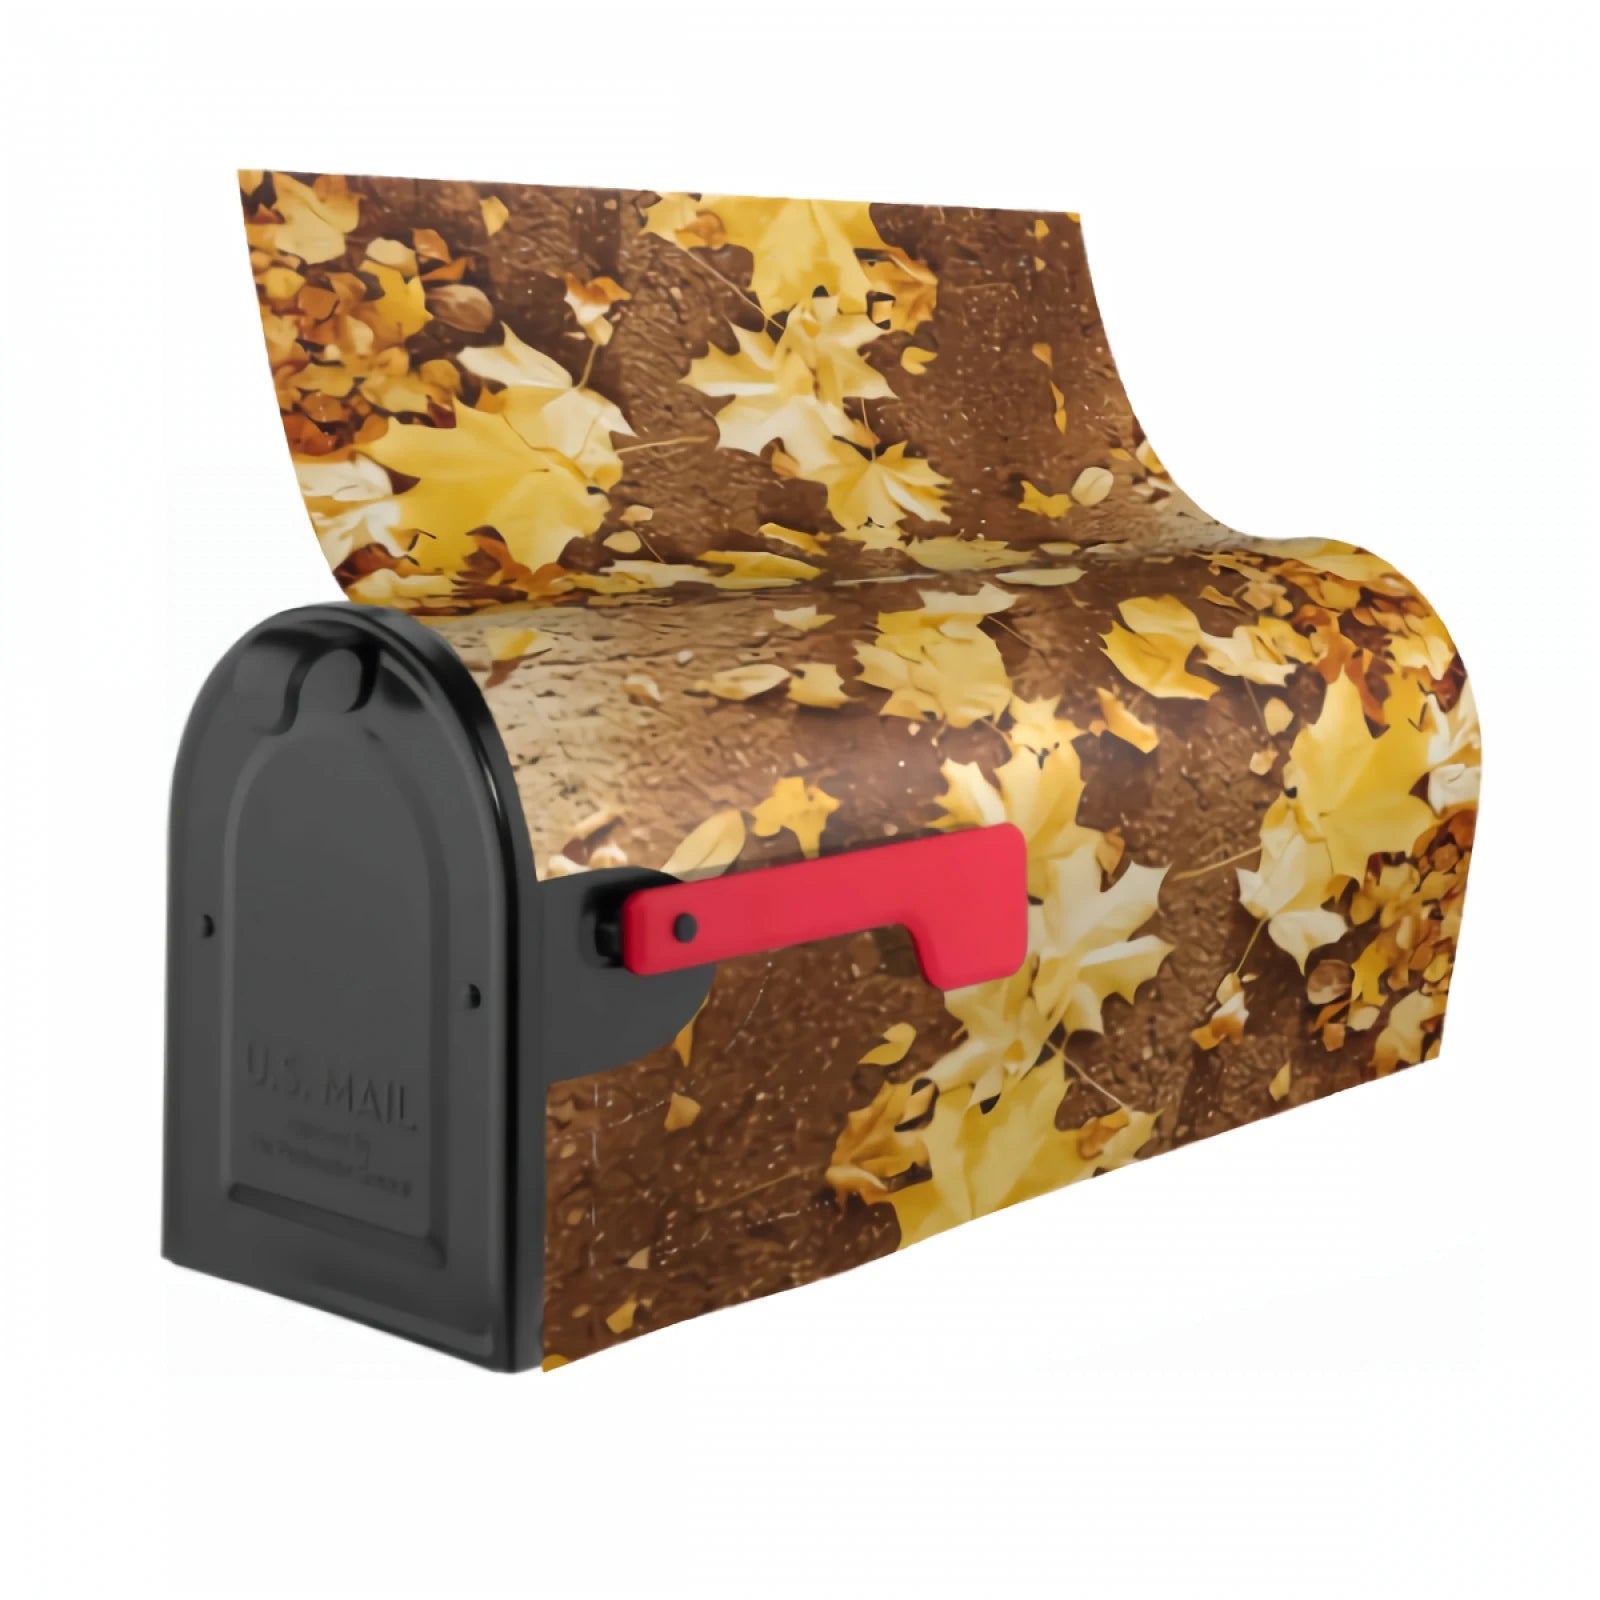
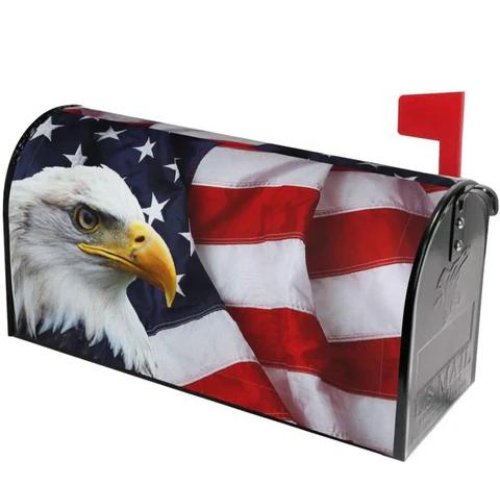
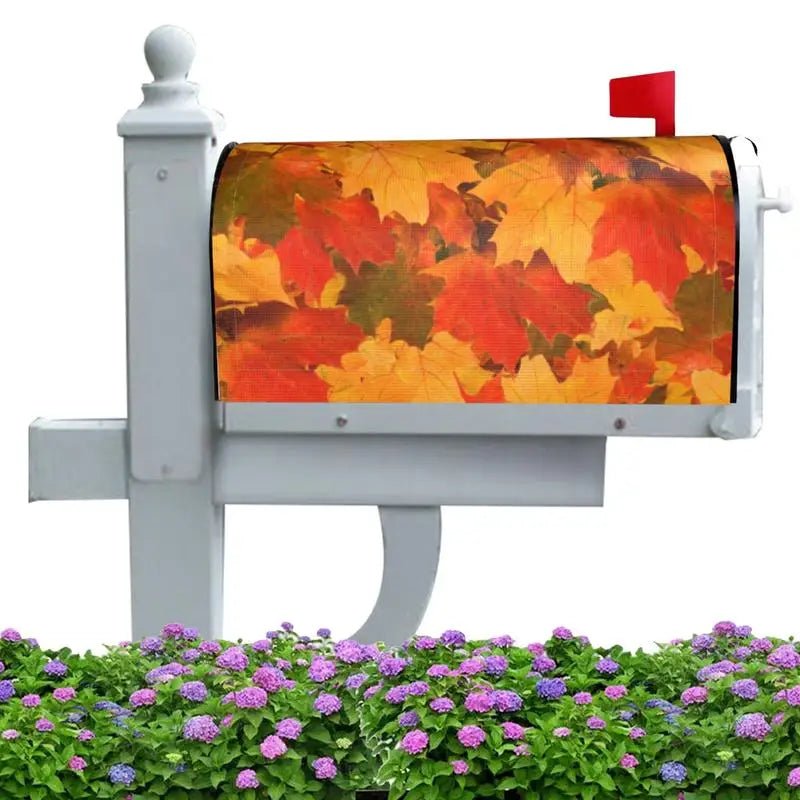
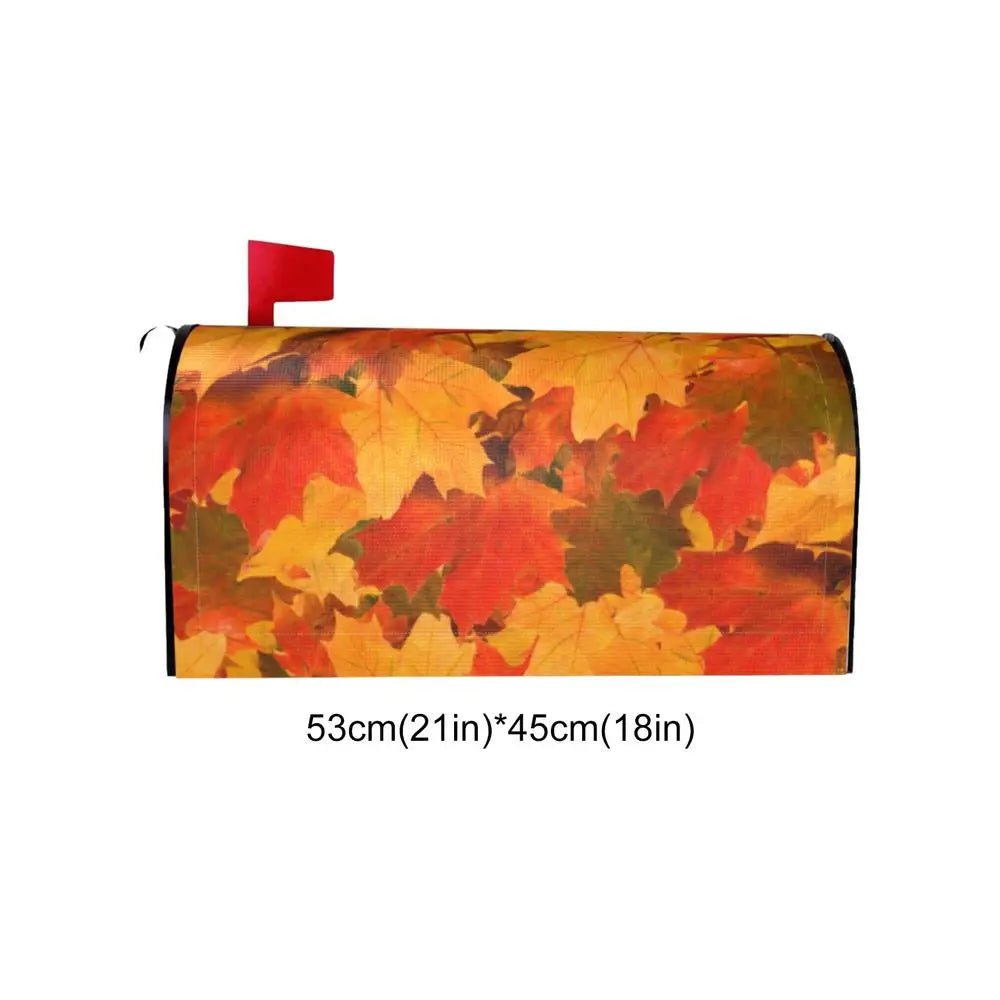
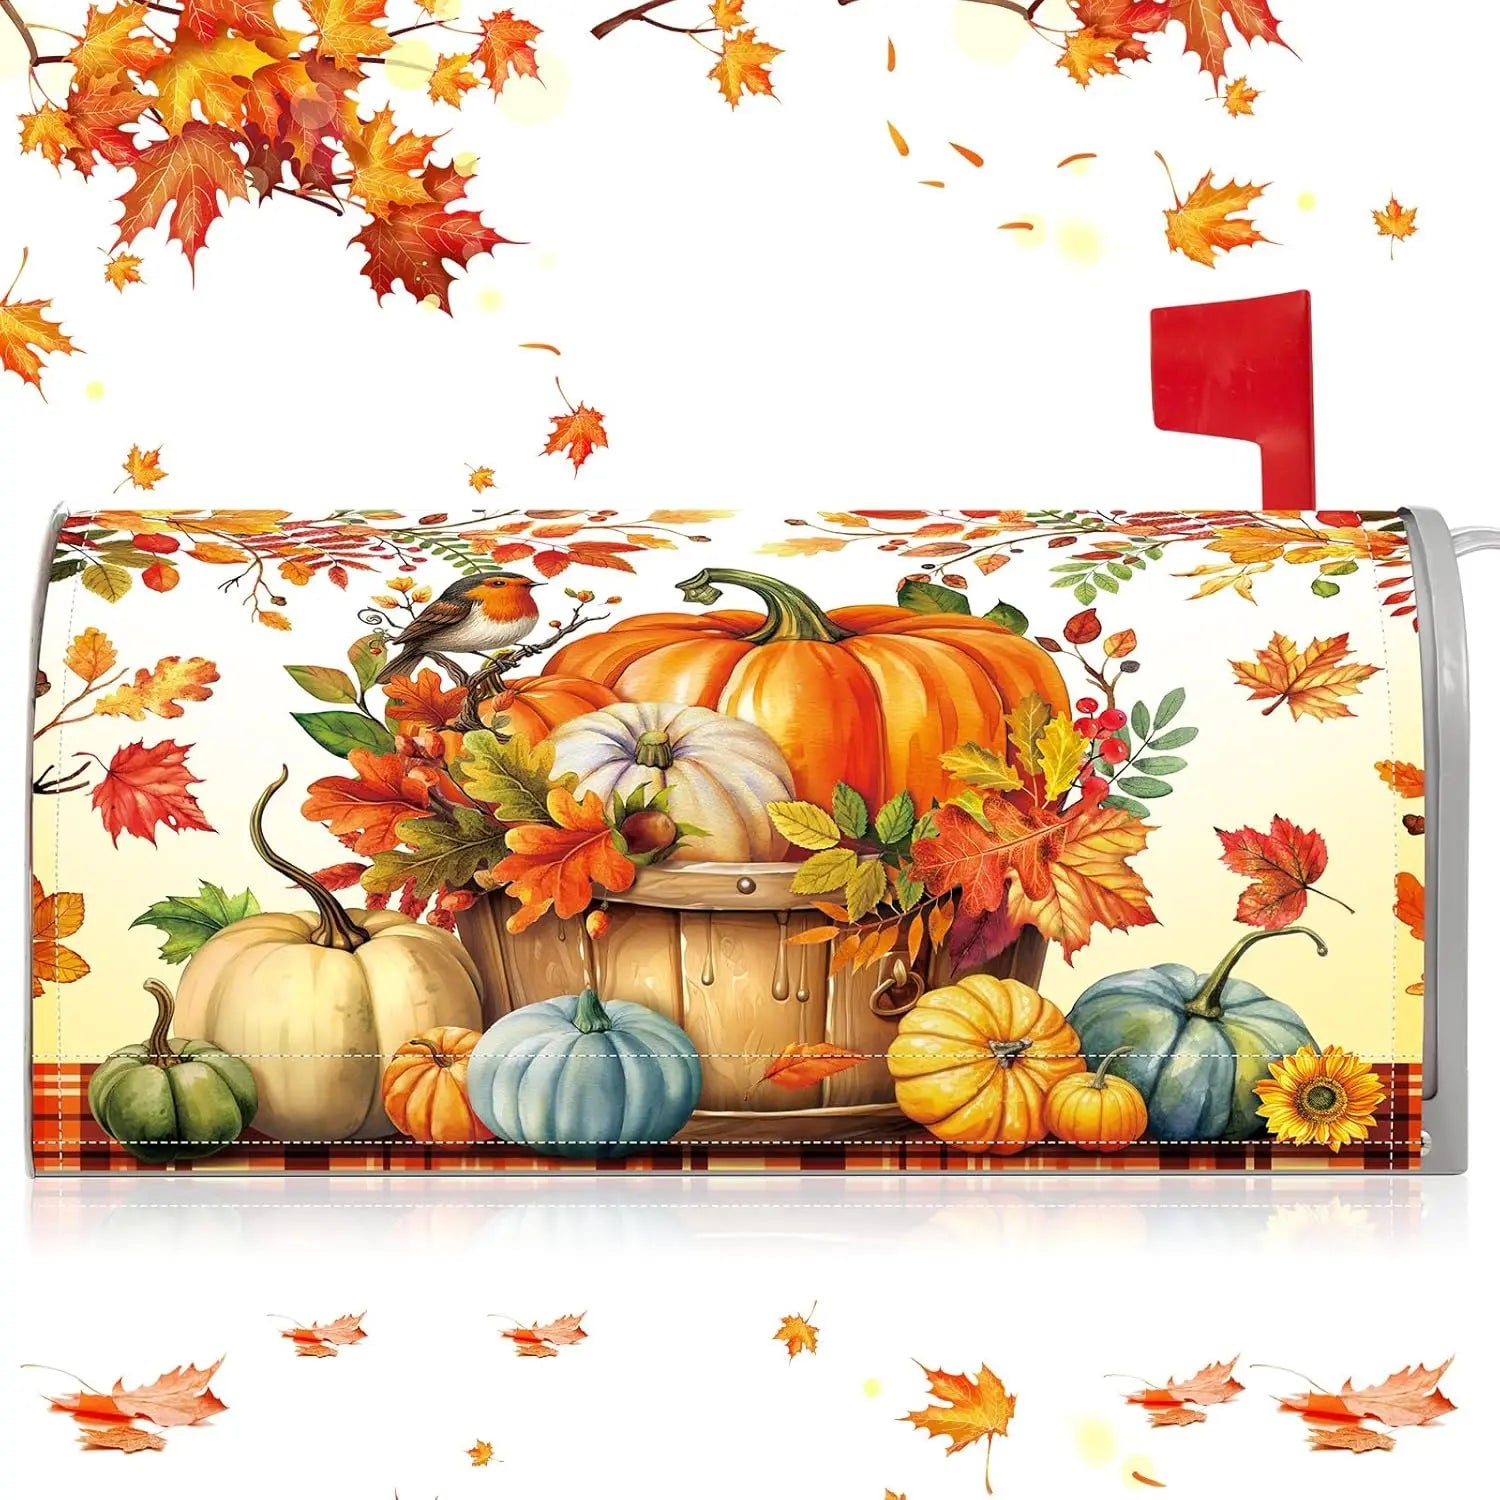
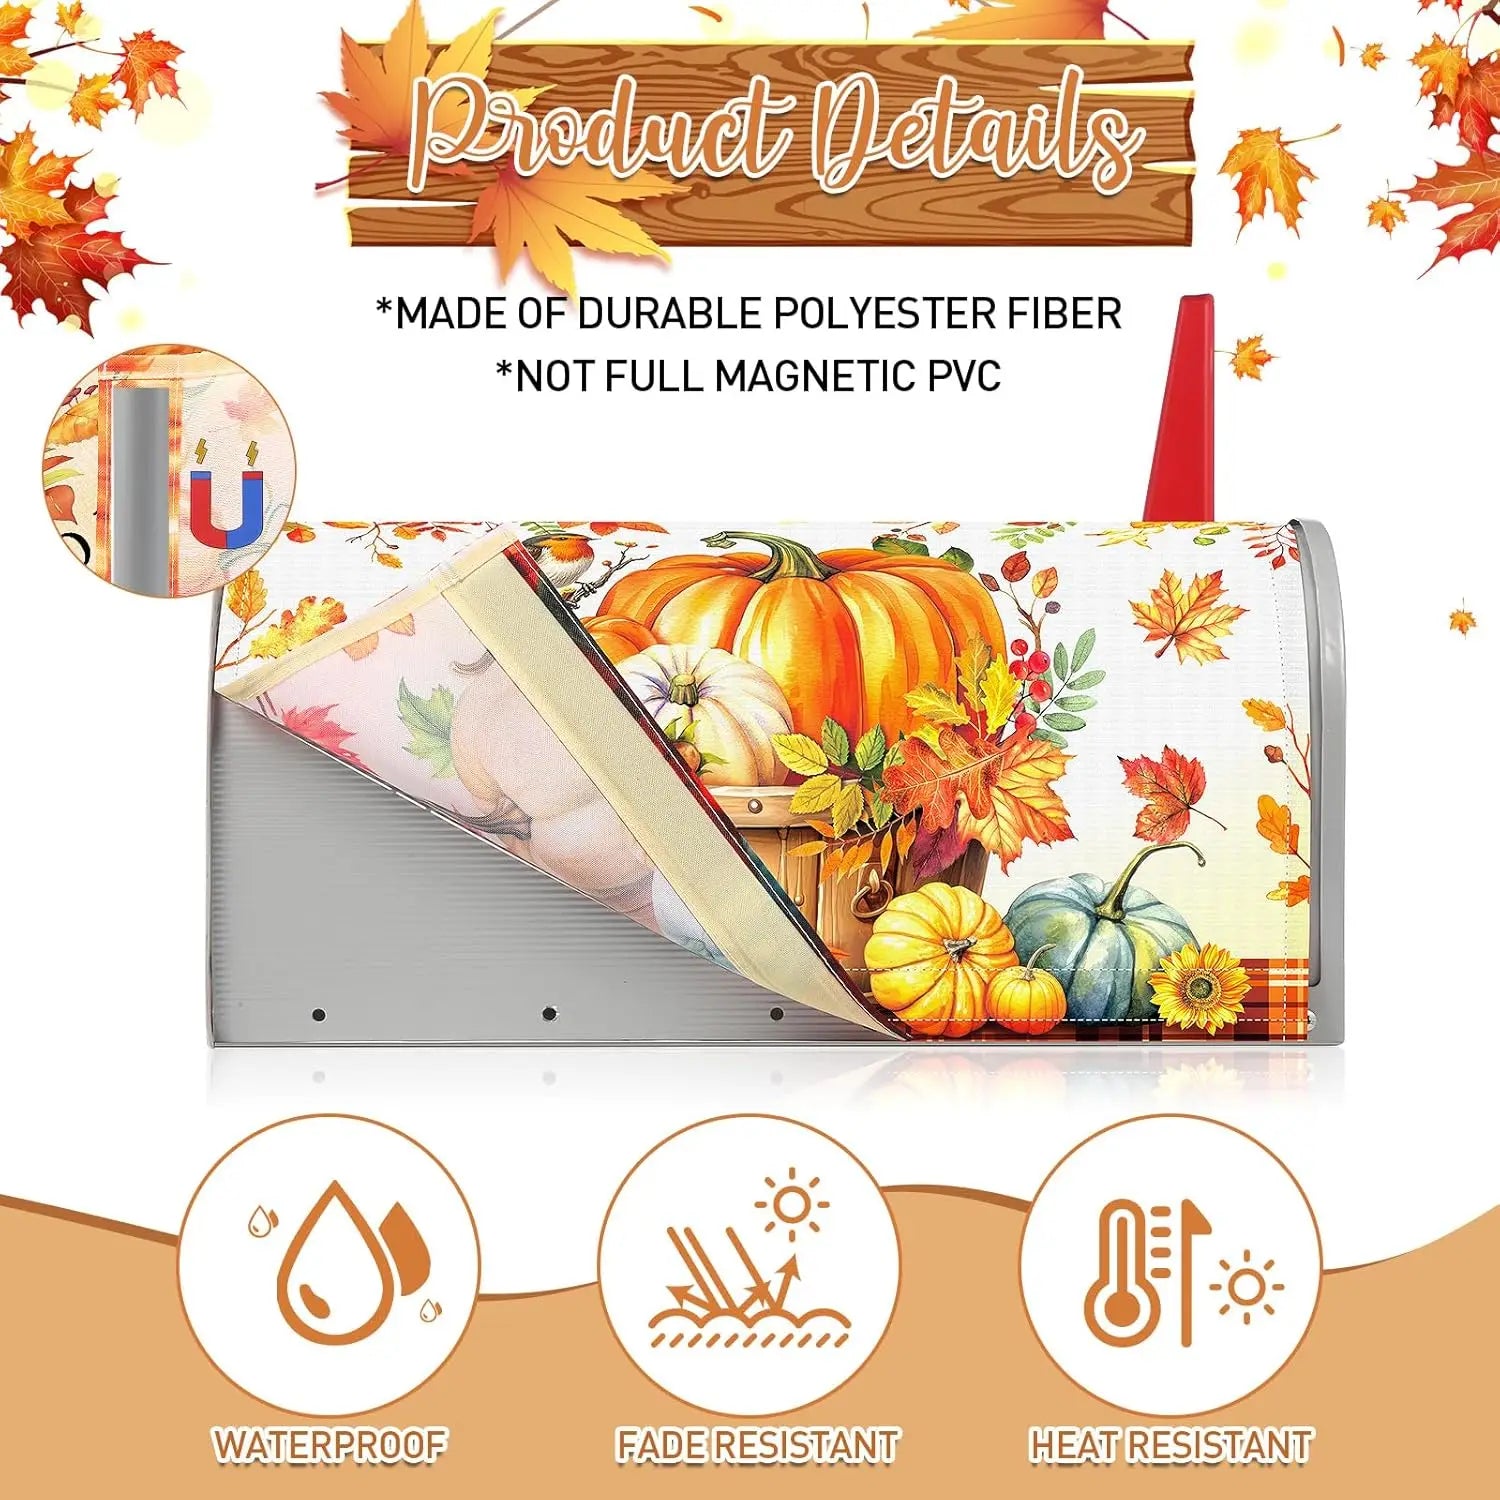
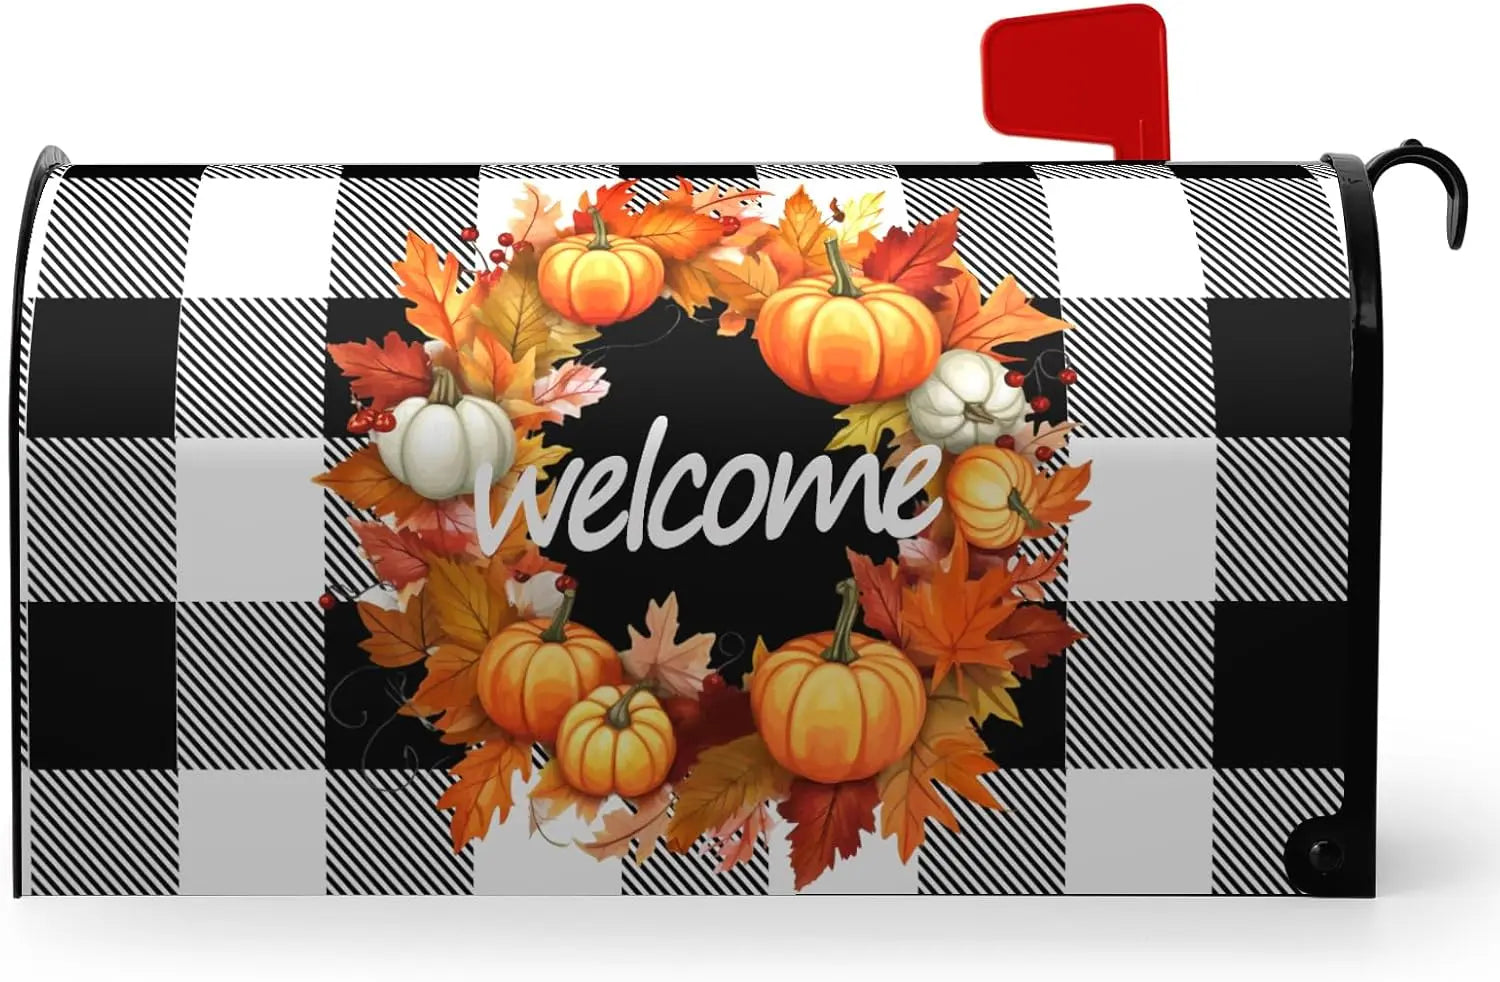
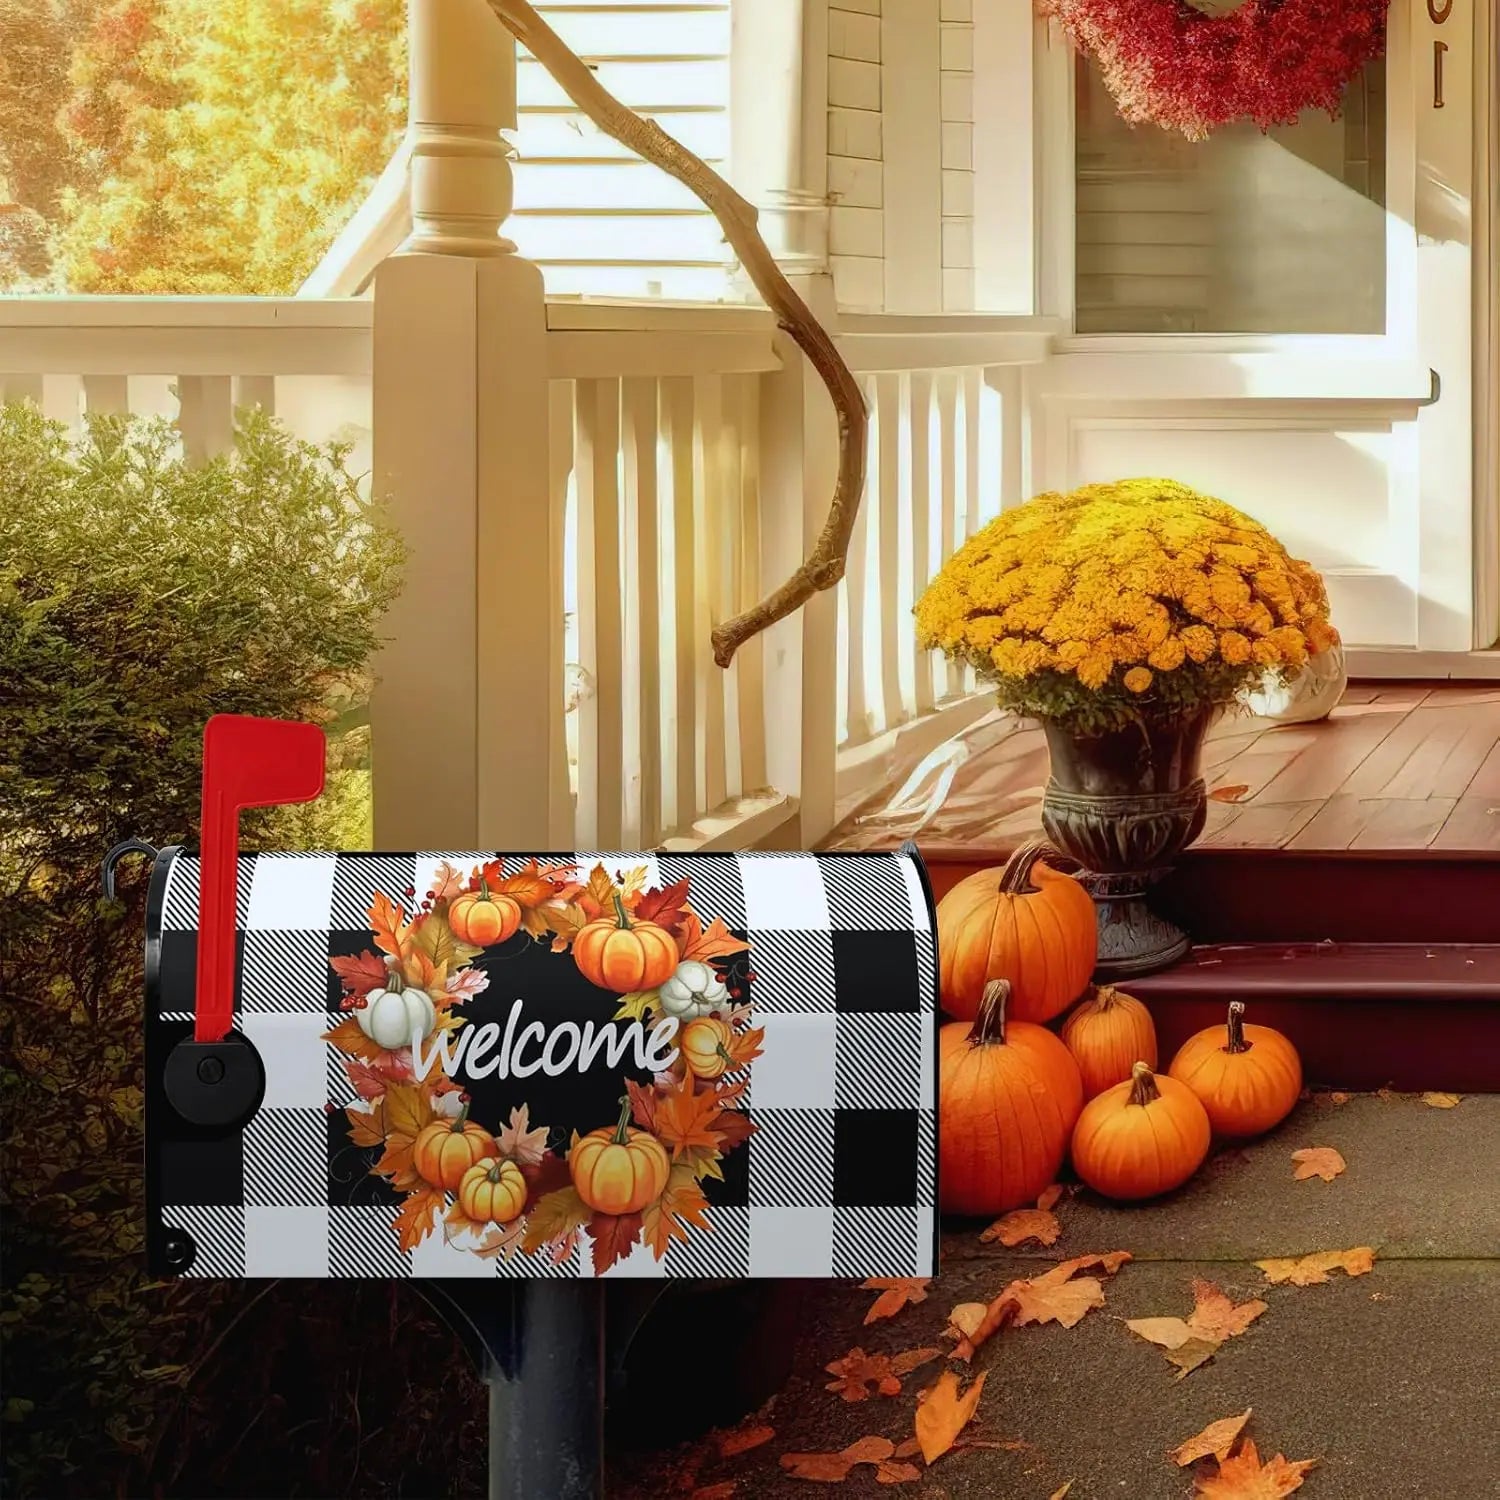
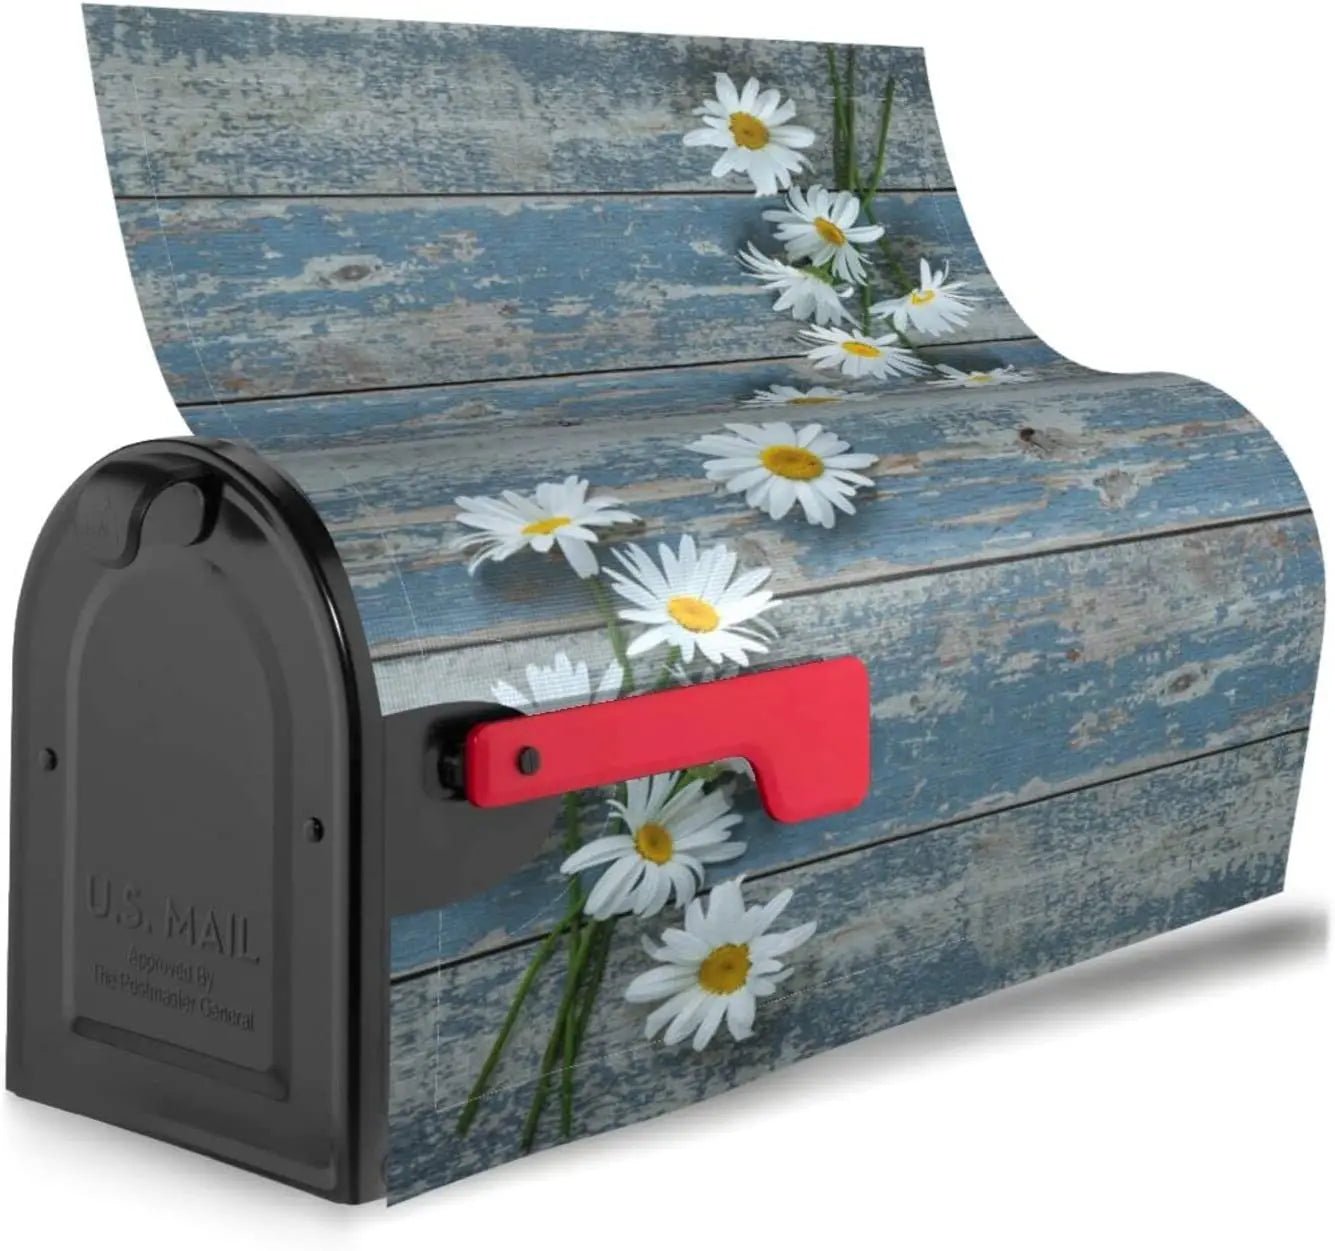
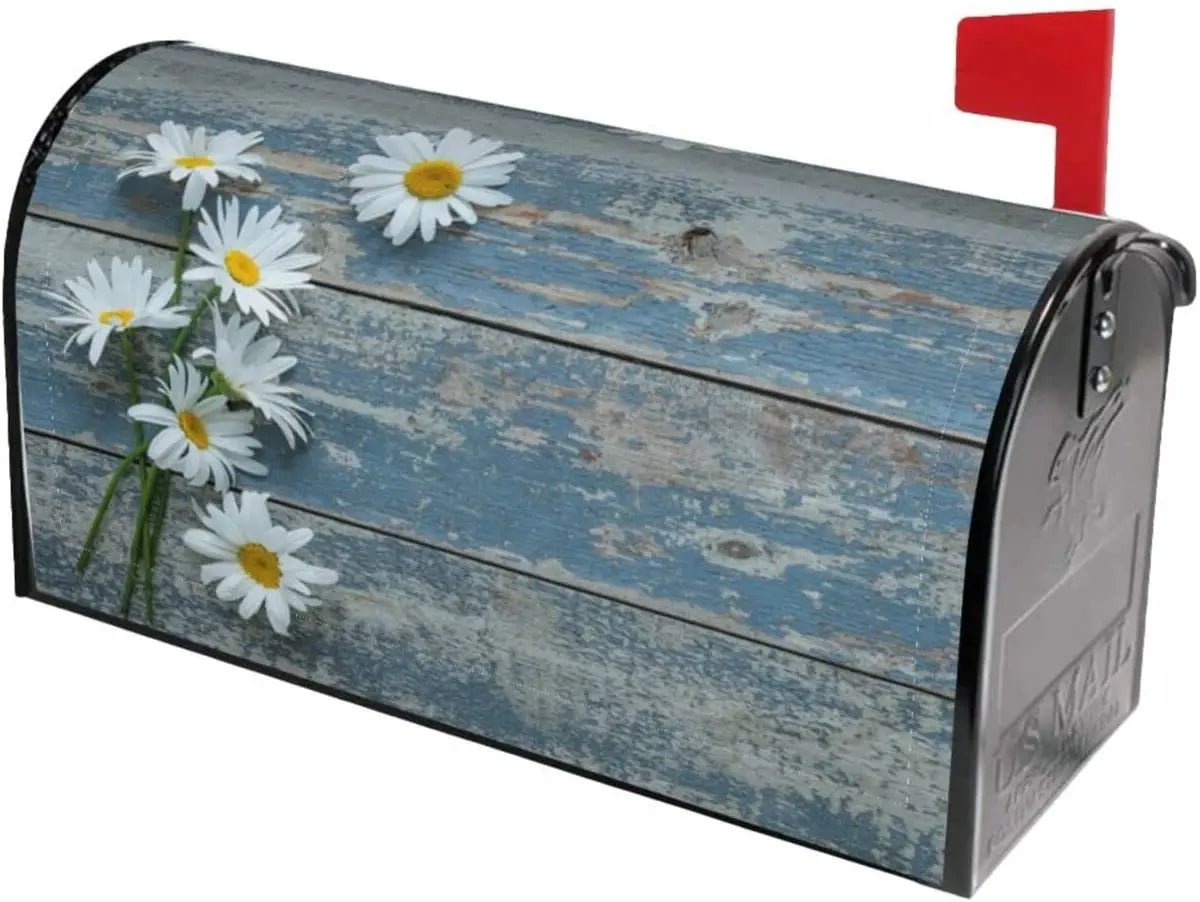
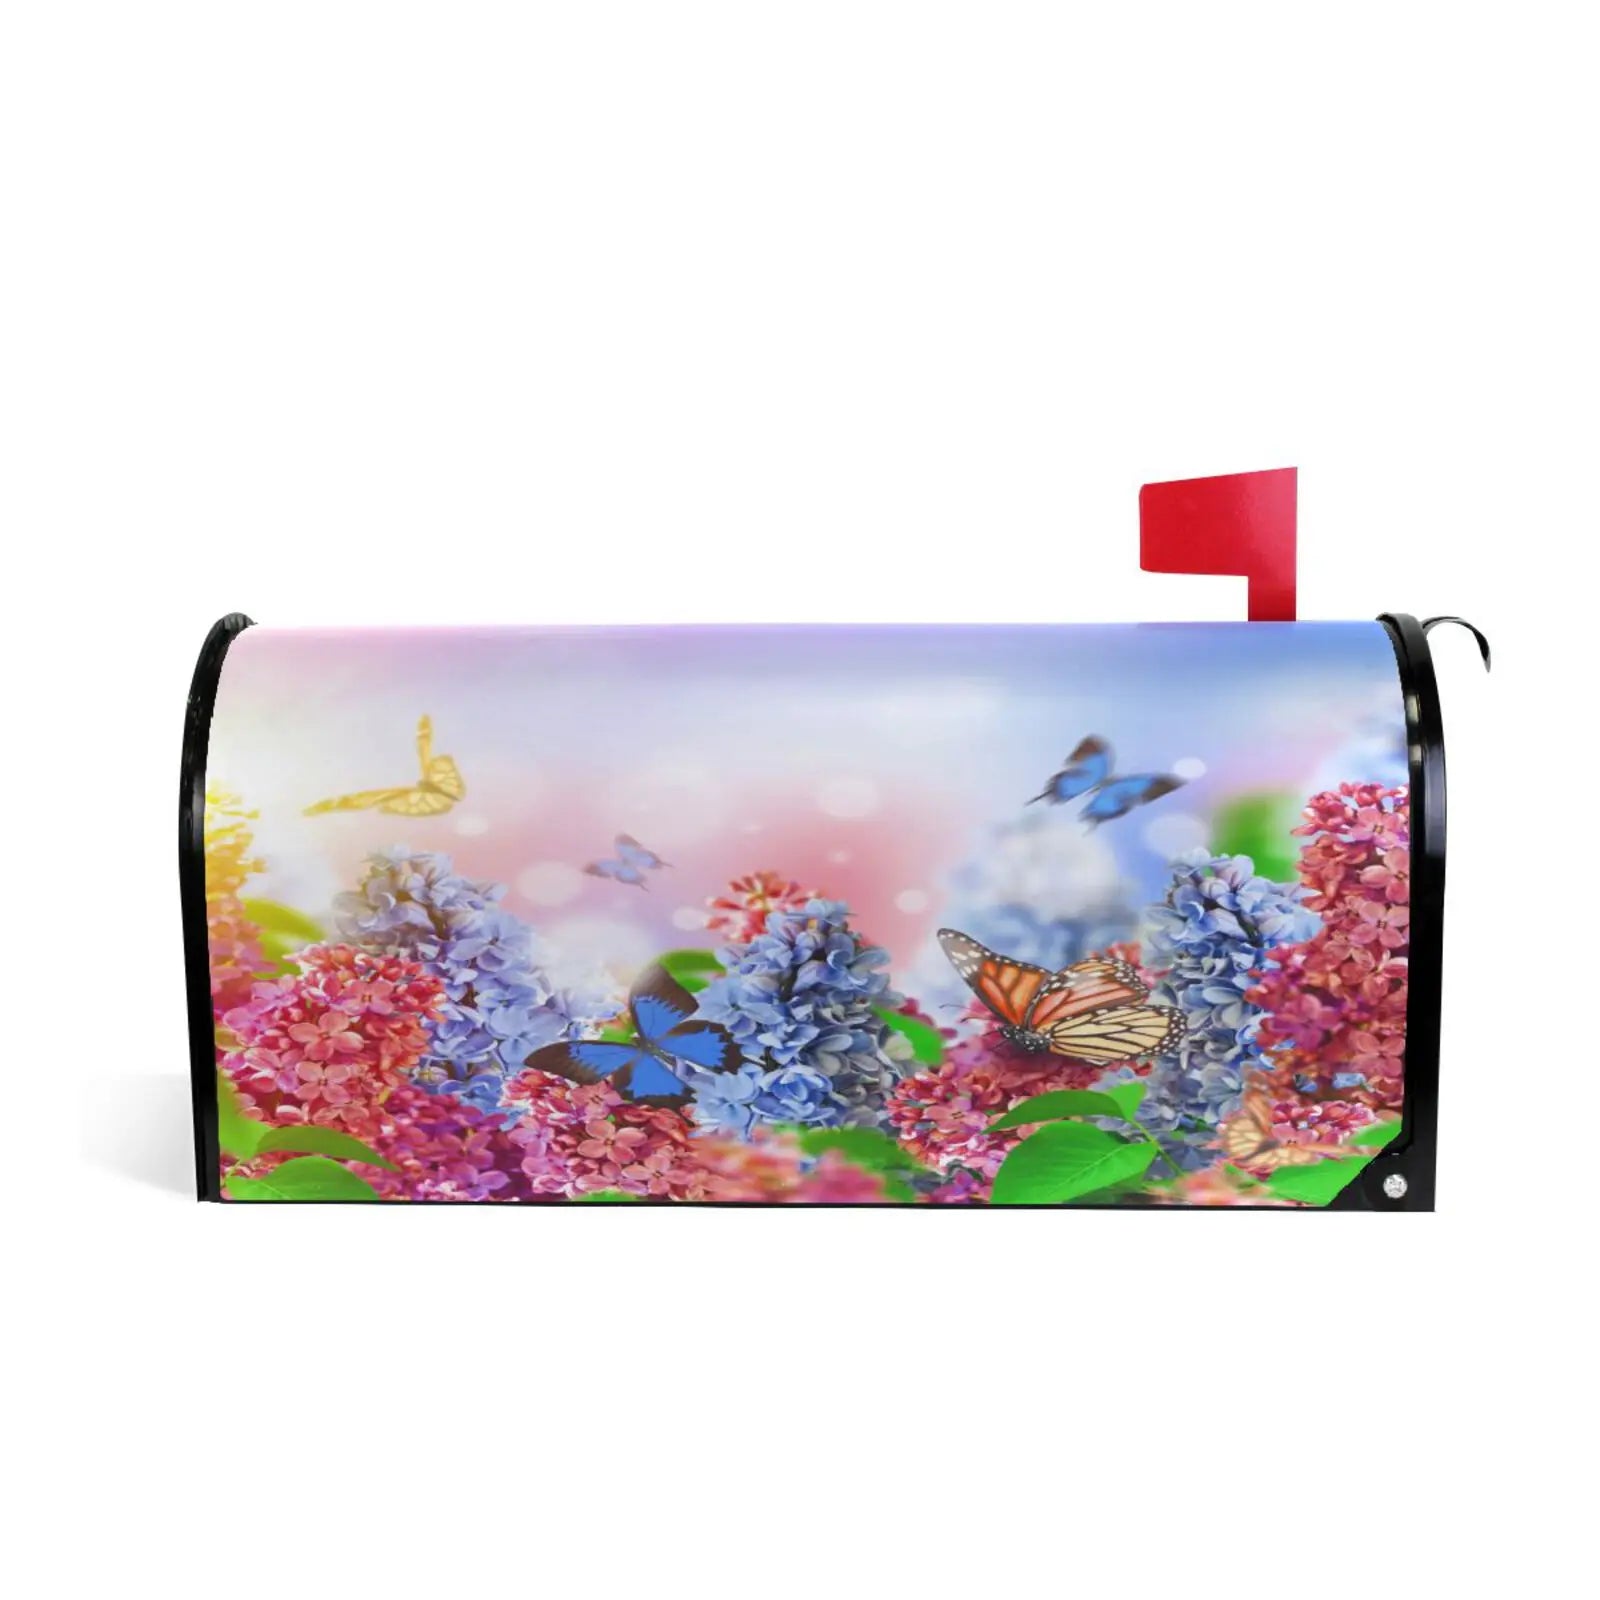
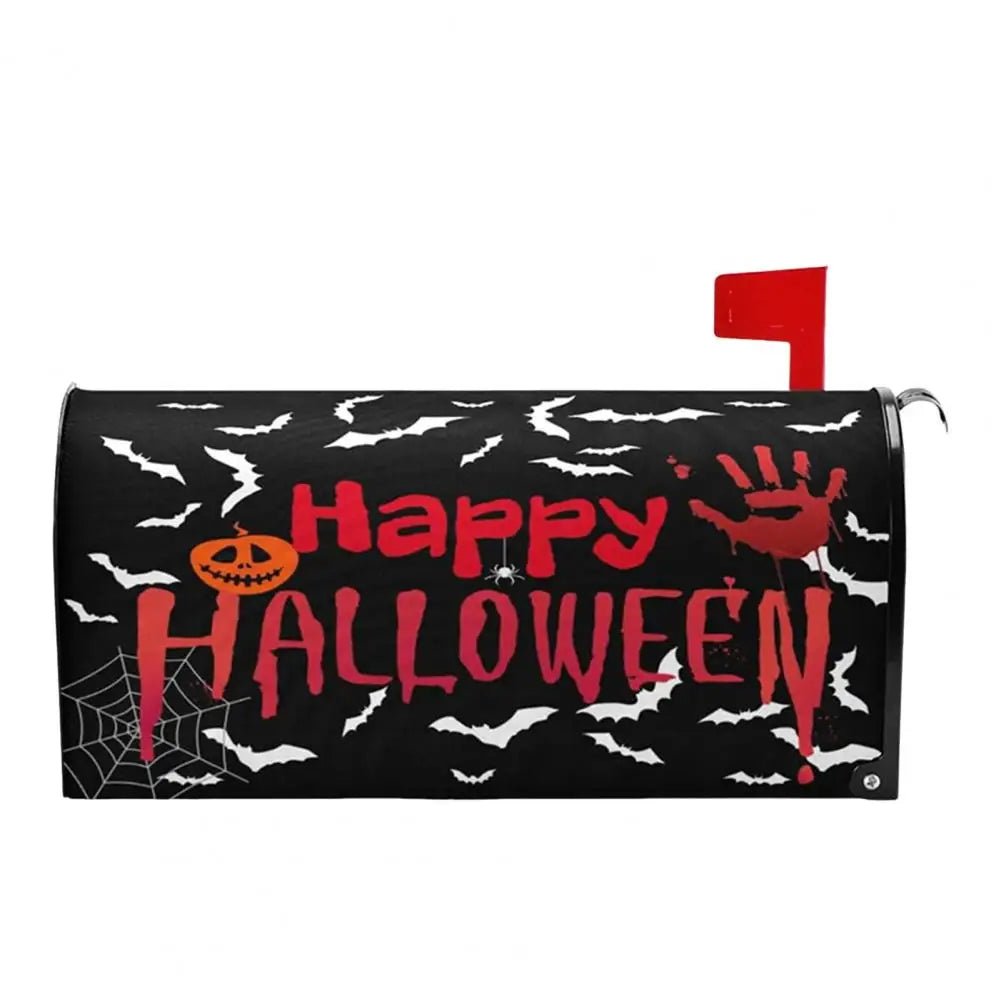
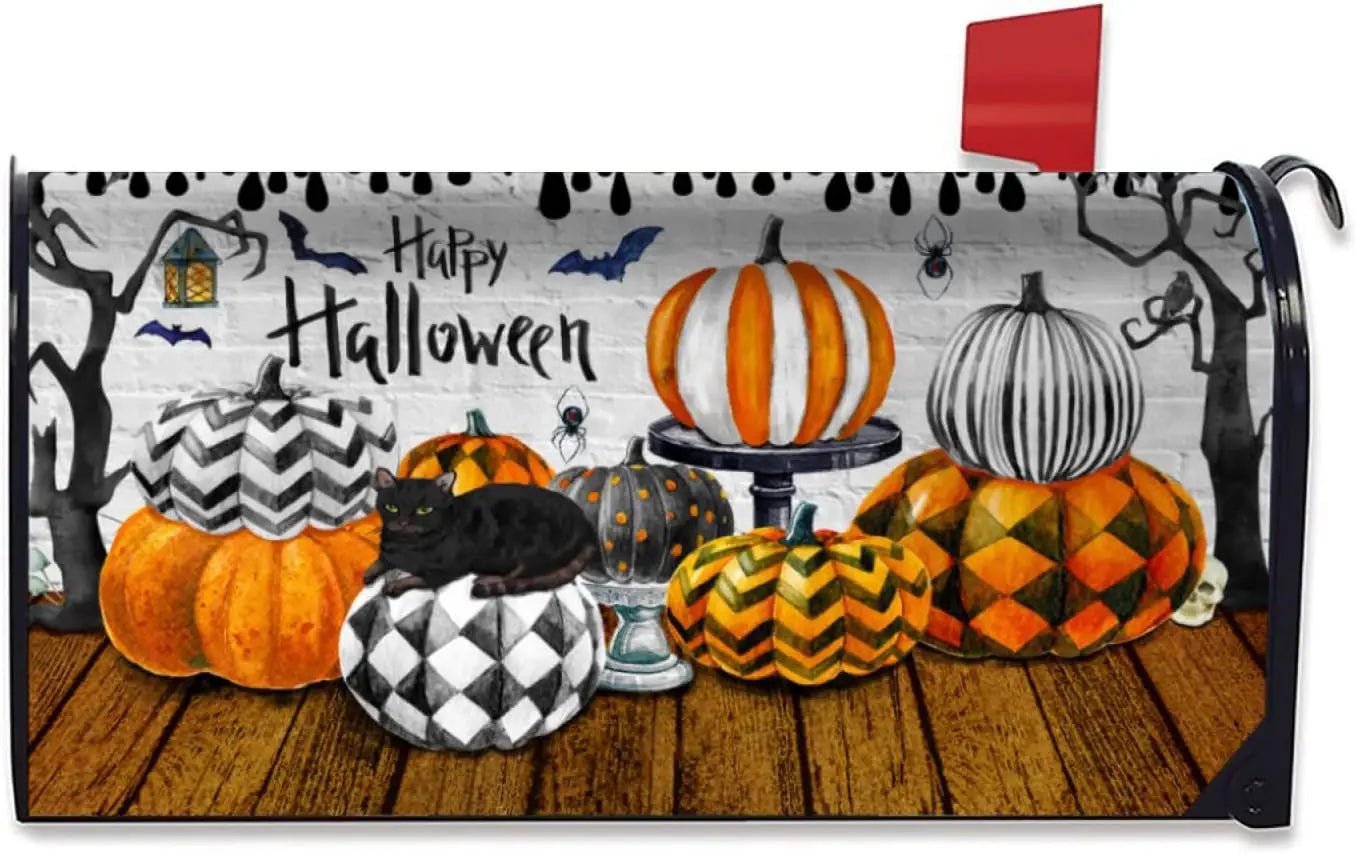
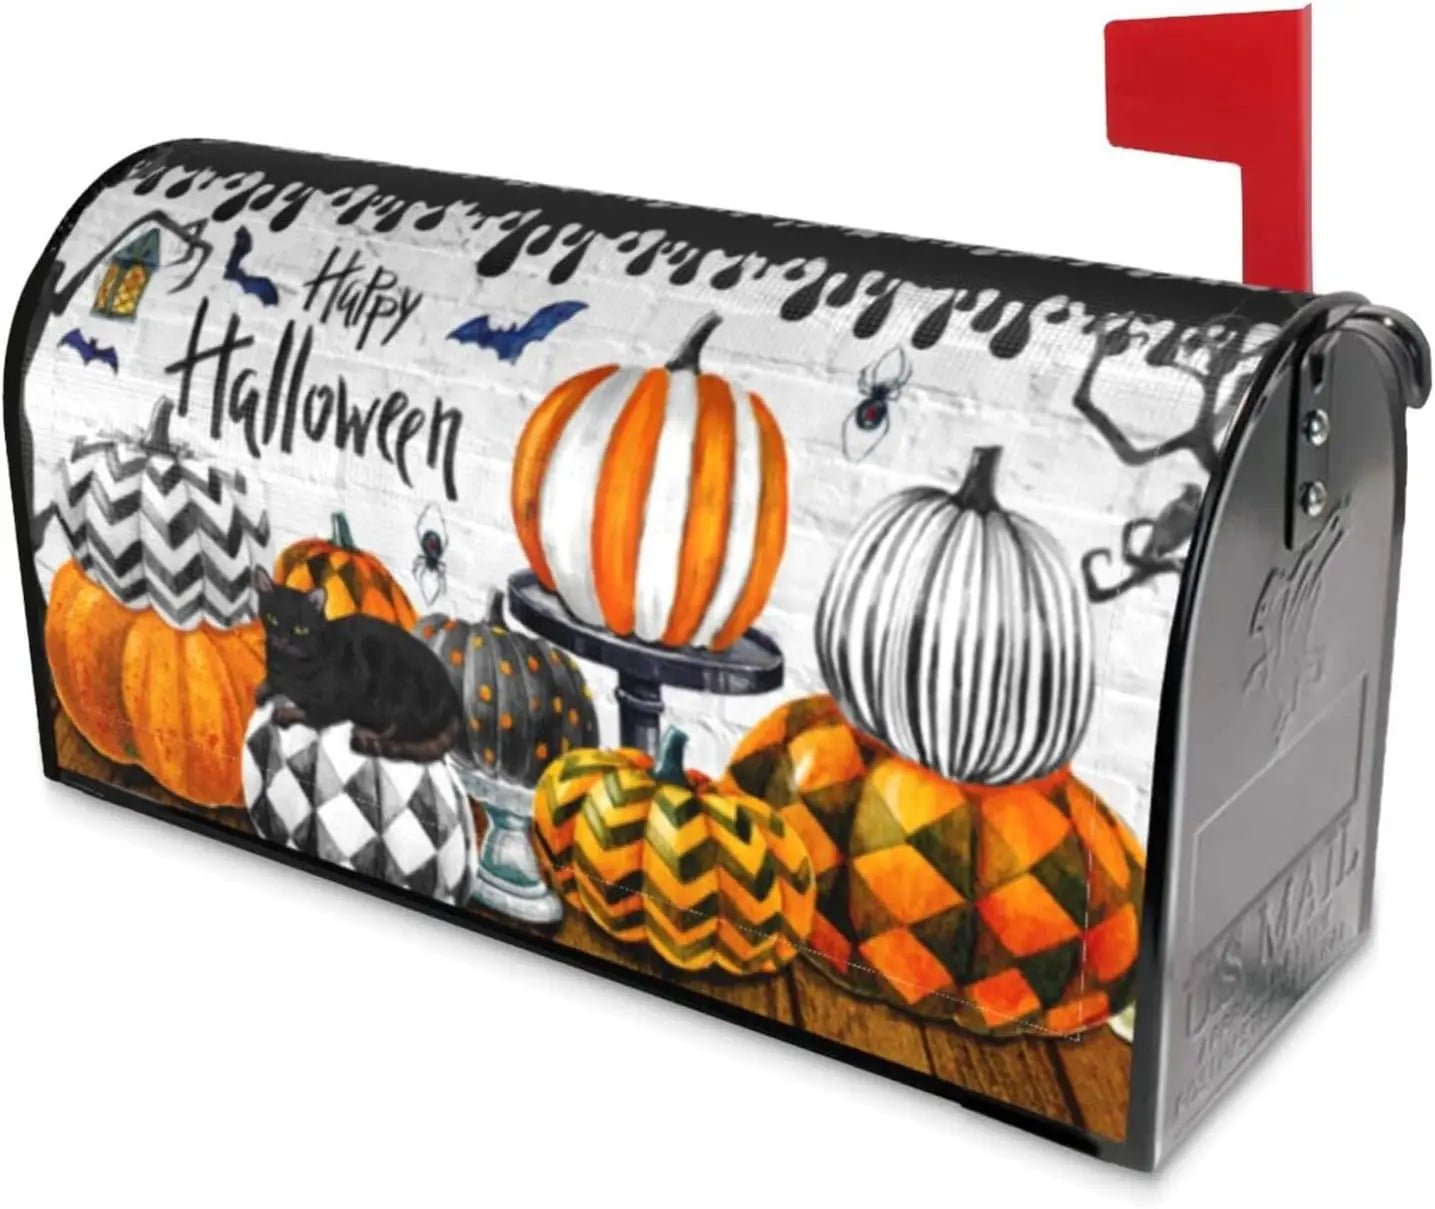
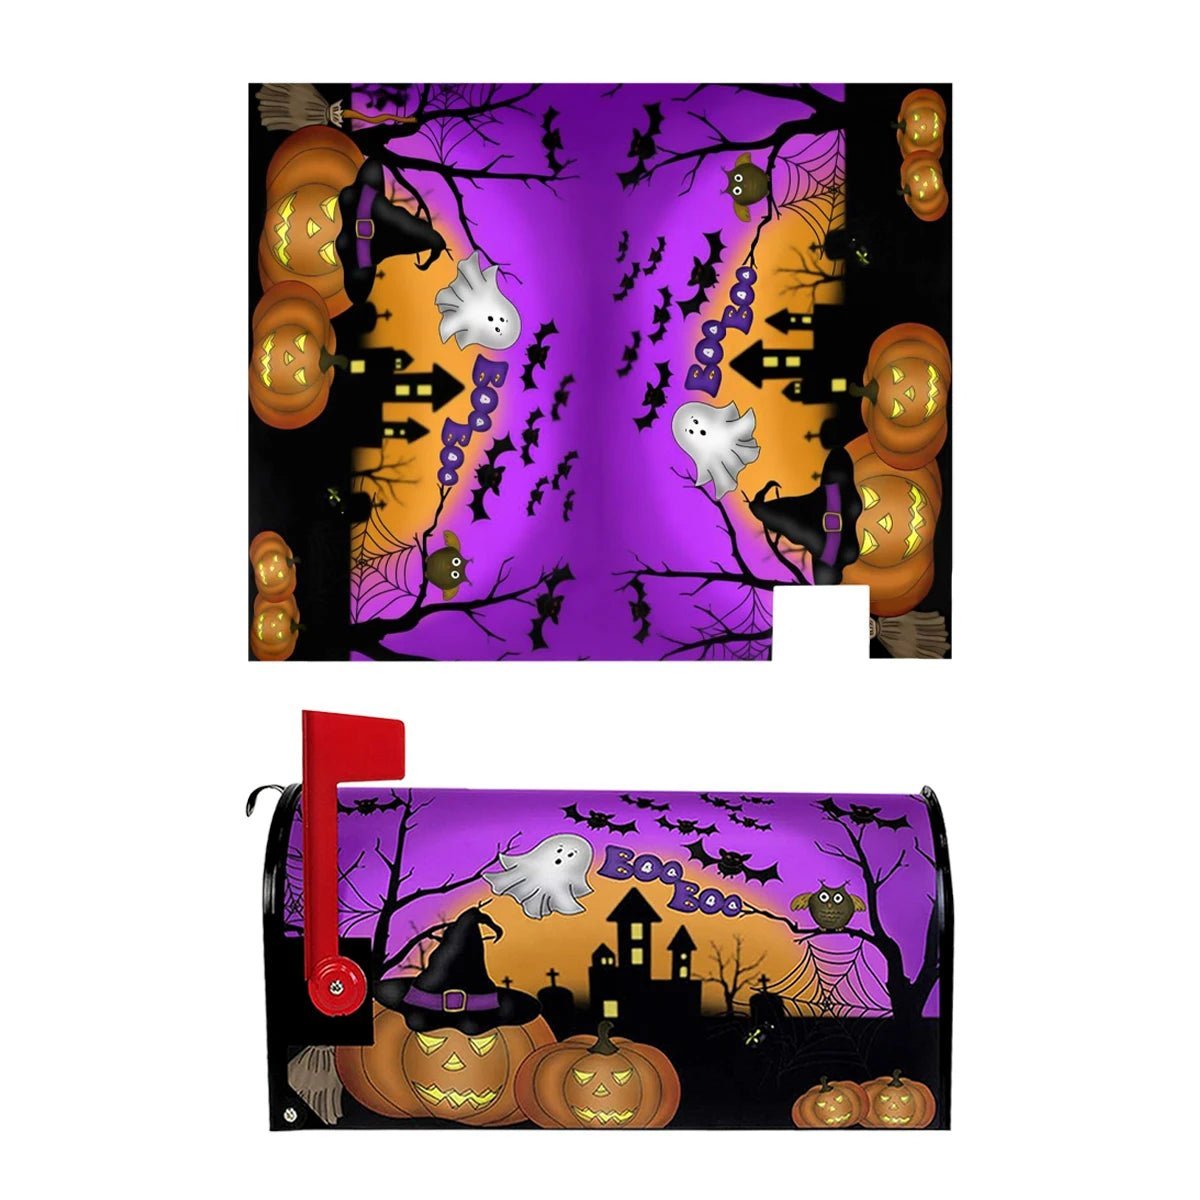
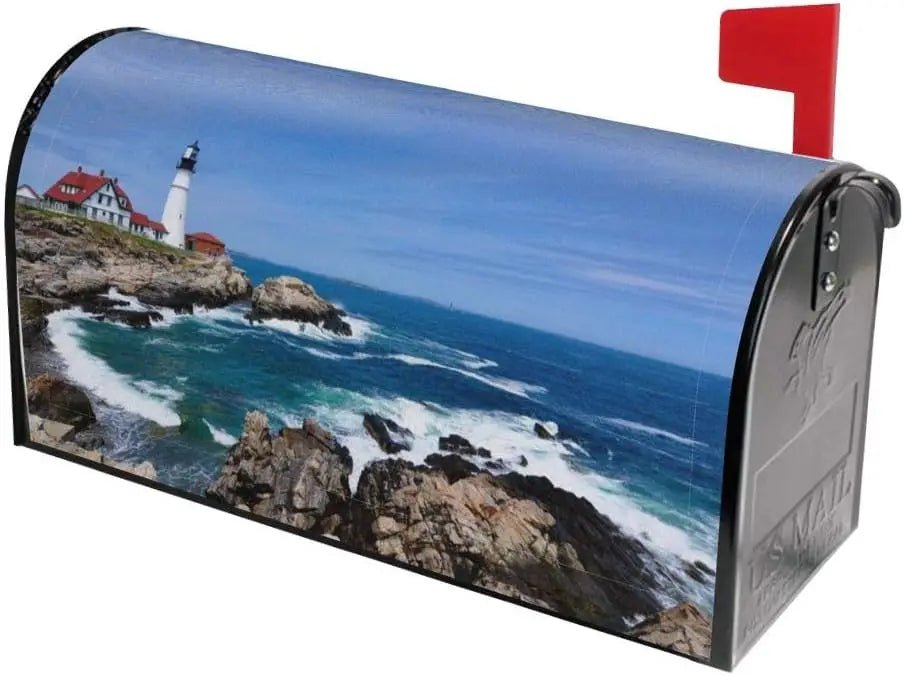
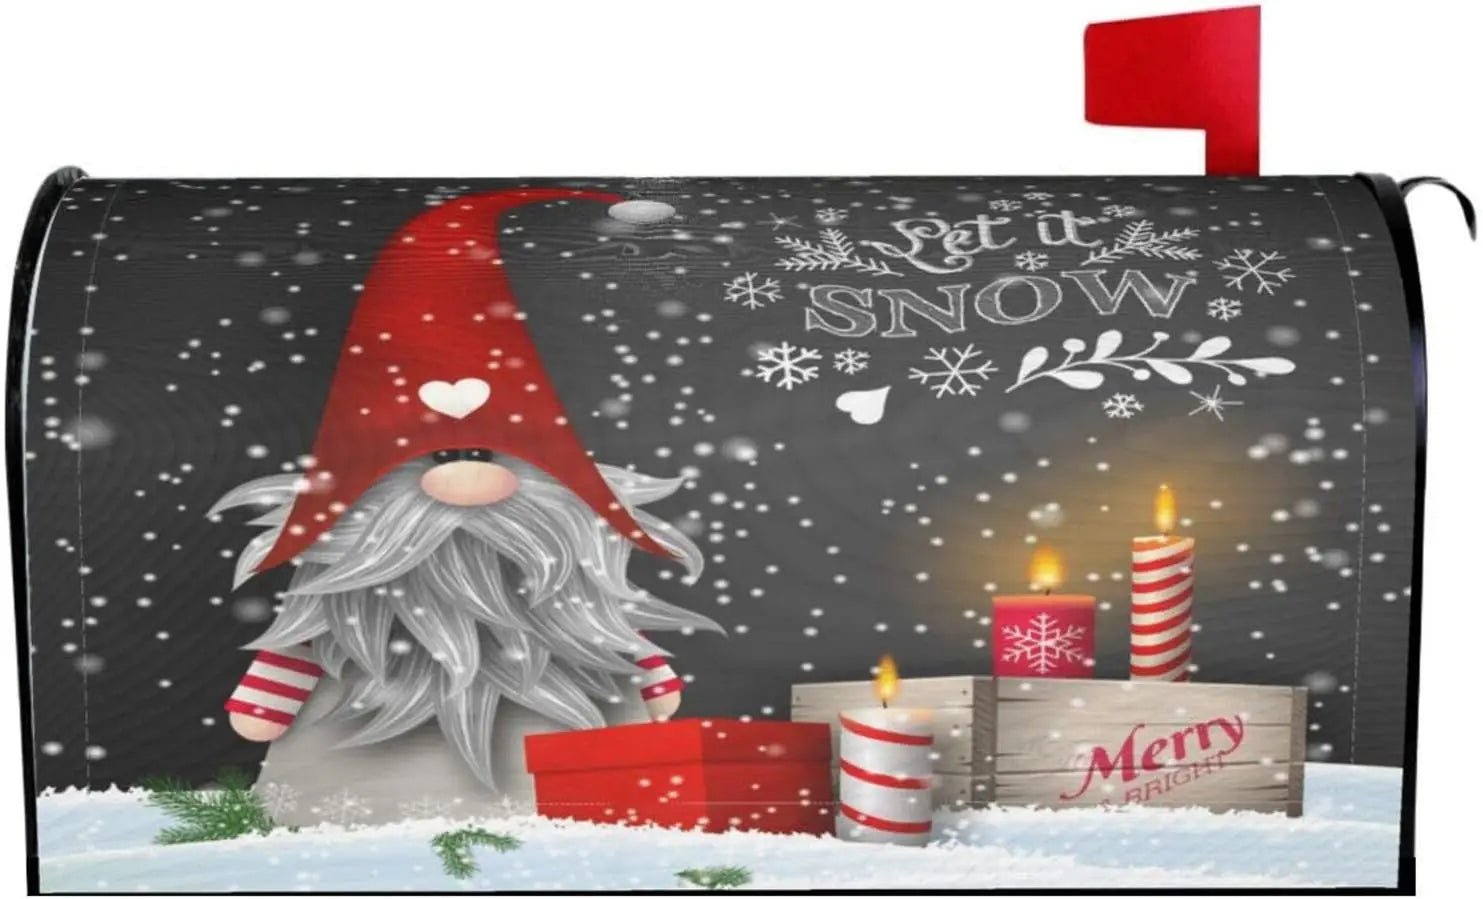
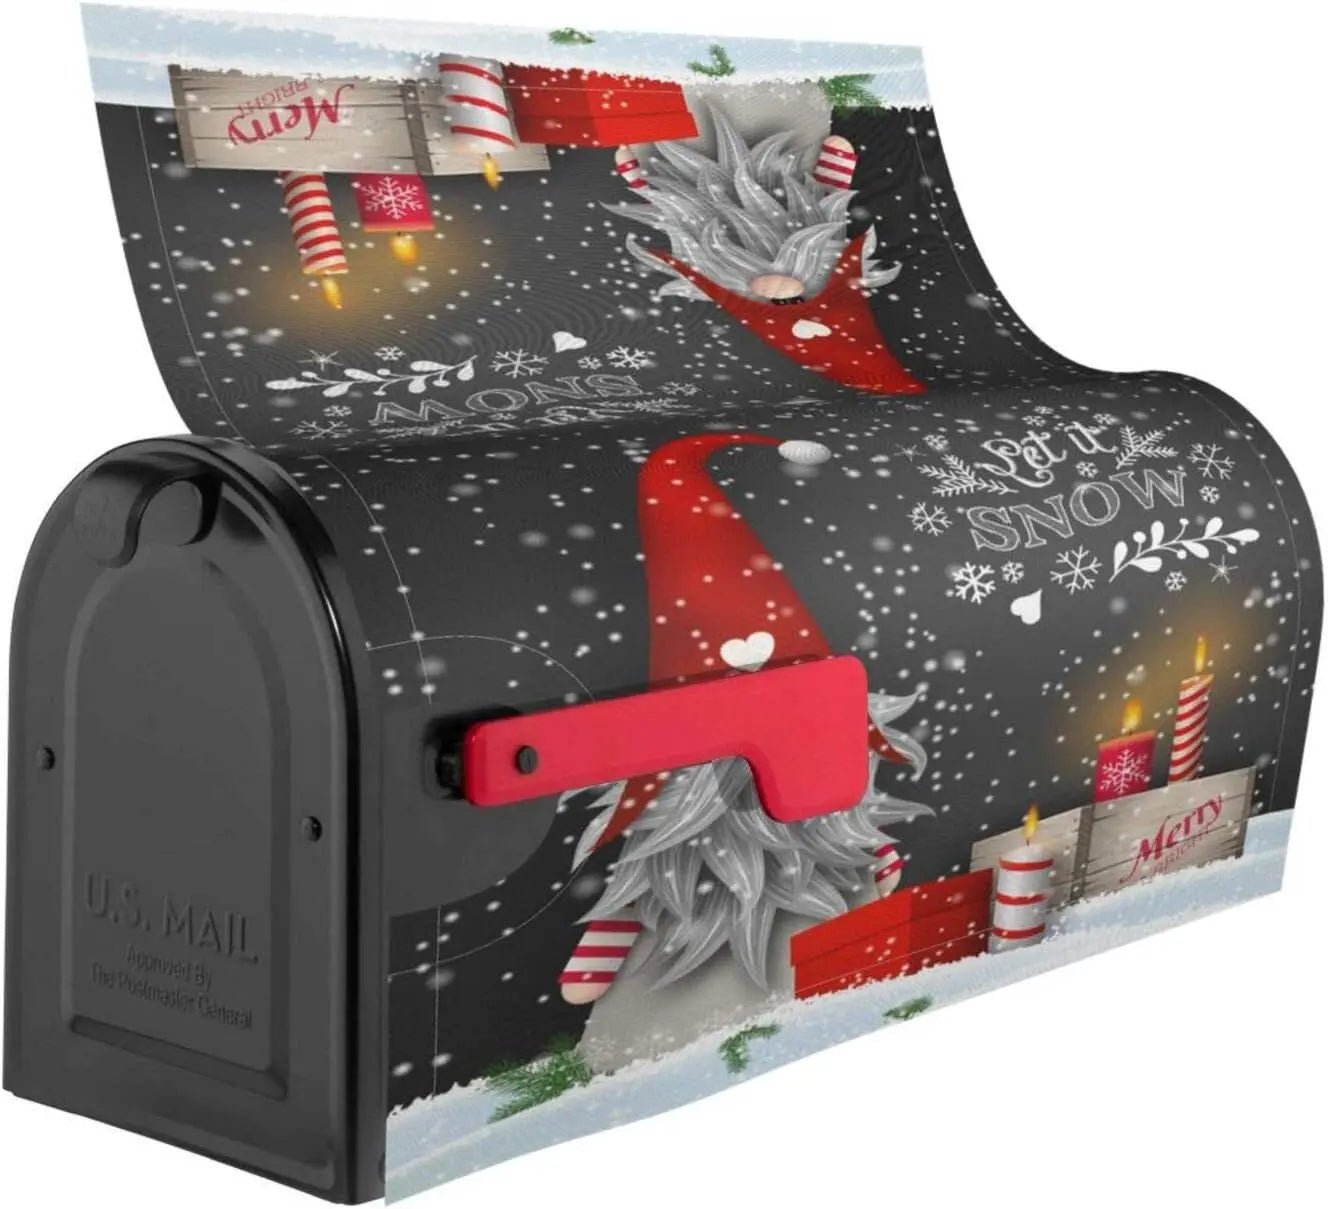
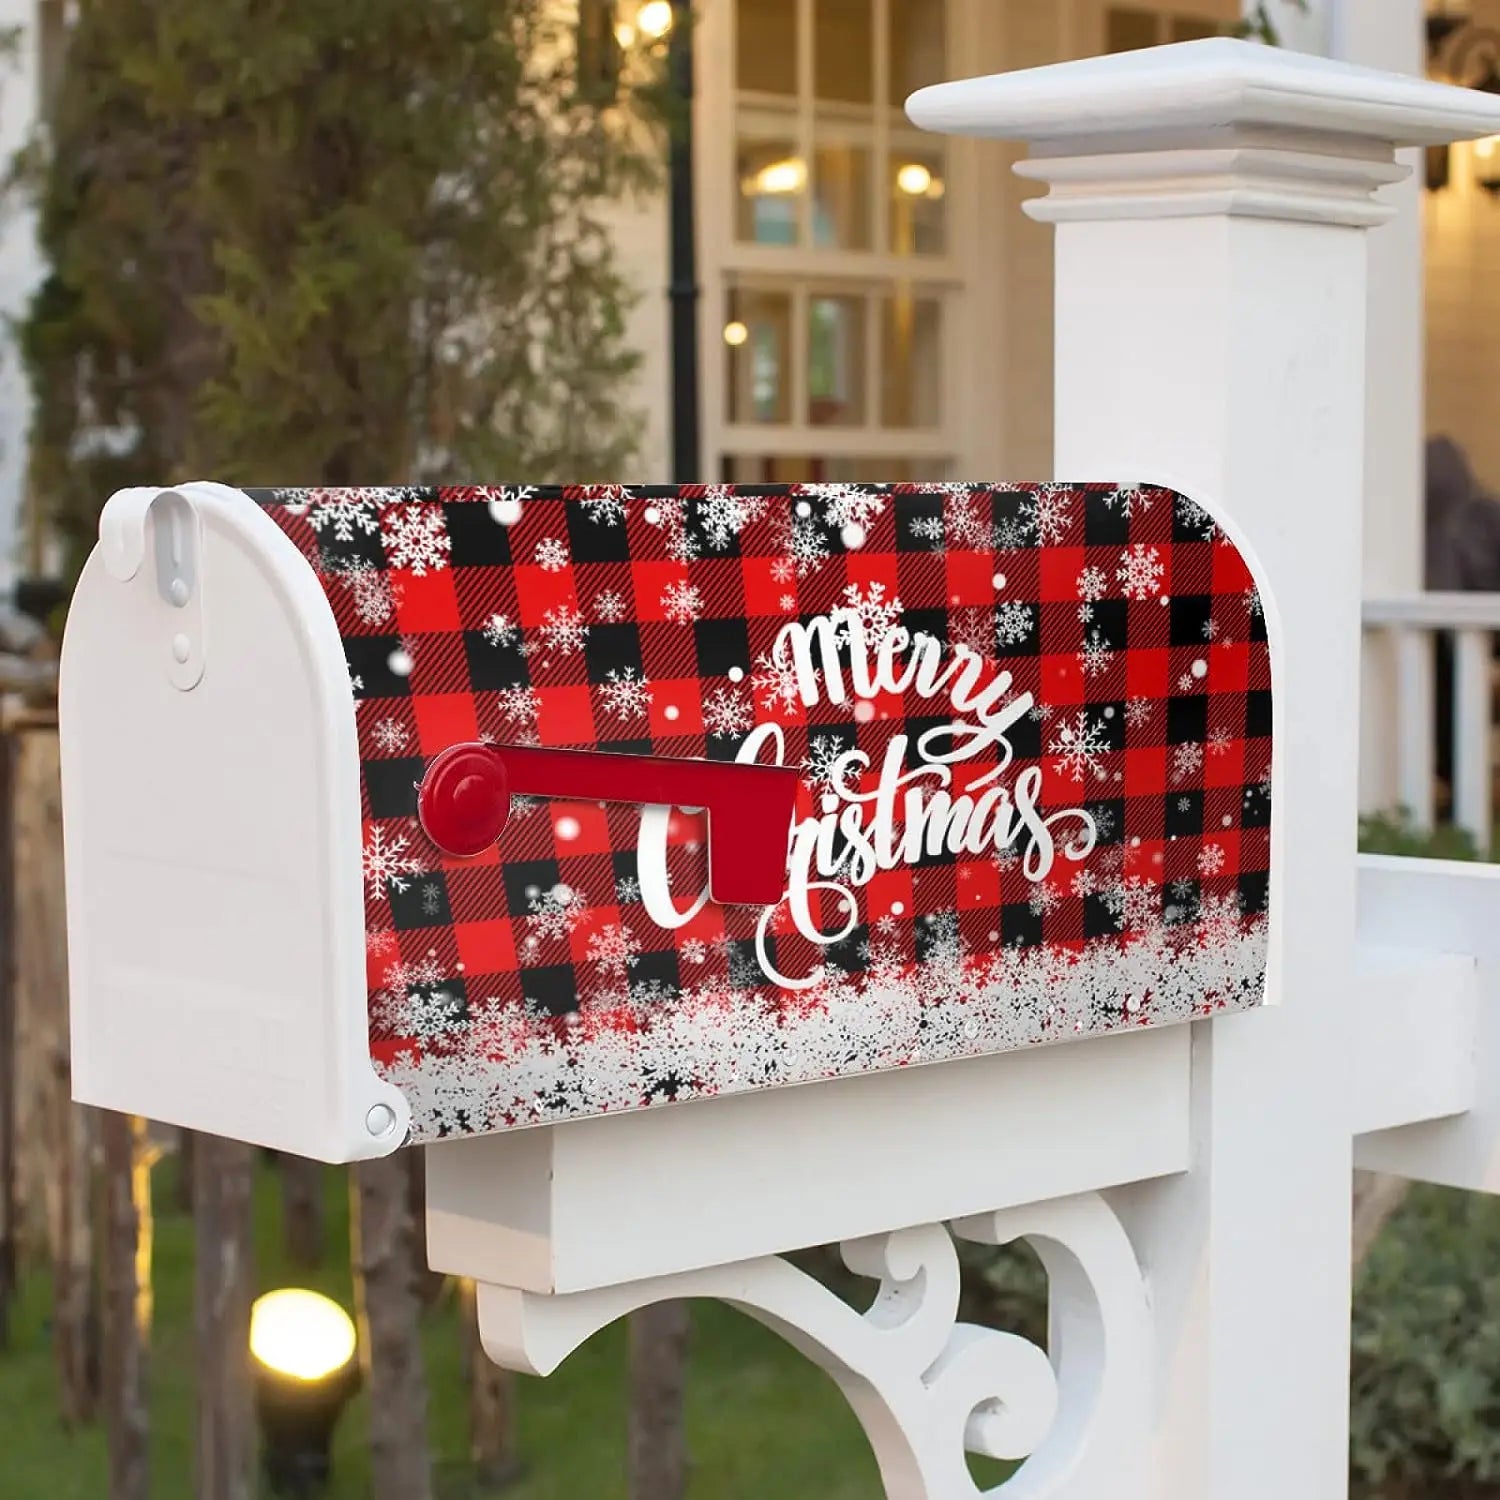
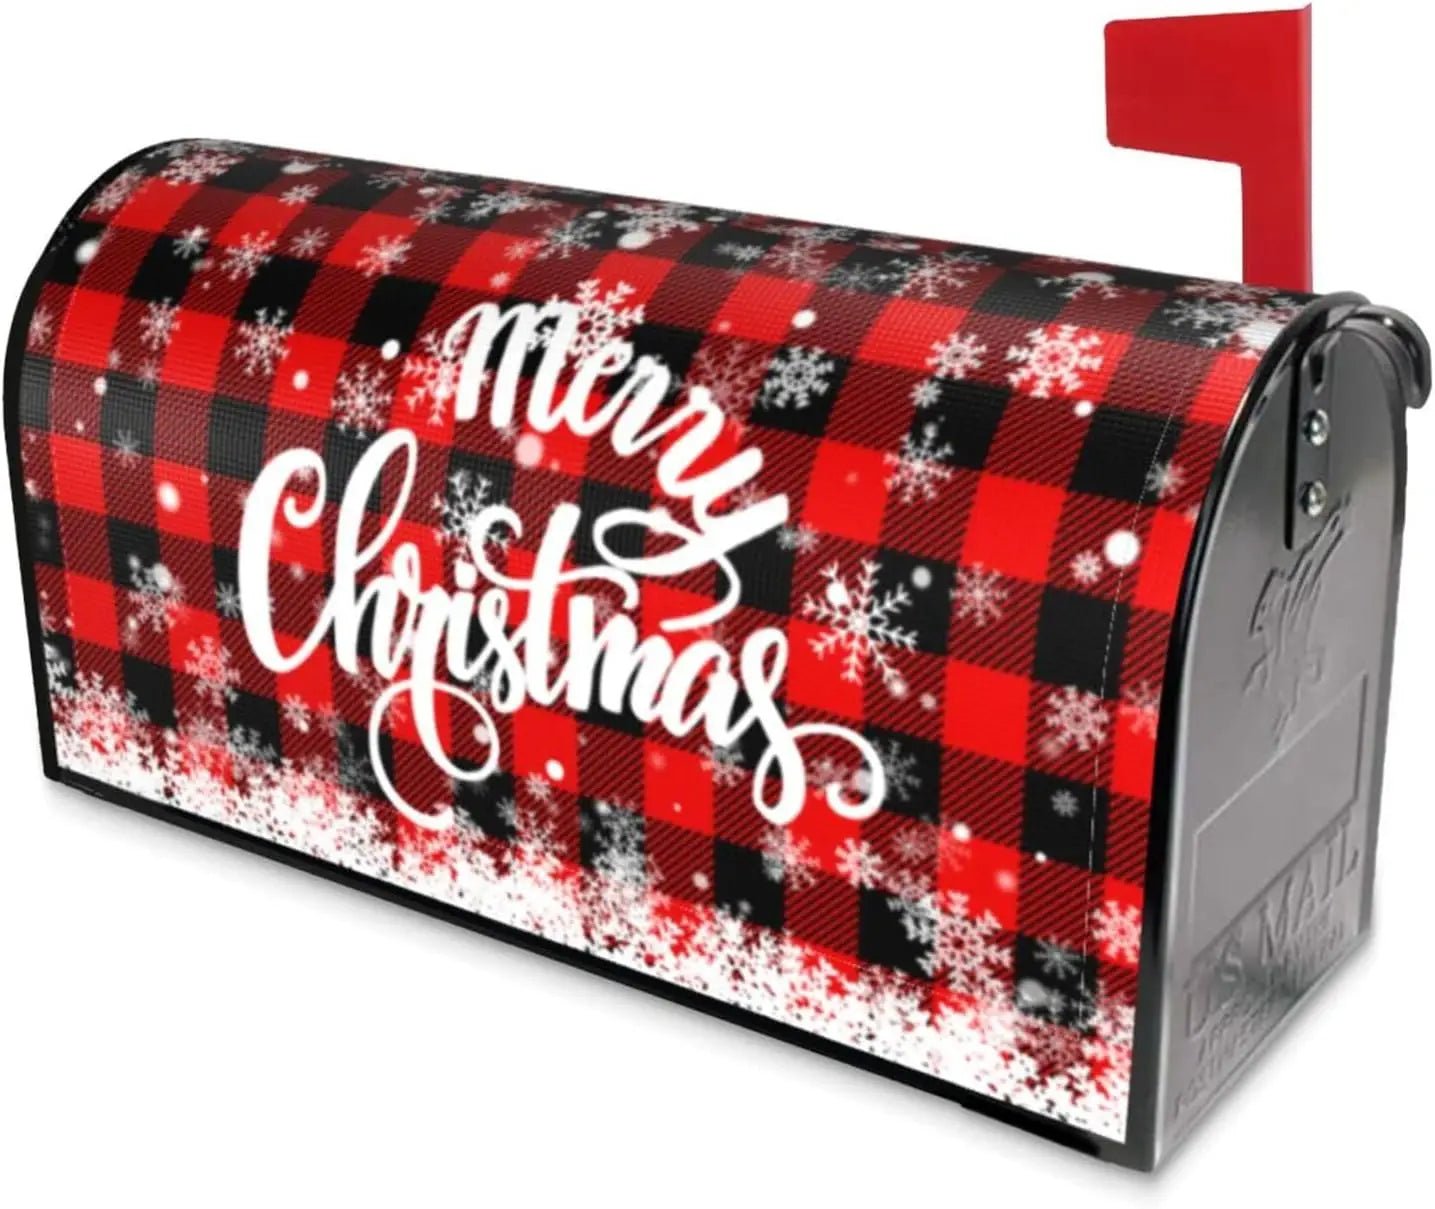
The first impression that people get about your homes is often shaped by the little things that tend to go unnoticed. One such underrated aspect is your mailbox. A well-decorated, well-maintained mailbox can significantly elevate the curb appeal of your home. In this article, we'll delve into one of the most effective ways to spruce up your mailbox - by using a mailbox cover.
What is a Mailbox Cover?
At first glance, you may think of a mailbox cover as merely a decorative accessory. But it's more than that. A mailbox cover is a protective layer designed to shield your mailbox from the harsh elements of weather and also serve as an avenue to express your style and creativity.
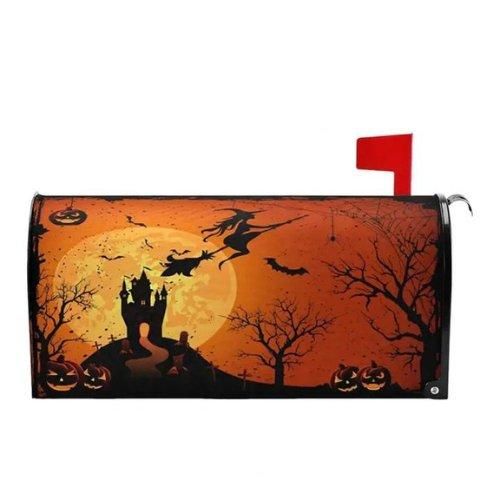
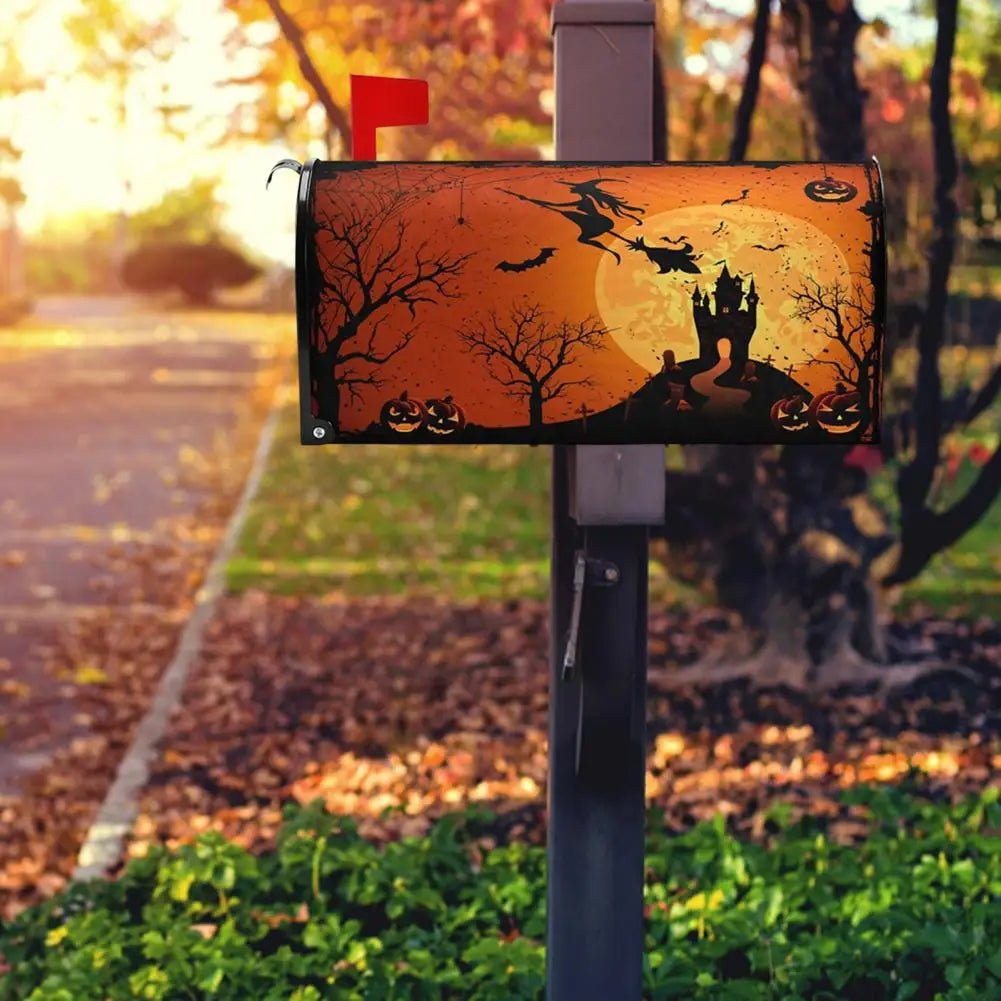
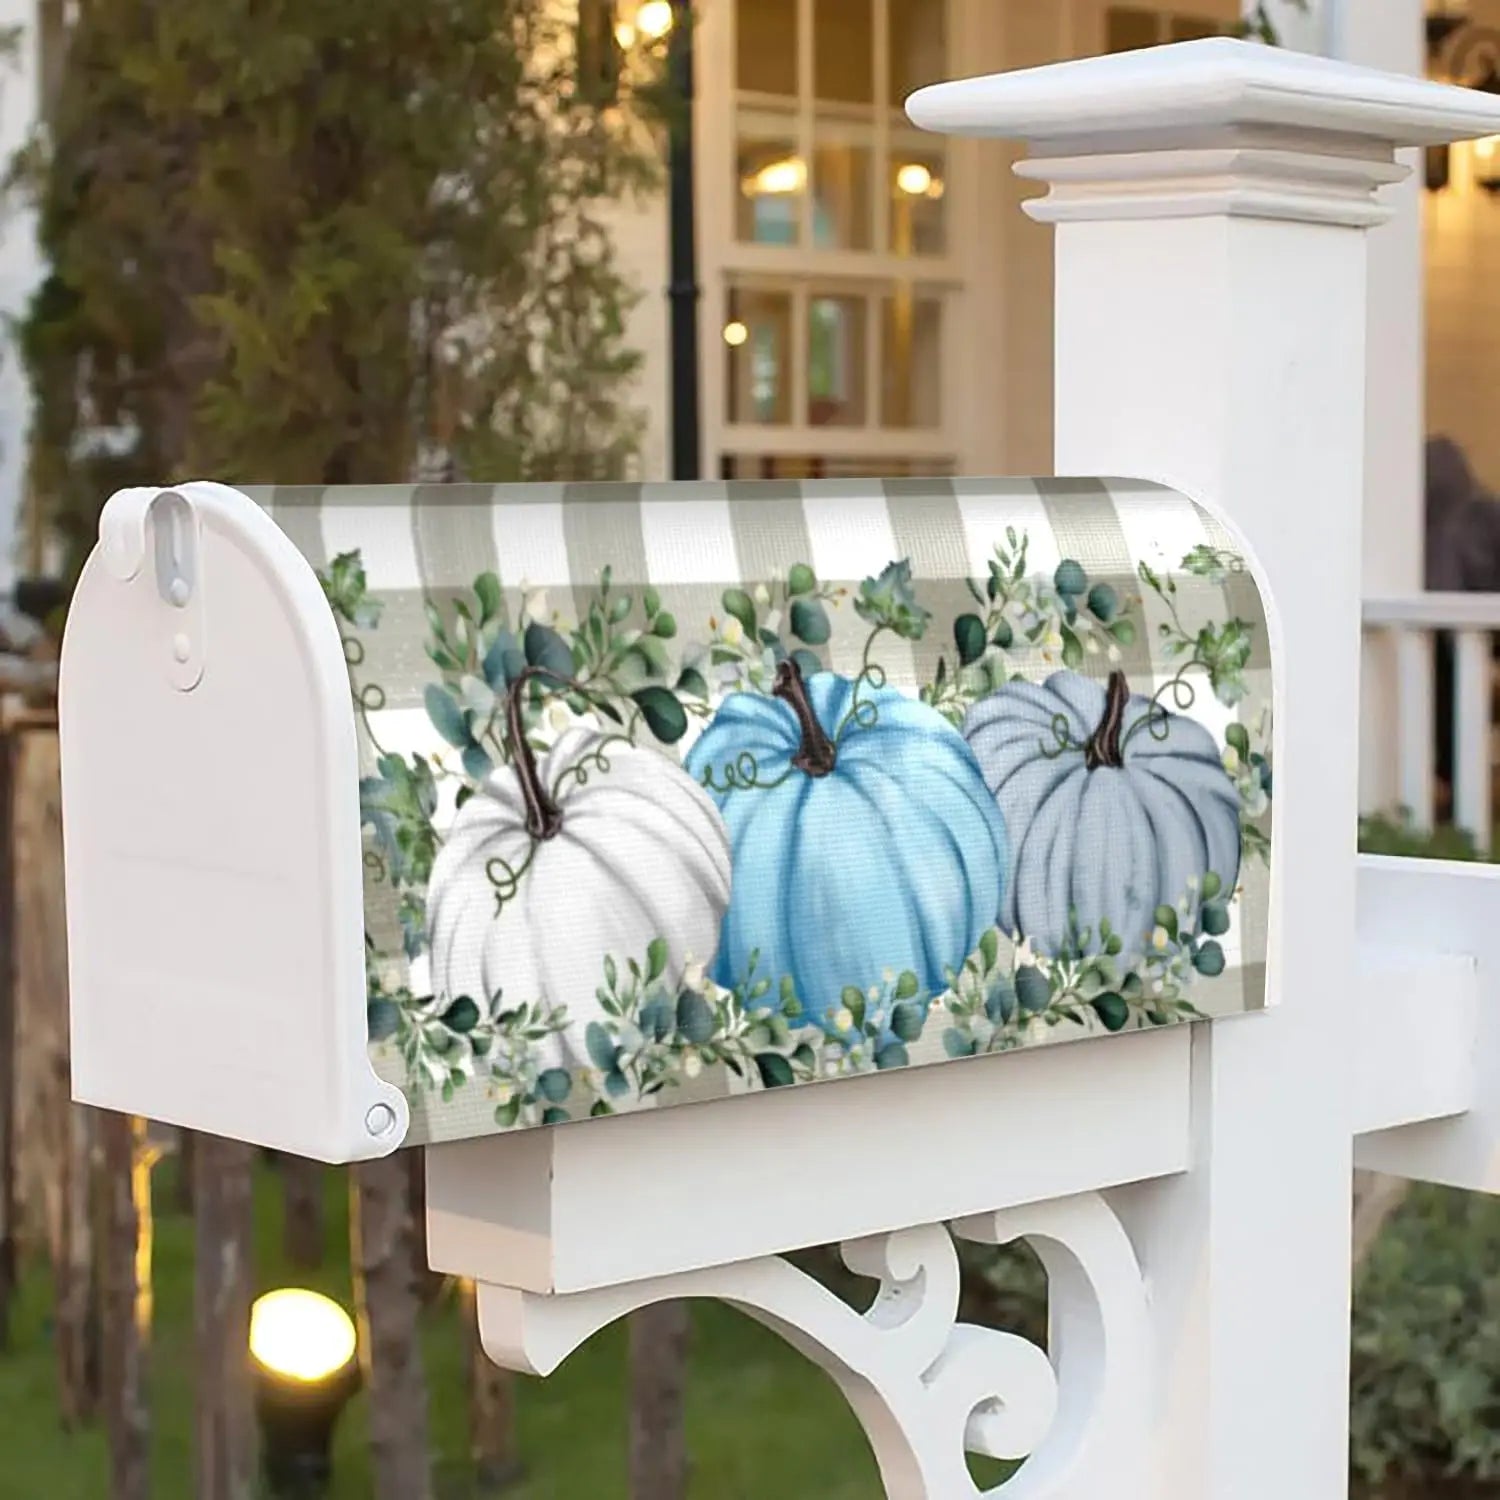
These covers come in a variety of designs and materials, providing a myriad of options for homeowners. Whether you're going for a seasonal theme, patriotic display, or want to show support for your favorite sports team, there's a mailbox cover for you.
Why You Should Consider Adding a Mailbox Cover
Now, you might be wondering, why should you invest in a mailbox cover? Well, its importance and benefits extend beyond aesthetics.
Firstly, mailbox covers protect your mailbox from adverse weather conditions. If your mailbox is not weather-resistant, it may rust or deteriorate over time. A mailbox cover can save you from the cost of replacing your mailbox frequently.
Secondly, it can help limit the access of pests like bees or bugs. Most importantly, a mailbox cover is an excellent way to showcase your personal style. It's an opportunity to create a statement piece that enhances the beauty of your home and yard.
How to Choose the Perfect Mailbox Cover
Choosing the perfect mailbox cover may seem daunting, given the wide range of options available. However, by considering a few factors, you can make the task much more straightforward.
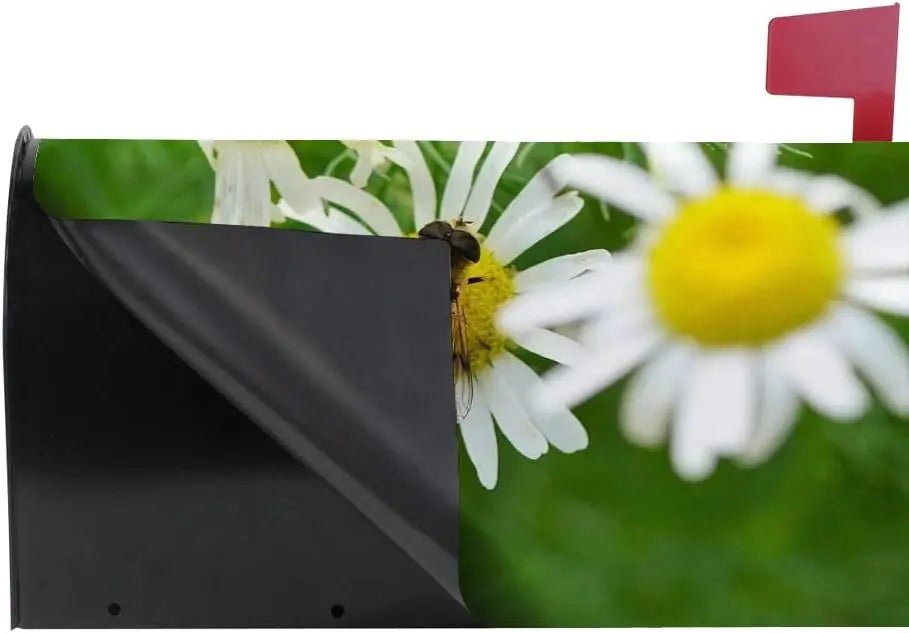
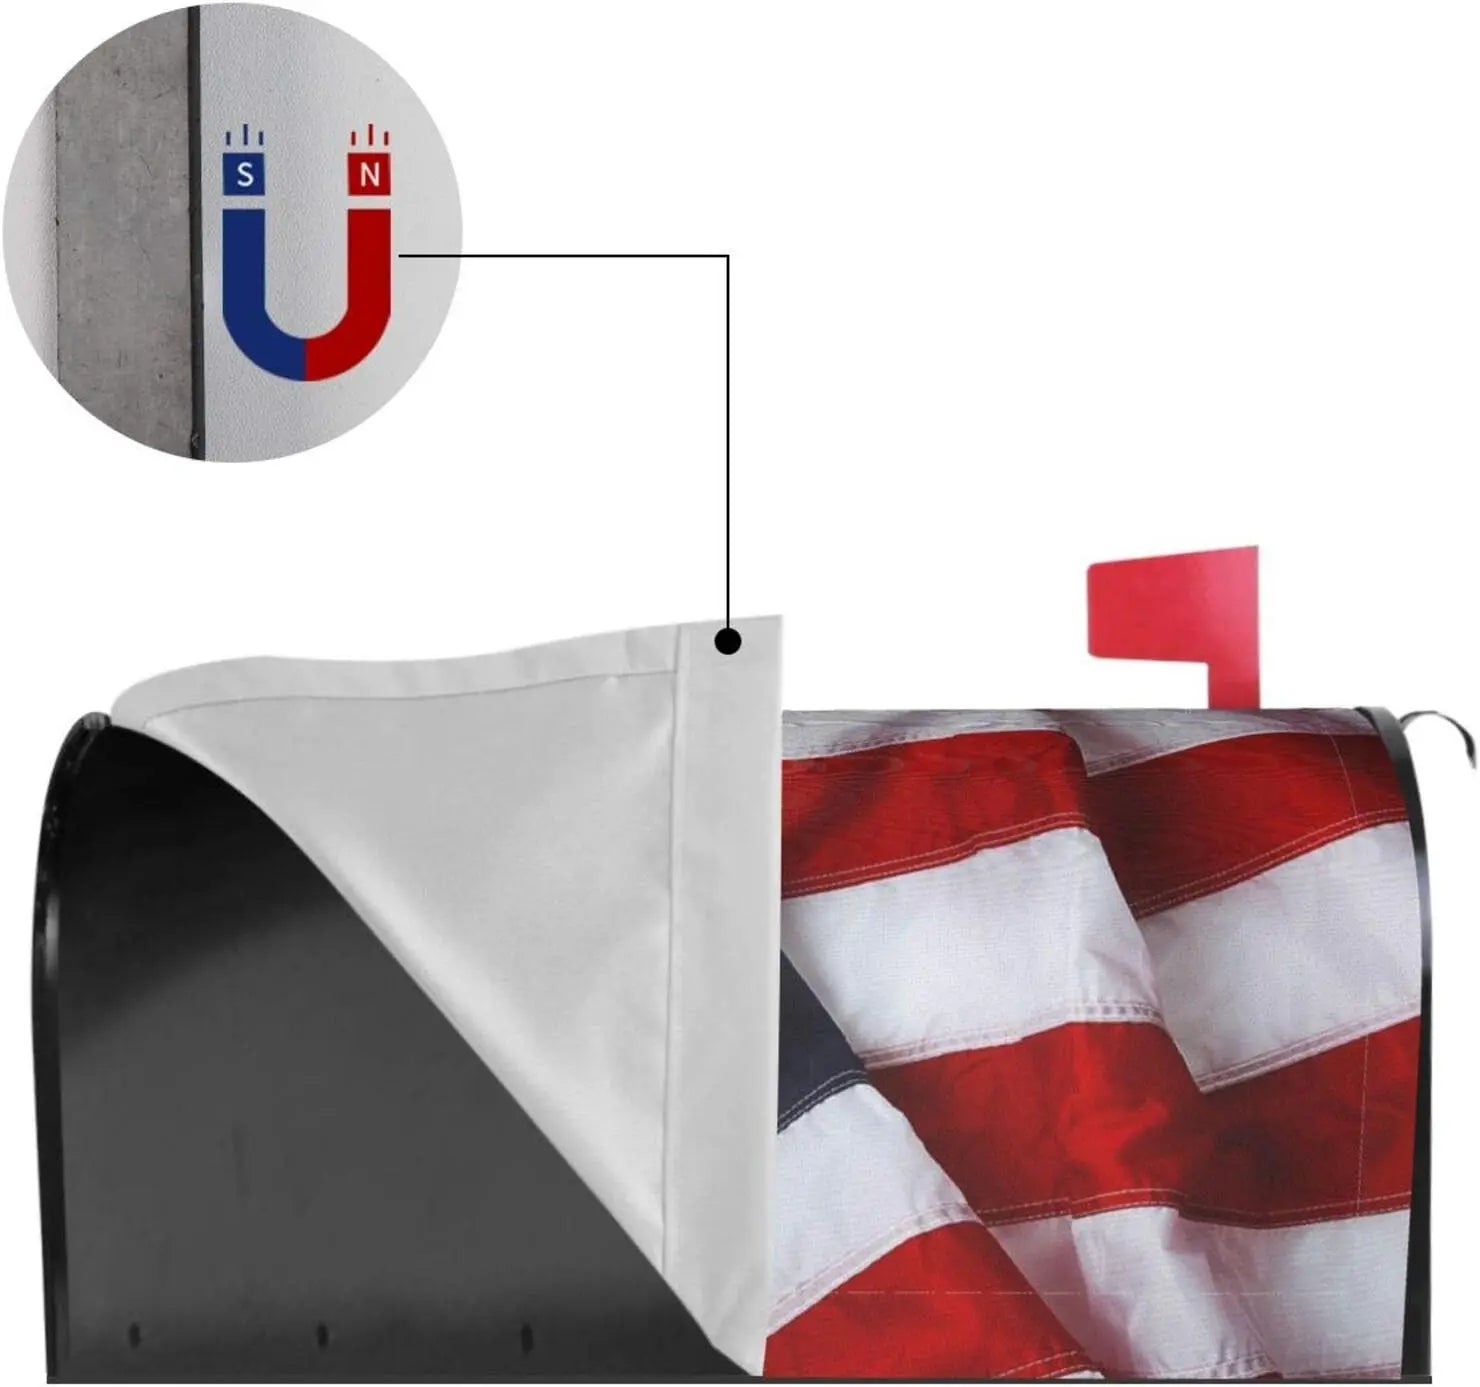
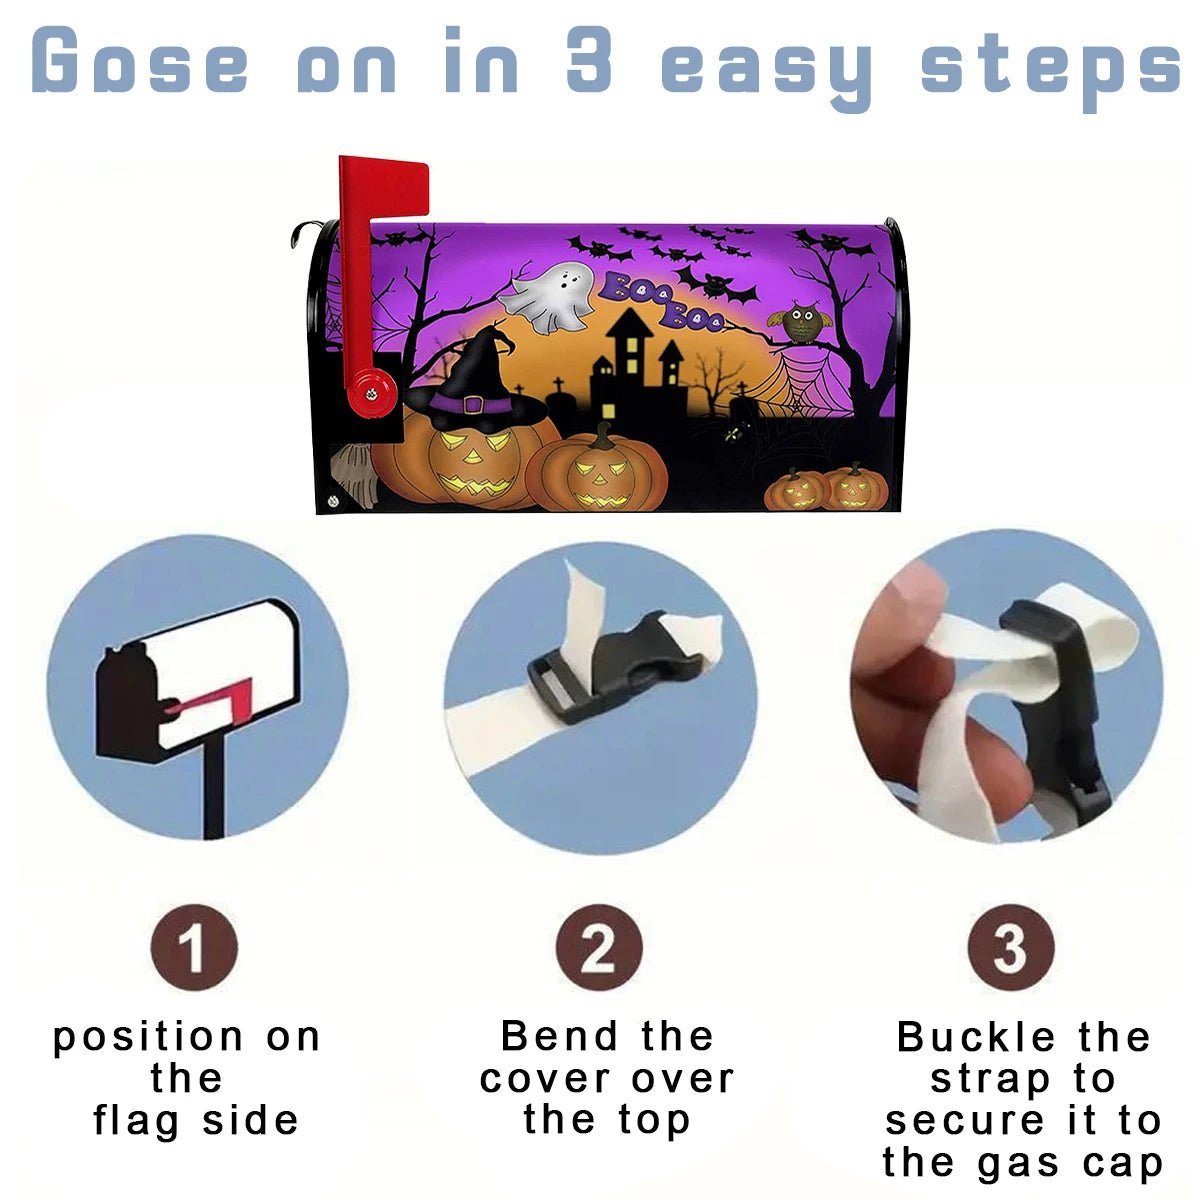
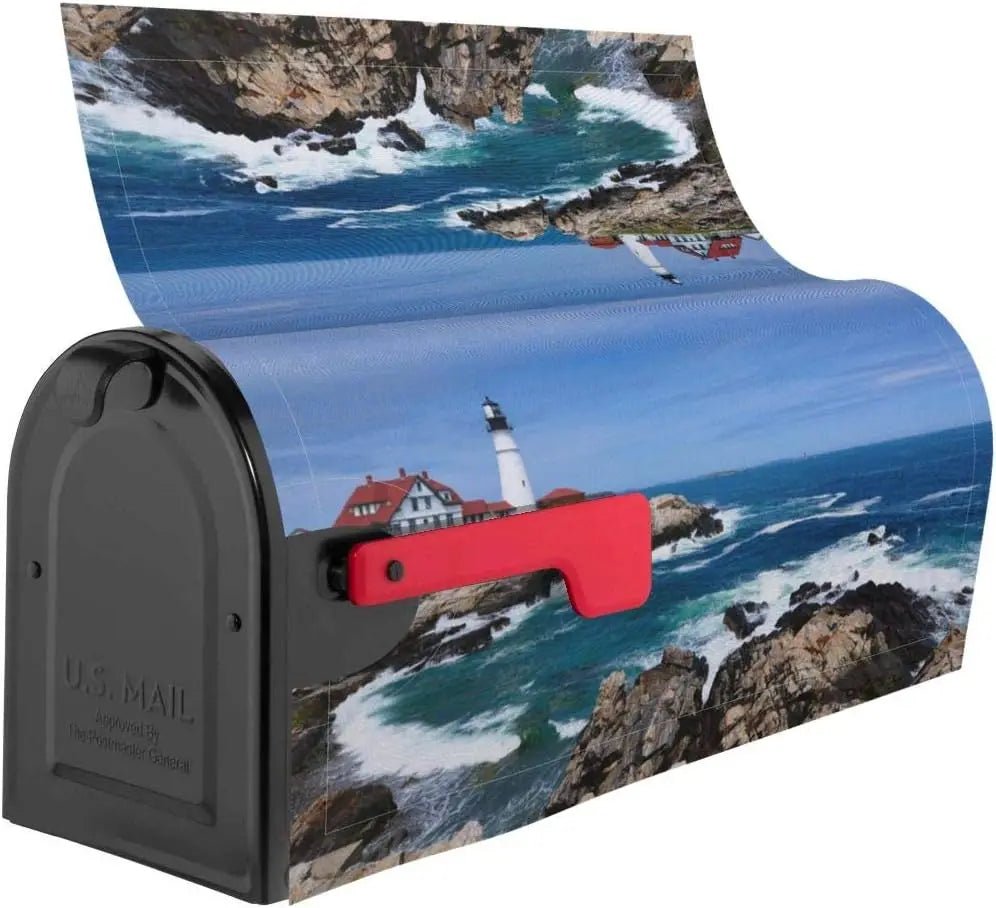
Firstly, consider the material of the cover. They're typically made from vinyl or magnetic materials. Vinyl covers are durable and resistant to fading and weathering. On the other hand, magnetic covers are easy to install and remove, making them ideal for seasonal themes.
The design of the cover is another important factor. Choose a design that complements your home's exterior and reflects your personality. You can go for a simple, understated design or choose a bold, vibrant pattern depending on your preference.
Lastly, think about the size of the cover. Ensure that the cover you choose fits your mailbox perfectly.
Maintaining Your Mailbox Cover
Once you've chosen your mailbox cover, it's crucial to maintain it properly to ensure its longevity. Most mailbox covers are easy to clean and maintain. For vinyl covers, simply wipe them with a damp cloth. For magnetic covers, remove them periodically and clean the mailbox and the cover separately.
Avoid using harsh chemicals or abrasive cleaners, as these could damage the cover. If your cover starts to look worn out, consider replacing it. Regular maintenance will keep your mailbox cover looking fresh and bright for a long time.
In conclusion, a mailbox cover is a simple yet effective way to add personality and charm to your home's exterior while protecting your mailbox from damage. Whether you opt for a vinyl or magnetic cover, a simple or vibrant design, remember that the best mailbox cover is one that reflects your unique style and complements your home. So go ahead, explore the wide range of mailbox covers available, and transform your mailbox from drab to fab!
Mailbox post
In today's digital world, we often overlook the importance of the humble mailbox post, a critical element of our everyday correspondence infrastructure. Beyond its functional role, a mailbox post can enhance your property's curb appeal, convey your personal style, and even comply with local regulations. This guide will walk you through everything you need to know about selecting and installing the perfect mailbox post for your home.
The Importance of Selecting the Right Mailbox Post
Choosing the right mailbox post is more than a mere aesthetic decision—it's a functional necessity. Mailboxes are the initial point of contact for receiving mail and parcels, and their posts must be sturdy enough to withstand the elements and any external pressure. Moreover, a well-chosen mailbox post can significantly boost your property’s visual appeal and market value.
Firstly, consider the material of the post. Common options include wood, metal, and plastic. Each has its pros and cons. Wooden posts offer a classic look but may require more maintenance. Metal posts, often made from aluminum or steel, provide durability and a modern aesthetic but can be prone to rust if not properly coated. Plastic posts are lightweight and resistant to weather but may not offer the same level of durability as metal.
Next, think about the design and color. The post should complement the style of your home. For a modern home, a sleek, metal post might be ideal. For a traditional or rustic home, a wooden post with a natural finish could be more appropriate. The color should also align with your home’s exterior. Black, white, and neutral tones are versatile choices that suit most styles.
Lastly, don’t forget about the regulations. Local postal regulations often dictate certain standards for mailbox posts, such as height and distance from the road. Ensure you check these before making a purchase to avoid any compliance issues. Want to change your mailbox ? Then check out our modern mailbox
Installing Your Mailbox Post: A Step-by-Step Guide
Once you've selected the perfect mailbox post, the next step is installation. Proper installation ensures that your mailbox remains upright, secure, and accessible for both you and your mail carrier.
Tools and Materials Needed
Before you begin, gather the necessary tools and materials:
- Shovel or post hole digger
- Level
- Tape measure
- Concrete mix
- Gravel
- Screws and screwdriver
- Protective gloves
Step-by-Step Process
-
Choose the Location: Select a location that complies with local postal guidelines. Typically, the mailbox should be positioned such that the bottom is 41 to 45 inches above the ground and set back 6 to 8 inches from the curb.
-
Dig the Hole: Use a shovel or post hole digger to create a hole approximately 2 feet deep and 8 inches in diameter.
-
Prepare the Base: Pour about 6 inches of gravel into the bottom of the hole. This provides a stable base and helps with drainage.
-
Set the Post: Place the post in the hole. Make sure it is straight and level by using a carpenter’s level.
-
Mix and Pour Concrete: Prepare the concrete mix according to the instructions. Pour the concrete into the hole, around the post, up to ground level. Use your level to ensure the post remains straight as the concrete sets.
-
Allow the Concrete to Set: Let the concrete cure for at least 24 hours before proceeding to the next steps.
-
Attach the Mailbox: Once the concrete has set, attach the mailbox to the post using screws. Most mailbox kits come with pre-drilled holes and screws for this purpose.
-
Check the Height and Alignment: Ensure the mailbox is at the correct height and aligned properly.


