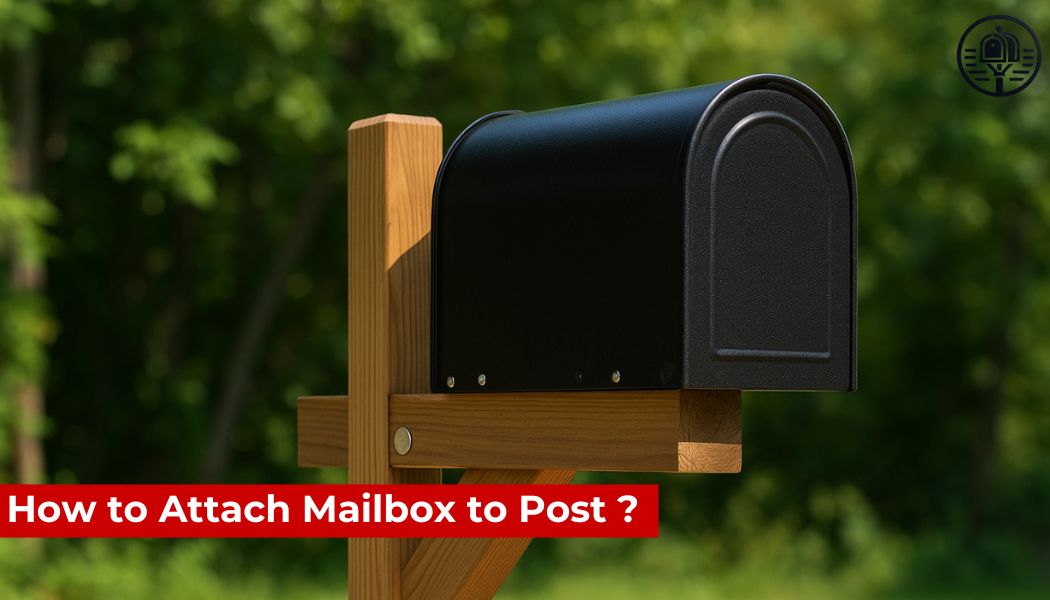
Installing a mailbox may seem like a straightforward task, but doing it correctly ensures durability, functionality, and compliance with USPS regulations. Whether you’re replacing an old unit or setting up a new one, knowing how to attach a mailbox to a post properly can save you time, frustration, and costly repairs down the line.
This guide walks you through the tools, materials, installation process, and best practices for securing your mailbox to a post safely and securely.
Choosing the Right Mailbox and Post
Before starting, make sure you have the correct mailbox and post combination. Mailboxes come in standard sizes and materials, and the post can be made of wood, metal, or plastic. Most residential boxes are curbside mailboxes, which are either top-mounted or side-mounted.
Make sure the mailbox and post you choose are USPS-approved and compatible with each other. Some mailbox kits come with mounting brackets, while others may require separate hardware.
Tools and Materials You’ll Need
To attach a mailbox to a post, you’ll typically need the following:
-
Drill and drill bits
-
Screws or bolts (usually provided with the mailbox)
-
Screwdriver
-
Level
-
Measuring tape
-
Mounting bracket (if required)
-
Wood shims or washers (optional, for leveling)
If you're installing the post into the ground, you may also need concrete, a post hole digger, and gravel for proper anchoring.
USPS Installation Requirements
Before mounting the mailbox, ensure the post is placed according to USPS guidelines:
-
The bottom of the mailbox should be 41–45 inches above ground level
-
The front of the mailbox should be 6–8 inches back from the curb or road edge
-
The post should be stable but breakaway in case of impact (e.g., wooden 4"x4" or steel pipe with a diameter of 2")
Proper placement ensures mail carrier accessibility and compliance with postal standards.
Step-by-Step: How to Attach Mailbox to Post
Step 1: Position the Post
If you're installing a new post, dig a hole about 2 feet deep. Place the post and fill the base with gravel for drainage. Use fast-setting concrete to stabilize the post and allow it to cure for at least 24 hours.
Ensure the post is perfectly vertical using a level, as this will affect how the mailbox sits.
Step 2: Mark Mounting Holes
Place the mailbox on top of the post to identify where the mounting holes align. Most mailboxes have pre-drilled holes on the bottom or side. Mark the corresponding points on the post with a pencil.
If your post uses a mounting bracket, attach the bracket first and then mark where the mailbox will sit.
Step 3: Drill Pilot Holes
Using the marks as a guide, drill pilot holes into the post. This prevents the wood from splitting and makes it easier to drive in screws.
For metal posts, use a metal drill bit and wear safety glasses.
Step 4: Attach the Mailbox
Align the mailbox with the pilot holes or mounting bracket. Insert screws or bolts and tighten securely with a screwdriver or drill. Check for stability and ensure the mailbox doesn't wobble.
Make sure the door opens and closes smoothly, and the mailbox is level from all angles. Use wood shims or washers if needed for minor adjustments.
Step 5: Final Inspection
Step back and inspect the installation. Confirm the mailbox height, position from the curb, and that it is securely attached. If you’re uncertain, compare your setup to nearby mailboxes or consult your local post office.
Tips for a Professional Finish
-
Weatherproof materials: Use galvanized or stainless steel screws to prevent rust.
-
Use a mailbox mounting board: A pressure-treated wood platform can create a level base.
-
Seal the wood: Apply a wood sealant to protect wooden posts from rot and insects.
-
Double-check alignment: A level mailbox looks better and operates more smoothly.
Common Mistakes to Avoid
-
Using the wrong size screws or not pre-drilling holes, leading to cracks
-
Attaching a mailbox without verifying USPS height and setback requirements
-
Over-tightening bolts, which can damage plastic or metal mailboxes
-
Mounting the mailbox without a bracket when one is required for stability
Avoiding these mistakes ensures a secure and long-lasting installation.
When to Replace Your Mailbox or Post
If your mailbox is rusted, dented, or broken, or the post is rotting or unstable, it’s time for a replacement. Modern mailboxes are more durable, often made with weather-resistant finishes, and may include features like locking mechanisms or larger capacities for packages.
Upgrading also gives you a chance to improve curb appeal with decorative options that still meet USPS standards.
FAQ: How to Attach Mailbox to Post
Q: Do I need special tools to attach a mailbox?
A: Basic tools like a drill, screwdriver, and level are usually sufficient. A mounting bracket may also be needed depending on your mailbox model.
Q: Can I attach a mailbox to a metal post?
A: Yes, use metal-specific drill bits and fasteners. Make sure the mailbox is compatible with your metal post setup.
Q: Is it okay to screw directly into the post?
A: Yes, but always drill pilot holes first to avoid splitting the wood or weakening the post.
Q: Do I need to use a mounting bracket?
A: Some mailboxes require a mounting bracket for proper fit and stability. Check your product instructions.
Q: What if the mailbox doesn’t sit level?
A: Use shims or washers to level the mailbox. Re-check alignment with a level before tightening the screws.
Q: How do I know if my mailbox is USPS approved?
A: Look for a label that says “USPS Approved” on the packaging or consult your local post office.
Q: Can I use nails instead of screws?
A: It’s not recommended. Screws provide a more secure, durable hold, especially for outdoor installations.
Q: Can I paint the mailbox and post after installation?
A: Yes, as long as the mailbox remains clearly labeled and functional, and the paint is weather-resistant.

