
Mounting a mailbox may seem like a simple task, but it plays a critical role in both your home’s curb appeal and mail delivery reliability. Whether you're replacing an old mailbox or installing a new one, knowing how to mount a mailbox to a wooden post correctly ensures long-lasting stability and compliance with USPS regulations.
In this guide, we’ll walk you through the step-by-step process of mounting your mailbox, including the tools you’ll need, proper measurements, installation techniques, and common mistakes to avoid. If you don’t have a mailbox post yet, no worries—you can find a selection of high-quality, durable mailbox posts right here on our website. Whether you’re looking for a classic wooden post or a modern design that complements your home, we offer a variety of styles to match your needs and ensure a secure, USPS-compliant installation.
Why Proper Installation Matters
Before diving into the installation process, it’s important to understand why correctly mounting a mailbox to a wooden post is essential:
-
USPS Compliance: A correctly installed mailbox ensures mail carriers can deliver efficiently and safely.
-
Weather Resistance: Proper installation protects your mailbox from wind, rain, and snow damage.
-
Durability: A secure mount prevents wobbling or collapse over time.
-
Curb Appeal: A neatly mounted mailbox enhances your home’s exterior appearance.
Tools and Materials You’ll Need
Before you begin, gather the following tools and supplies:
-
Mailbox (compatible with post mounting)
-
Treated wooden post (usually 4x4 inches)
-
Mounting bracket or mailbox board (optional but helpful)
-
Wood screws or lag bolts
-
Power drill and screwdriver bit
-
Level
-
Measuring tape
-
Pencil or marker
-
Shovel and concrete (if installing the post too)
Having everything ready will make the process faster and more efficient.
Step 1: Check USPS Requirements
Before installing your mailbox, consult the United States Postal Service guidelines to avoid issues with delivery. The standard recommendations include:
-
Mailbox height: 41 to 45 inches from the ground to the bottom of the mailbox
-
Mailbox setback: 6 to 8 inches from the curb or road edge
-
Accessibility: Ensure the door opens freely and the mail carrier can reach it from their vehicle
Adhering to these rules ensures compliance and avoids the need for reinstallation.
Step 2: Prepare the Wooden Post
If your wooden post is not yet installed:
-
Dig a hole approximately 20–24 inches deep.
-
Position the post vertically using a level.
-
Pour concrete around the base for stability.
-
Allow 24–48 hours for the concrete to cure fully before mounting your mailbox.
If the post is already installed, ensure it’s straight and securely set in the ground.
Step 3: Determine Mounting Method
There are typically two ways to mount a mailbox to a wooden post:
-
Direct mounting: Attaching the mailbox directly to the flat top of the post using screws.
-
Using a mounting board: Attaching a horizontal board to the top of the post for added stability and easier mounting.
We recommend using a mounting board for a cleaner, more secure installation—especially with larger mailboxes.
Step 4: Position the Mailbox
Place the mailbox on the post or mounting board and center it. Use a pencil or marker to trace the locations of the mounting holes onto the wood. Make sure the mailbox is aligned and level.
Tip: Use a spacer or washers if needed to adjust the angle or compensate for uneven wood surfaces.
Step 5: Drill Pilot Holes
Using a drill bit slightly smaller than your screws, drill pilot holes into the marked spots. This helps prevent wood splitting and makes the installation process smoother.
Make sure the drill goes deep enough to accommodate the length of the screws or bolts you'll use.
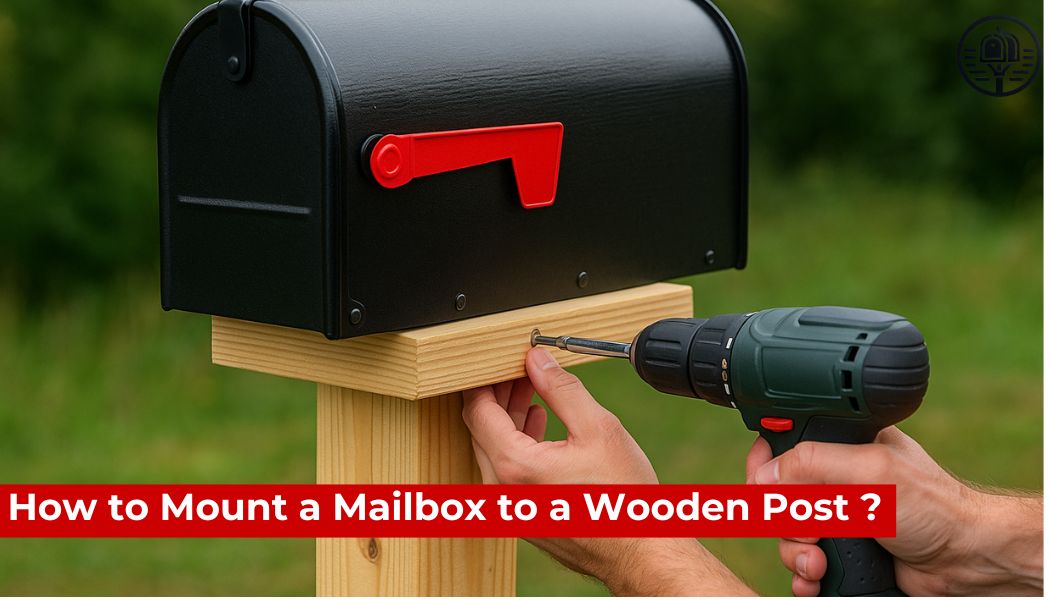
Step 6: Secure the Mailbox
Using wood screws or lag bolts:
-
Align the mailbox with the pilot holes.
-
Insert screws and tighten them with a power drill or screwdriver.
-
Check alignment with a level and adjust if necessary.
Ensure the mailbox feels stable and does not rock or shift when touched.
Step 7: Test Functionality
Before wrapping up:
-
Open and close the mailbox door to make sure it works smoothly.
-
Ensure the flag (if applicable) moves freely and is visible from the road.
-
Step back and verify the height, distance from the curb, and overall positioning.
A quick test ensures everything is functioning as it should and meets local postal standards.
Maintenance Tips
To keep your mailbox and wooden post in great shape:
-
Apply a waterproof sealant to the post annually
-
Use galvanized or stainless steel screws to prevent rust
-
Inspect for wobbling or rot every few months
-
Clean dirt, snow, and debris off the mailbox regularly
These steps will extend the life of your installation and maintain a polished appearance.
Common Mistakes to Avoid
When learning how to mount a mailbox to a wooden post, steer clear of these common errors:
-
Incorrect height or distance from the road (check USPS guidelines)
-
Using untreated wood that may rot prematurely
-
Skipping pilot holes, which can cause the wood to split
-
Over-tightening screws, which can damage the mailbox
Double-check measurements and follow best practices to avoid these issues.
FAQ
Do I need a mounting bracket to install a mailbox on a wooden post?
No, but using a mounting bracket or board can make the installation easier and more stable, especially for larger or heavier mailboxes.
What type of screws should I use?
Use galvanized or stainless steel wood screws that are long enough to secure the mailbox but not so long they protrude through the other side.
Can I mount any mailbox to a wooden post?
Most standard mailboxes are designed for post mounting, but always check the manufacturer’s specifications before purchasing.
How long should the post be above ground?
The top of the mailbox should be 41–45 inches above ground level. This typically means about 24–30 inches of post should remain above ground.
Do I need concrete to install the post?
Concrete is recommended for stability, especially in areas with high winds, loose soil, or heavy snow.