Replacing an old or damaged mailbox may seem like a minor task, but it plays a big role in improving your home’s appearance, functionality, and security. Whether your current mailbox is rusted, outdated, or simply doesn’t match your home’s aesthetic anymore, installing a new one can make an immediate difference.
This guide will walk you through the process of how to replace a mailbox — from removal to installation — with simple, professional advice for homeowners of all experience levels.
Why Replace Your Mailbox?
There are several reasons why homeowners decide to change their mailbox. The most common include:
-
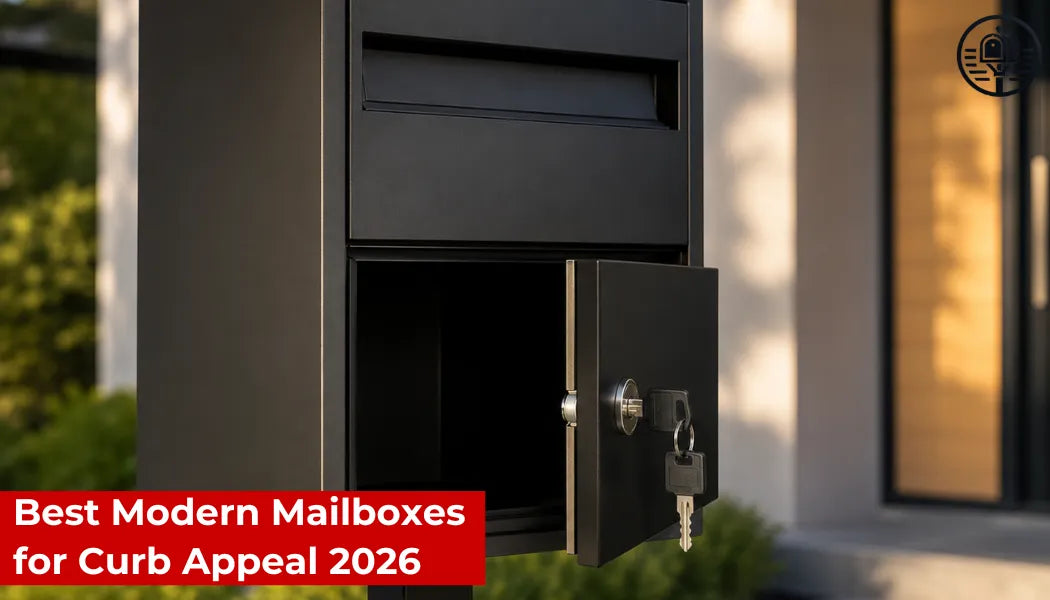
Curb appeal: A new, modern mailbox enhances the visual appeal of your front yard.
-
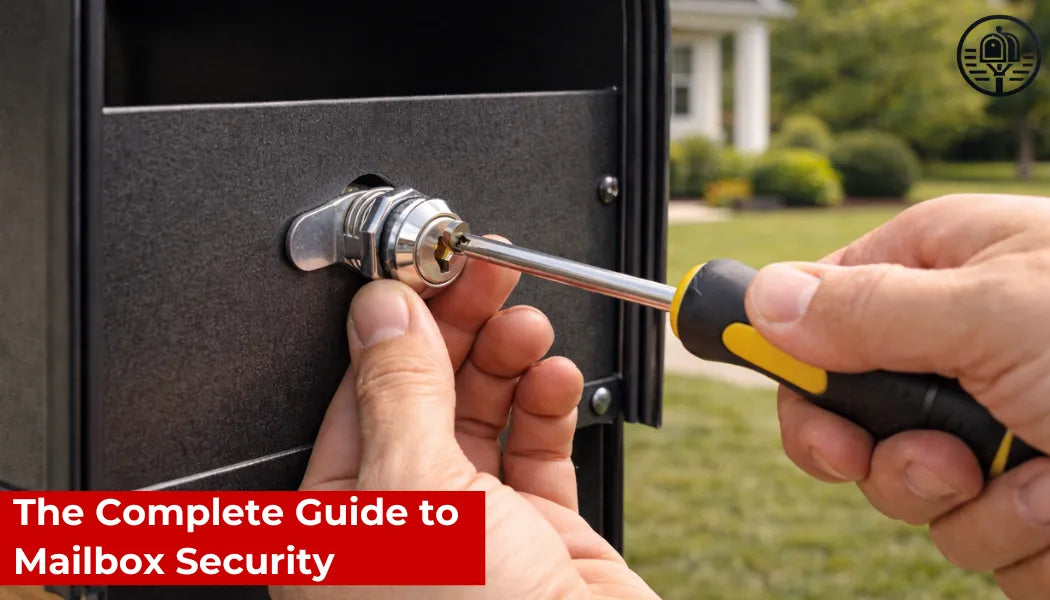
Security: Older mailboxes may not offer the protection needed to keep your mail safe.
-
Damage: Rust, weather, or accidents can weaken or destroy your current box.
-
USPS Compliance: Outdated mailboxes may not meet current size or placement regulations.
Upgrading to a modern mailbox solves all these issues in one easy project.
Tools and Materials You’ll Need
Before starting, gather the necessary tools and supplies. These may vary depending on the type of mailbox you’re installing (wall-mounted or post-mounted), but generally include:
-
New mailbox (preferably a modern metal mailbox)
-
New mailbox post (if required)
-
Shovel or post-hole digger (for post-mounted mailboxes)
-
Level
-
Measuring tape
-
Screwdriver or power drill
-
Screws or mounting hardware
-
Fast-drying concrete (for post installation)
Many mailbox kits include the hardware needed for installation, especially those found in quality collections like the Modern Mailbox Collection.
Step 1: Remove the Old Mailbox
If you already have a mailbox in place, begin by removing it.
-
For a wall-mounted box, unscrew it from the surface.
-
For a post-mounted mailbox, detach the mailbox from the post. If the post is also damaged or outdated, remove it by digging around its base and pulling it out. You may need to break up any old concrete around the post.
Dispose of the old mailbox and post responsibly by recycling the materials if possible.
Step 2: Prepare the New Mailbox Site
If you’re installing a post-mounted mailbox, follow USPS guidelines:
-
The bottom of the mailbox should be 41–45 inches above ground level.
-
The front of the mailbox should be set back 6–8 inches from the curb.
Use a measuring tape and level to mark the location. Dig a hole approximately 20–24 inches deep and 6–8 inches wide. Make sure the hole is straight and centered to ensure a stable installation.
Step 3: Install the Mailbox Post
Place the new post in the hole and use a level to make sure it stands perfectly vertical. Pour in fast-setting concrete around the base and allow it to cure (usually 20–40 minutes depending on the product). Check alignment once more before it sets completely.
If you're installing a modern mailbox post, it may include adjustable brackets and height markers, making setup even easier.
Step 4: Mount the New Mailbox
Once the post is secure, you can attach the new mailbox using the provided hardware. Most modern mailboxes include pre-drilled holes and a mounting bracket to simplify this step.
If you’re installing a wall-mounted mailbox, position it near your front door or entryway, making sure it’s accessible for your mail carrier. Use a level to ensure it’s straight before securing it with screws.
Double-check the alignment and security of all fasteners to avoid future wobbling or wear.
Step 5: Test and Register
Open and close the mailbox door to make sure it operates smoothly. Confirm that it’s easy to access and doesn’t block walkways or driveways.
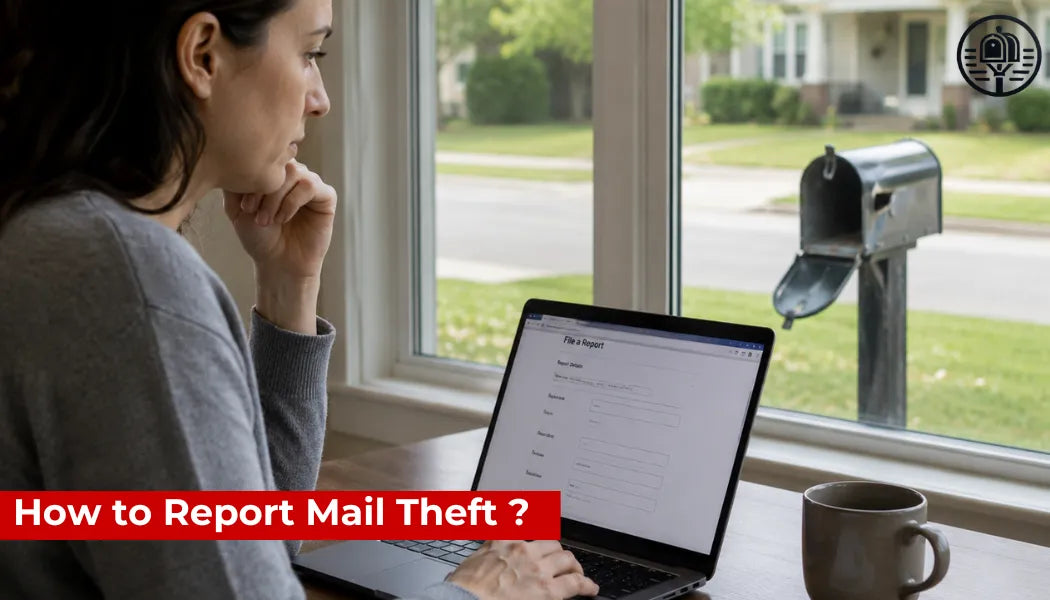
If required, notify the USPS that you’ve installed a new mailbox. Some neighborhoods or subdivisions may also have HOA rules to follow.
Once everything is set, enjoy your upgraded mailbox — especially if you’ve chosen a sleek, secure option from our Modern Mailbox Collection, designed to combine style and functionality.
Tips for Choosing the Right Replacement Mailbox
When choosing your new mailbox, keep these factors in mind:
-
Material: Opt for metal options like galvanized steel or aluminum for maximum durability.
-
Security: Look for a locking mailbox to protect against mail theft.
-
Design: Choose a model that fits the style of your home — modern, classic, or rustic.
-
Mount Type: Decide between post-mounted or wall-mounted based on your home layout and USPS accessibility.
Modern mailboxes are now available in various finishes, colors, and sizes, making it easy to find one that suits your needs and enhances your home's exterior.
Maintenance Tips
Once your new mailbox is installed, it requires very little upkeep. However, to ensure it stays in great shape:
-
Wipe it down monthly to remove dirt and debris.
-
Check for loose screws or rust every few months.
-
Lubricate the hinges or lock if needed.
A well-maintained mailbox reflects a tidy, well-cared-for home.
Frequently Asked Questions (FAQ)
How often should I replace my mailbox?
On average, a mailbox should be replaced every 10–15 years, or sooner if it becomes damaged, rusted, or difficult to open and close.
Do I need permission to replace my mailbox?
In most cases, no. However, some HOAs or gated communities may require approval for mailbox style or placement. Always check local regulations.
Can I install a new mailbox on an existing post?
Yes, if the post is in good condition and matches your new mailbox’s mounting requirements. However, for the best fit and appearance, a new post is recommended.
Are modern mailboxes USPS-compliant?
Yes, most modern mailboxes — especially those sold through reputable retailers — are USPS-approved and meet all size and placement guidelines.
Should I choose a locking mailbox?
If you receive sensitive mail or small packages, a locking mailbox adds an extra layer of protection and is highly recommended.