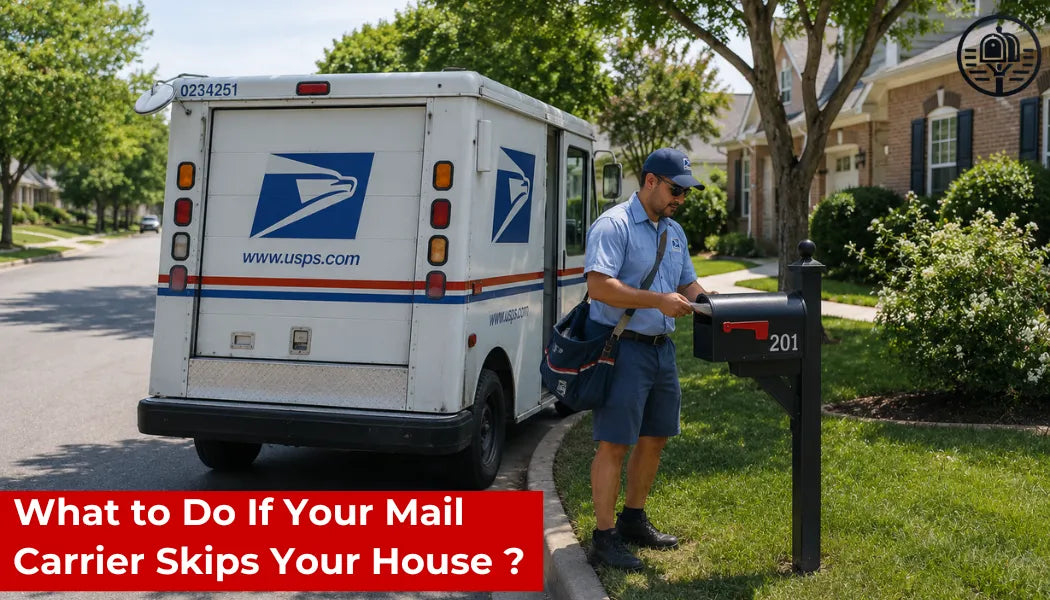
Replacing a mailbox on an existing post takes 20 minutes and costs $60 to $150 for the new mailbox. The post stays in the ground — you remove the old box from its mounting bracket, check the post and bracket condition, and secure the new box in place. No digging, no concrete, no post-setting required.
Here's the complete process, how to choose a compatible replacement, and when the post itself needs attention before you install anything new.
When to Replace the Box vs the Entire Setup
Replacing only the mailbox makes sense when the post is structurally sound — plumb, stable when pushed firmly from multiple directions, with no visible rot at ground level for wooden posts or no severe rust at the base for metal posts.
Check the post before ordering a new mailbox. Push it firmly from each side — it should not move more than 1 to 2 inches at the top. For wooden posts, press a screwdriver firmly into the wood at ground level — if it penetrates easily or the wood crumbles, the post has rot and needs replacement regardless of what you do with the mailbox. For metal posts, check the base where it meets the ground for rust pitting or structural corrosion.
If the post passes these checks, you're doing a mailbox-only replacement. If not, replacing just the mailbox puts a new box on a failing foundation — it'll look good for 6 months then lean or fall. Address the post first.
📬 Upgrading the whole setup? If your post needs replacement alongside the mailbox, our mailbox post collection includes post-and-mailbox combinations designed to work together — matching hardware, compatible mounting brackets, and coordinated finishes. Replacing both at once is a single afternoon project that sets up the installation for 10+ years.

Step 1 — Measure Before You Order
This is the step most people skip and regret. Mailboxes are not universally compatible with all post mounting systems. Order the wrong size and you have a box that either doesn't fit the bracket or overhangs it dangerously.
Three measurements to take before ordering :
Mounting bracket width — measure the width of the arm or platform at the top of your post where the mailbox sits. This is your maximum mailbox base width. A mailbox narrower than the bracket is fine — a mailbox wider than the bracket has no support under its sides.
Post arm length — the horizontal distance from the post to where the mailbox door will face the street. Standard arms are 12 to 18 inches. This determines how far from the post your mailbox door sits and whether it clears the post when the door is opened.
Current mailbox dimensions — measure the existing box (length, width, height) as a reference point. If it fit correctly on the post, a new box with similar or slightly different dimensions will work. Dramatic size changes may require bracket adjustment.
Also verify your post height still meets USPS requirements — the bottom of the new mailbox must sit 41 to 45 inches from the road surface. If the old box was a different height than the new one, the post arm may need adjustment to keep the new box in the compliant range. See our full guide on how high a mailbox should be for the complete measurement instructions.
Step 2 — Remove the Old Mailbox
Open the mailbox door fully. Look for mounting screws — they're typically on the bottom of the mailbox, passing through the box floor into the mounting bracket or post arm. Standard installations use 2 to 4 screws, usually Phillips or hex head.
Remove the screws and lift the mailbox straight up off the bracket. Most mailboxes simply rest on the bracket and are held only by the mounting screws — with screws removed, the box lifts free in one motion.
If screws are rusted and won't turn, apply penetrating oil (WD-40 or equivalent) and let it dwell for 15 minutes. If screws are completely seized, drill them out with a metal drill bit slightly smaller than the screw head diameter.
Once the old box is off, inspect the mounting bracket or post arm. Look for rust, cracks, or bent metal. A bracket in poor condition should be replaced before the new box goes on — a $10 to $20 bracket replacement now prevents the new mailbox from failing prematurely.
Step 3 — Prepare the Mounting Surface
With the old box removed, clean the mounting bracket surface of any rust, old caulk, or debris. A wire brush and a light coat of rust-inhibiting spray on any metal surfaces prevents corrosion from spreading to the new hardware.
If the bracket has pre-drilled holes that don't align with your new mailbox's mounting holes, you have two options. First, check if your new mailbox came with a mounting template or adjustable bracket — many modern mailboxes include hardware for different post configurations. Second, use a metal drill bit to add new holes to the bracket at the correct spacing — a 5-minute modification that ensures a secure mount.
Check the bracket's stability on the post. If it wobbles or isn't firmly secured, tighten its attachment to the post before proceeding. A loose bracket means a loose mailbox regardless of how securely you mount the box itself.
🛠️ Post arm adjustment for height compliance If your new mailbox is taller or shorter than the old one, you may need to adjust the post arm height to keep the mailbox bottom in the 41 to 45 inch range from road surface. Most adjustable post arms have multiple bolt holes at different heights — loosening two bolts, sliding to the correct position, and retightening takes under 5 minutes. Fixed post arms may require a shim or spacer block to raise a shorter mailbox.
Step 4 — Install the New Mailbox
Position the new mailbox on the bracket with the door facing the street and the flag bracket on the right side (facing traffic). Align the mounting holes in the mailbox base with the bracket holes — most mailboxes have pre-drilled holes in their bottom panel designed for standard post mounting.
Insert the mounting screws and tighten progressively — start all screws hand-tight before tightening any fully. This ensures the box sits flat and level on the bracket before you lock it in place. Check level with a small bubble level on the mailbox top — a level box opens and closes correctly and sheds water properly from the roof.
Apply a small bead of outdoor silicone sealant around the mounting screw heads if your climate gets heavy rain or snow — this prevents water from wicking through the screw holes into the mailbox floor and causing internal rust over time.

Step 5 — Final Checks
Verify three things before considering the installation complete.
Height compliance — measure from road surface to mailbox bottom. Must be 41 to 45 inches. If not, adjust the post arm or bracket height.
Door function — open and close the mailbox door 5 to 10 times. It should open smoothly, close fully, and seal properly. A door that doesn't close flush allows water ingress and mail exposure.
Flag function — raise and lower the flag through its full range. It should sit clearly in both positions — raised meaning outgoing mail, lowered meaning no outgoing mail — with no obstruction from the mailbox body or post.
Transfer your address numbers from the old box to the new one, or install new numbers. USPS requires a minimum of 1 inch tall digits in a high-contrast color on the flag side of the mailbox.
FAQ
How do I replace a mailbox on an existing post? Remove the mounting screws from the bottom of the old mailbox, lift it off the bracket, inspect the bracket condition, position the new mailbox on the bracket with the door facing the street, and secure with mounting screws. The entire process takes 20 minutes with a screwdriver.
Do I need to dig up the post to replace just the mailbox? No — the post stays in the ground. You're only removing the box from its mounting bracket at the top of the post. Digging is only necessary if the post itself needs replacement.
How do I know if my new mailbox will fit my existing post? Measure your mounting bracket width, post arm length, and current mailbox dimensions before ordering. A new mailbox with a similar or slightly smaller base width will fit most standard post brackets. Check the new mailbox's mounting hole pattern against your bracket.
What if the mounting screws are rusted? Apply penetrating oil and wait 15 minutes before retrying. If completely seized, drill them out with a metal drill bit slightly smaller than the screw head diameter. Replace with stainless steel screws to prevent the same problem on the new installation.
Do I need to adjust the post height for a new mailbox? Only if the new mailbox has significantly different height dimensions than the old one — which would move the mailbox bottom outside the 41 to 45 inch USPS compliance range. Most mailbox replacements with similar-size boxes require no post adjustment.
How do I transfer my house numbers to the new mailbox? Remove adhesive numbers by heating with a hair dryer to loosen the adhesive, then peeling. Metal numbers are usually screwed on — unscrew and reinstall on the new box. USPS requires at least 1 inch tall numbers in a high-contrast color on the flag side.