Installing a mailbox might seem like a simple task, but doing it correctly ensures reliable mail delivery, long-term durability, and full compliance with postal service standards. Whether you are replacing an old model or setting up a new mailbox installation project, following the proper techniques will save time, prevent damage, and enhance your home’s curb appeal.
This guide presents five essential tips to help you install your mailbox professionally, safely, and effectively.
1. Follow USPS Height and Placement Guidelines
One of the most important steps in mailbox installation is positioning it at the correct height. According to USPS recommendations, the ideal height for a curbside mailbox is 41 to 45 inches from the ground to the bottom of the mailbox. This range ensures the mail carrier can deliver letters efficiently without leaving the vehicle.
Additionally, the mailbox should be placed 6 to 8 inches back from the edge of the curb or roadway. Installing it too close might expose it to damage from passing vehicles or snowplows, while placing it too far may make it inaccessible for mail delivery.
If your street has a raised curb, measure from the road surface rather than the curb top. Accurate measurements ensure compliance and avoid unnecessary reinstallation.
2. Choose the Right Post and Materials
Selecting strong and weather-resistant materials is essential for a high-quality mailbox installation. The post should be durable yet flexible enough to break away safely if hit by a vehicle. Recommended materials include:
• Treated pine
• Cedar
• Aluminum
• Steel
Avoid heavy or rigid posts like concrete-filled metal pipes, as these do not meet safety standards and can pose hazards.
When setting the post, dig a hole approximately 20–24 inches deep. Fill the bottom with gravel for drainage, then stabilize the post using compacted soil. While some homeowners use concrete for added support, gravel remains the safest and most USPS-friendly method.
3. Ensure Proper Stability and Alignment
A common mistake in mailbox installation is overlooking alignment and stability. A leaning or unstable mailbox not only looks unprofessional but may also interfere with mail delivery.
Use a level to check the post both vertically and horizontally. Hold the level against the side of the post as you fill the hole with soil or gravel, making adjustments as needed.
Once the mailbox is mounted, gently shake the post to confirm it stands firm. Remember that natural soil settling may slightly lower the post over time, so recheck alignment a few days after installation.
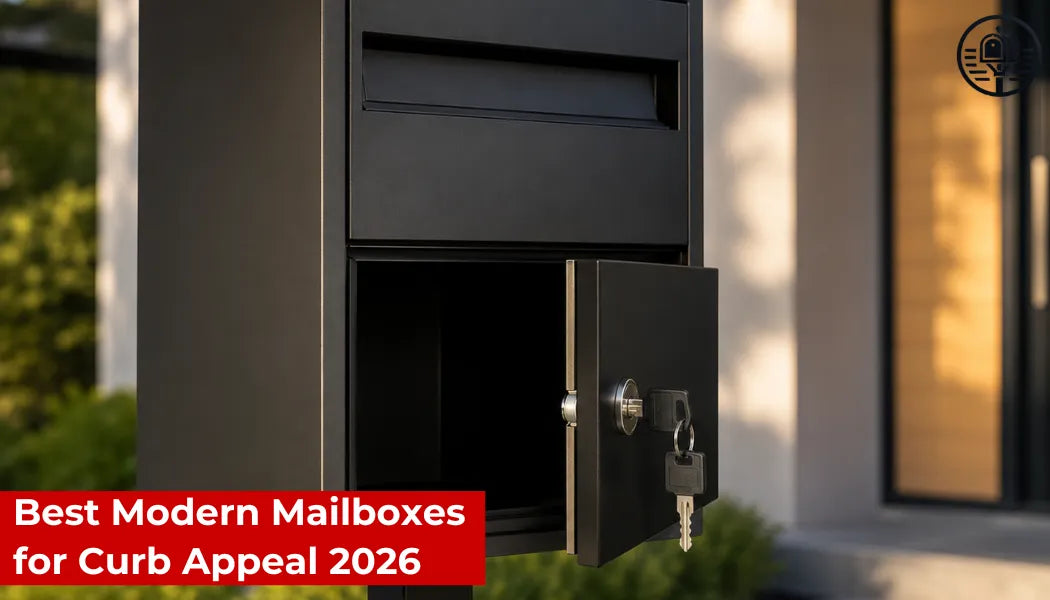
4. Select a Durable and Secure Mailbox
Choosing a high-quality mailbox is just as important as installing it correctly. Weather, daily mail handling, and long-term exposure all affect durability. That’s why many homeowners upgrade to a modern mailbox to combine style, longevity, and enhanced protection.
Modern models often feature corrosion-resistant coatings, reinforced hinges, secure locking systems, and parcel-friendly compartments. These benefits not only improve convenience but also ensure your installation effort pays off by providing a long-lasting, attractive mailbox.
If you decide to upgrade, ensure the new design is compatible with USPS size, placement, and mounting requirements.
5. Consider Local Rules and Environmental Factors
While federal guidelines provide a framework, local regulations may add additional requirements for mailbox installation. Homeowners’ associations (HOAs), municipal rules, or neighborhood aesthetic standards may dictate mailbox styles, colors, or specific placement distances.
Environmental factors also play a role. If you live in an area with heavy snowfall, placing your mailbox slightly higher may prevent snowbanks from blocking access. In rural settings, consider additional reinforcement to protect against strong winds or wildlife interference.
Before finalizing your installation, spend a moment reviewing both local rules and your immediate environment to avoid issues later on.
Additional Tips for a Smooth Mailbox Installation
Beyond the core recommendations, here are a few bonus suggestions that ensure a professional and durable result:
• Double-check all measurements before digging
• Test the mailbox door, flag, and hinge movement after mounting
• Use rust-resistant screws and brackets
• Choose colors and styles that match your home exterior
• Keep the area around your mailbox clear of shrubs or obstructions
Attention to detail makes a significant difference in performance and appearance.
FAQ
What is the standard height for mailbox installation?
USPS recommends placing the mailbox 41 to 45 inches from the ground to the bottom of the mailbox.
How far from the curb should a mailbox be installed?
You should position it 6 to 8 inches back from the curb or roadway edge for proper mail access.
Should I use concrete to set the mailbox post?
Gravel is usually recommended because it provides stability while still allowing the post to break away safely. Concrete can be used sparingly but must follow safety guidelines.
Can I install a mailbox anywhere on my property?
No. It must be accessible to mail carriers and comply with USPS guidelines and local community rules.
Is a modern mailbox worth the investment?
Yes, modern mailboxes offer superior durability, security, and aesthetics, making them a smart upgrade for long-term use.