Installing a mailbox might seem simple, but doing it correctly makes a big difference in mail security, curb appeal, and long-term durability. A poorly installed mailbox can lean, rust, or even violate local postal regulations.
This guide walks you through everything you need to know — from choosing the right location to setting the post in concrete. Whether you're upgrading an old box or installing one for the first time, you’ll get a professional-looking result without hiring a contractor.

Why Proper Mailbox Installation Matters
A mailbox is exposed to weather, traffic vibrations, and daily use. A weak installation leads to wobbling posts, water damage, or premature wear.
Beyond durability, mailbox placement rules exist for safety and accessibility. Postal carriers must reach the box easily without leaving their vehicle. Installing it at the wrong height or distance can cause delivery issues.
A well-installed mailbox also improves property appearance. It’s a small detail, but it’s one of the first things people see from the street.
💡 Tips : Installing a mailbox correctly the first time prevents costly repairs and replacements later.
Types of Mailboxes You Can Install
Before grabbing tools, choose the right mailbox style for your home and needs.
Curbside Post-Mounted Mailboxes
This is the most common type in suburban and rural areas. It’s mounted on a wooden or metal post near the street.
They are ideal if mail delivery happens from a vehicle. Look for models labeled USPS approved mailbox to ensure compliance with size and door standards.
Wall-Mounted Mailboxes
Mounted directly to your house wall, these are common in urban or townhouse settings.
They’re easier to install since there’s no digging involved. However, they must be placed in a location easily accessible for the mail carrier.
Locking Mailboxes
If mail theft is a concern, a locking mailbox offers extra protection. These can be wall-mounted or post-mounted.
They’re slightly heavier, so a sturdy post and solid mounting hardware are essential.
Parcel Mailboxes
With online shopping on the rise, larger mailboxes designed for packages are becoming popular.
These models often require stronger posts and deeper foundations to support the extra weight.
Tools and Materials You’ll Need
Having everything ready before you start makes the process smooth and stress-free.
Basic tools checklist:
-
Post hole digger or shovel
-
Level
-
Measuring tape
-
Drill and screws/bolts
-
Concrete mix
-
Bucket and water
-
Gravel (for drainage)
Materials:
-
Mailbox
-
Mailbox post (wood or metal)
-
Mounting bracket (if required)
✅ Advice : Use pressure-treated wood or galvanized steel posts to prevent rot and rust.

Understanding Mailbox Placement Rules
Before digging, check local guidelines. In the United States, the mailbox height and distance are generally standardized.
Typical recommendations:
-
Mailbox height: 41–45 inches from road surface to bottom of box
-
Distance from curb: 6–8 inches back from the curb or road edge
If your mailbox is on a rural road without a curb, positioning becomes even more important to avoid damage from vehicles or snowplows.
You should also place the mailbox on the right side of the road in the direction of travel unless local rules state otherwise.
⚠️ Warning : Installing a mailbox too close to the road can create a traffic hazard and may result in removal by local authorities.
Choosing the Best Location
Location affects convenience, safety, and durability.
Pick a spot that allows the carrier to pull up easily without obstruction. Avoid placing the box behind trees, fences, or parked cars.
Make sure the ground drains well. Standing water can weaken the post over time, especially with wooden supports.
If you live in an area with heavy snowfall, place the mailbox far enough from the road to avoid damage from snowplows.
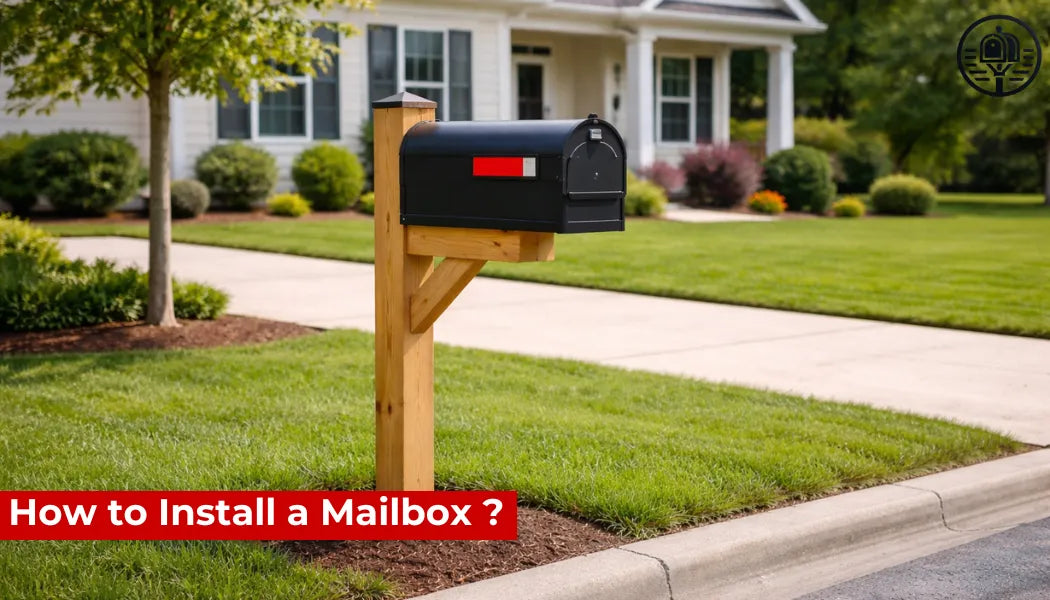
Guide Étape par Étape: How to Install a Post-Mounted Mailbox
Here’s the complete step-by-step mailbox installation process.
Step 1: Measure and Mark the Spot
Use a measuring tape to determine the correct mailbox height and distance from the curb.
Mark the ground where the post will go. Double-check alignment with neighboring mailboxes if applicable.
Step 2: Dig the Post Hole
Use a post hole digger or shovel to dig a hole about 20–24 inches deep and 8–10 inches wide.
The depth helps the post resist wind and impact from accidental bumps.

💡 Tips : Add 2–3 inches of gravel at the bottom of the hole to improve drainage.
Step 3: Position the Post
Place the post in the hole and use a level to ensure it’s perfectly vertical.
Have someone hold it steady or brace it with scrap wood while you pour the concrete.
Step 4: Add Concrete
Pour dry or mixed concrete into the hole around the post. Follow the instructions on the bag for water ratios.
Slope the top of the concrete slightly away from the post to help water run off.
Allow at least 24 hours for the concrete to cure before attaching the mailbox.
Step 5: Attach the Mailbox
Once the post is solid, attach the mailbox using the manufacturer’s bracket and screws.
Ensure the door opens smoothly and faces the road correctly. Check that the final mailbox height still falls within guidelines.

✅ Advice : Use stainless steel or galvanized screws to prevent rust stains.
Installing a Wall-Mounted Mailbox
Wall-mounted installations are simpler but still require care.
First, choose a solid surface like brick, concrete, or a wooden stud behind siding. Avoid mounting only into thin siding material.
Use a level to align the mailbox before drilling. Mark the holes, drill pilot holes, and insert wall anchors if needed.
Secure the mailbox tightly and test the door. The mailbox mounting height should still be convenient for both you and the mail carrier.
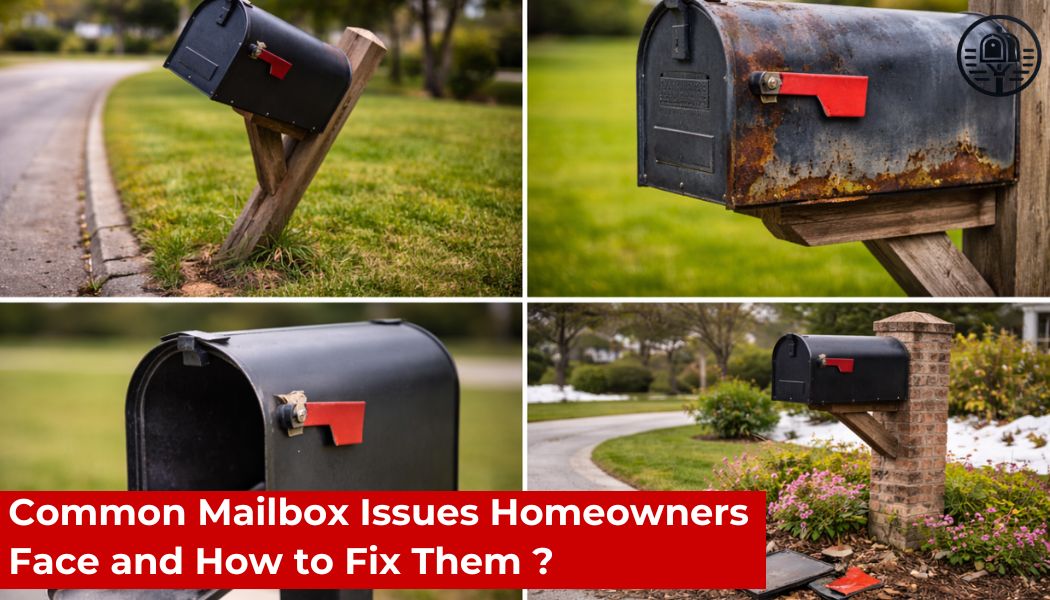
Common Mistakes to Avoid
Even small errors can shorten the lifespan of your installation.
Setting the Post Too Shallow
A shallow hole leads to wobbling over time. Always aim for at least 20 inches deep.
Skipping Concrete
Soil alone doesn’t provide enough stability, especially in wet or sandy areas. Concrete keeps the mailbox post secure.
Ignoring Height Regulations
Too high or too low can cause delivery problems. Always measure before finalizing.
Poor Drainage
Water pooling around the post leads to rot or corrosion. Gravel and proper sloping help prevent this.
Weak Mounting Hardware
Cheap screws rust quickly. Use outdoor-rated hardware for a long-lasting setup.
⚠️ Warning : Never mount a heavy mailbox on a thin or damaged post — it can fail suddenly.
Comparing Mailbox Post Materials
| Material | Durability | Maintenance | Cost | Best For |
|---|---|---|---|---|
| Pressure-treated wood | High | Moderate | $$ | Classic residential installs |
| Galvanized steel | Very high | Low | $$$ | Modern or locking mailboxes |
| Plastic/composite | Medium | Very low | $$ | Low-maintenance areas |
Choosing the right mailbox post material depends on climate, budget, and style preferences.
Upgrading Your Mailbox for Security and Style
Installation time is the perfect opportunity to upgrade.
A locking mailbox helps prevent identity theft and stolen packages. Decorative posts and address plaques can also enhance your home's exterior.
You can also add reflective house numbers for better visibility at night.
Maintenance Tips After Installation
A mailbox needs occasional care to stay in good shape.
Check screws and bolts twice a year. Tighten if necessary.
Inspect for rust, chipped paint, or wood rot. Early treatment extends lifespan.
Clean the inside regularly to prevent dirt buildup and moisture damage.
💡 Tips : Repainting your mailbox every few years protects it from rust and weather damage.
When to Replace Instead of Repair
If your post is rotting at the base or the box door no longer closes properly, replacement may be smarter than repair.
Modern models offer better weather resistance and security features compared to older designs.
FAQ About Mailbox Installation
How deep should a mailbox post be?
At least 20 inches deep, or deeper in areas with frost. Depth ensures stability against wind and impact.
Do I need concrete for a mailbox post?
Yes, especially for permanent installations. Concrete keeps the mailbox post stable over time.
What is the standard mailbox height?
Typically 41–45 inches from the road surface to the bottom of the mailbox.
Can I install a mailbox without digging?
Only wall-mounted mailboxes avoid digging. Post-mounted models require a proper foundation.
How long should concrete cure before attaching the mailbox?
Wait at least 24 hours, or longer in cold weather, for full strength.
Are locking mailboxes worth it?
Yes, especially in areas with frequent mail theft. They protect letters and small packages.
Can I move my mailbox location?
Yes, but check local postal guidelines first to avoid delivery issues.
Conclusion: Install Once, Enjoy for Years
Learning how to install a mailbox properly saves money, prevents frustration, and improves your home’s appearance. With the right tools, correct measurements, and solid materials, you’ll have a mailbox that stands strong for years.
If you’re upgrading or installing a new one, consider choosing a durable, weather-resistant mailbox that matches your home’s style while offering modern security features.