
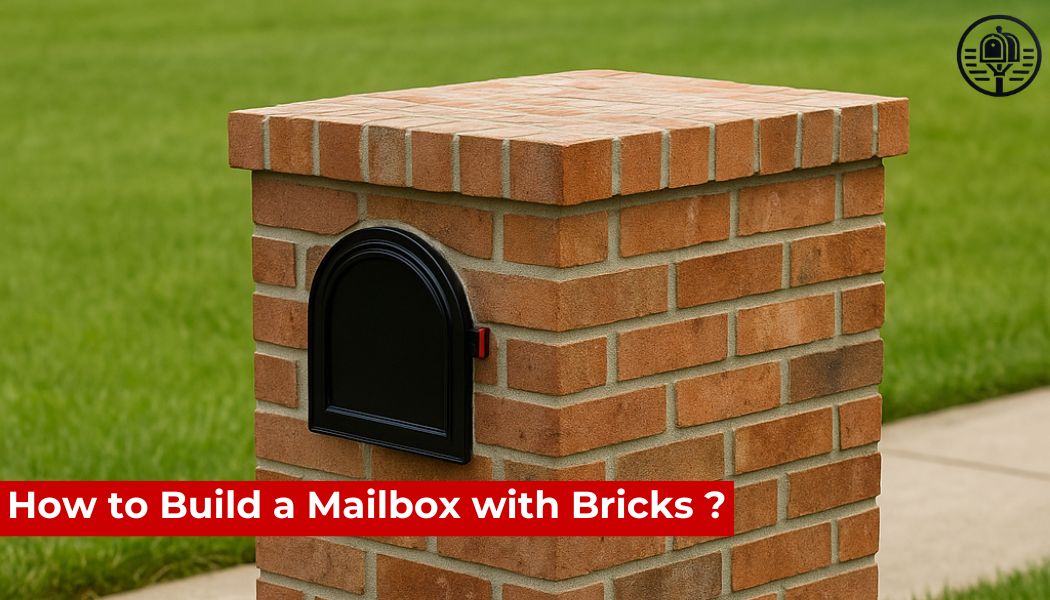
A brick mailbox adds charm, durability, and a touch of elegance to your property. Not only does it provide a sturdy housing for your mail, but it can also enhance your home’s curb appeal. In this guide, you’ll learn how to build a mailbox with bricks from start to finish, including the tools, materials, and techniques you need for a professional result.
Why Choose a Brick Mailbox?
Building a mailbox with bricks offers several advantages over standard wooden or metal posts:
-
Durability — Brick structures can last for decades with minimal maintenance.
-
Weather resistance — Bricks withstand wind, rain, and extreme temperatures.
-
Security — A brick mailbox is more resistant to vandalism or accidental damage.
-
Aesthetic appeal — The timeless look of brick complements most home exteriors.
Planning Your Brick Mailbox Project
Before you start, consider the design and placement. Check local postal regulations to ensure your mailbox meets height, size, and location requirements. You’ll also want to choose between a simple pillar design or a more elaborate structure with decorative features.
Tools and Materials Needed
To build a brick mailbox, you’ll need:
-
Standard clay bricks or decorative bricks
-
Concrete mix
-
Mortar mix
-
Level
-
Trowel
-
Shovel
-
Measuring tape
-
Wheelbarrow and mixing tools
-
Rebar or metal reinforcement rods
-
A mailbox insert (metal or modern design)
For a sleek, updated look, explore our Modern Mailbox Collection.
Step 1: Prepare the Foundation
A strong foundation is essential for stability.
-
Mark the location and dig a hole about 12 inches deep and slightly wider than your planned mailbox base.
-
Place a layer of gravel at the bottom for drainage.
-
Mix and pour concrete into the hole, ensuring the surface is level.
-
Insert rebar vertically into the wet concrete for added structural strength.
-
Allow the foundation to cure for at least 24 hours.
Step 2: Lay the First Layer of Bricks
Once the foundation is ready:
-
Mix the mortar according to package instructions.
-
Spread a layer of mortar on the foundation base.
-
Place the first row of bricks, checking alignment with a level.
-
Maintain even spacing (mortar joints should be about 3/8 inch thick).
Proper alignment in the first layer ensures the entire structure remains straight.
Step 3: Build the Mailbox Walls
Continue adding rows of bricks:
-
Stagger each row for strength and visual appeal.
-
Apply mortar to the top of each brick before placing the next layer.
-
Use a level after each row to maintain vertical alignment.
As you build, leave an opening for the mailbox insert at the desired height.
Step 4: Install the Mailbox Insert
When you reach the correct height:
-
Place the mailbox insert in the opening.
-
Surround it with bricks, ensuring it is securely supported.
-
Apply mortar carefully around the insert to seal gaps without blocking the door.
For a modern look, consider stainless steel or powder-coated inserts from our Modern Mailbox Collection.
Step 5: Cap and Finish
Once the structure reaches your desired height:
-
Add a decorative brick or stone cap to protect the top from weather damage.
-
Smooth mortar joints with a jointing tool for a clean finish.
-
Clean excess mortar from the bricks with a damp sponge.
Allow the structure to cure for several days before placing mail inside.
Step 6: Maintenance Tips
A brick mailbox requires minimal upkeep, but regular checks can extend its life:
-
Inspect for loose or cracked bricks annually.
-
Clean the surface with a gentle brush and mild soap.
-
Reapply mortar if joints begin to wear.
Safety Considerations
When building a mailbox with bricks, always wear gloves, safety glasses, and sturdy footwear. If you’re not experienced with masonry work, consider hiring a professional for structural stability and compliance with postal standards.
FAQ
Q: Do I need a permit to build a brick mailbox?
A: In some areas, yes. Check with your local municipality for building codes and postal regulations before starting.
Q: Can I build a brick mailbox without a concrete foundation?
A: A foundation is highly recommended for stability and longevity, especially in areas with shifting soil or freeze-thaw cycles.
Q: How long does it take to build a brick mailbox?
A: Most DIY brick mailboxes take 2–3 days, including curing time for the foundation and mortar.
Q: What type of bricks should I use?
A: Clay bricks are common for durability, but you can choose decorative or reclaimed bricks for a unique look.
Q: How much will it cost to build a brick mailbox?
A: Costs vary depending on materials, design, and whether you hire a professional, but most DIY projects range from $200 to $600.