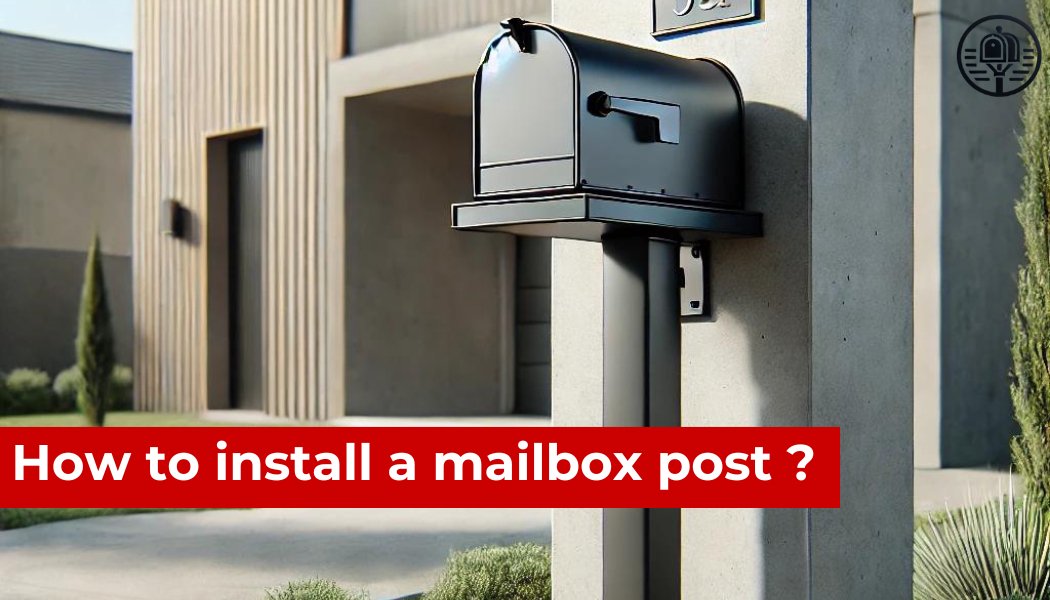
Installing a mailbox post might seem like a daunting task, but with the right tools and guidelines, it can be a straightforward and rewarding DIY project. Whether you are replacing an old mailbox or setting up a new one, following the correct steps ensures your mailbox is securely and properly installed. This article will guide you through the process of installing a mailbox post, covering everything from the initial planning to the final touches. Let's dive in!
Preparing for Installation
Before you start the installation, it's crucial to gather all the necessary materials and tools. You will need a mailbox post, a mailbox, a post hole digger, concrete mix, gravel, a level, and other essential tools. Additionally, be sure to check with your local post office for any specific regulations or guidelines in your area.
Start by selecting the right location for your mailbox. The post office usually has requirements regarding the height and distance from the road. Make sure your mailbox will be accessible to the mail carrier without creating any hazards. The standard height for a mailbox is typically between 41 and 45 inches from the ground to the bottom of the mailbox. Ensure your chosen spot complies with these regulations.
Selecting the Right Materials
Choosing the right materials is crucial for a durable mailbox installation. Mailbox posts can be made of wood, metal, or plastic. Each material has its benefits, but wooden posts are popular for their aesthetic appeal and ease of installation. When purchasing your materials, visit a hardware store to ensure you get everything you need, including a weather-resistant mailbox and compatible mounting hardware.
Digging the Post Hole
Now that you have all your materials ready, it's time to dig the post hole. This is a critical step because a well-dug hole ensures the stability of your mailbox post. Use a post hole digger to dig a hole that is at least 24 to 30 inches deep. The depth of the hole depends on the height of your mailbox post and the local regulations. A deeper hole will provide more stability, especially in areas with harsh weather conditions.
Ensuring Proper Depth and Width
The hole should be wide enough to accommodate the post and allow for concrete around it. Typically, a hole with a diameter of about 10 to 12 inches is sufficient. After digging the hole, check the depth to make sure it meets the required specifications. You may want to use a measuring tape to ensure accuracy.
Once the hole is ready, place a few inches of gravel at the bottom. This helps with drainage and prevents the post from rotting over time. Level the gravel before proceeding to the next step.
Setting the Post
With the hole prepared, it's time to set the mailbox post. Place the post in the hole and use a level to ensure it stands straight. This is a crucial step because a tilted mailbox post can lead to future problems.
Mixing and Pouring Concrete
Prepare the concrete mix according to the instructions on the packaging. Pour the concrete into the hole around the post, filling it to about 3-4 inches below the ground level. Use a stick or a trowel to remove any air pockets and ensure the concrete is evenly distributed.
Check the level of the post once again to make sure it hasn't shifted. Allow the concrete to set for at least 24 to 48 hours. During this time, avoid disturbing the post to ensure it stays in the correct position.
Attaching the Mailbox
Once the concrete has set and the post is secure, you can proceed to attach the mailbox. Depending on your mailbox type, you may need to follow different mounting instructions. Most mailboxes come with a mounting bracket that attaches to the top of the post.
Mounting the Mailbox
Align the mailbox with the bracket and secure it using the provided screws or bolts. Make sure the mailbox is level and securely fastened to the post. If you opted for a wall mounted mailbox, ensure it is attached at the correct height and is easily accessible.
Final Checks and Maintenance
With the mailbox and post securely in place, there are a few final checks to ensure everything is in order. Verify that the mailbox door opens and closes smoothly and that there are no sharp edges or protruding screws. Check the surrounding area for any potential hazards, ensuring the mailbox is safe for use.
Regular Maintenance
Maintaining your mailbox and post is essential for longevity. Periodically check for any signs of wear and tear, such as rust, rot, or loose screws. If you used a wood post, consider applying a weather-resistant sealant to protect it from the elements. Regular maintenance will help ensure your mailbox remains in good condition for years to come.
Installing a mailbox post is a manageable task that enhances the functionality and curb appeal of your home. By following the steps outlined in this guide, you can confidently install your mailbox post, ensuring it is both sturdy and compliant with local regulations. From selecting the right materials and digging the post hole to setting the post and attaching the mailbox, each step is crucial for a successful installation.
Remember to gather all necessary tools and materials, check with your local post office for specific guidelines, and take your time to ensure each step is completed correctly. With these tips in mind, you'll have a secure and aesthetically pleasing mailbox that serves its purpose for many years.
Installing a mailbox post doesn't have to be complicated. With careful planning and attention to detail, you can achieve professional results that enhance the overall appearance and functionality of your home. Happy installing !
Now that you know how to install a mailbox post, check out our high-quality mailbox posts !
FAQ
What tools and materials do I need to install a mailbox post?
To install a mailbox post, you will need the following tools and materials: a shovel or post hole digger, a level, concrete mix, a bucket for mixing concrete, gravel, a tape measure, and your mailbox post kit. Additionally, having a screwdriver or drill may be necessary depending on the design of your mailbox.
How deep should I dig the hole for the mailbox post?
The hole for your mailbox post should be approximately 24 inches deep. This depth ensures the post will be stable and secure. Make sure to check any local regulations or guidelines, as the required depth may vary depending on your area.
What steps should I follow to set the mailbox post in concrete?
First, dig a hole that is about 24 inches deep and wide enough to accommodate the post. Add a few inches of gravel at the bottom for drainage. Place the post in the hole and use a level to ensure it is vertical. Mix the concrete according to the manufacturer's instructions and pour it into the hole around the post. Allow the concrete to set and harden, typically for 24 to 48 hours, before attaching the mailbox to the post.
How do I ensure my mailbox post is level?
To ensure your mailbox post is level, use a bubble level during installation. Place the level on different sides of the post as you set it in the hole. Adjust the post as necessary until the bubble is centered in the level. It’s crucial to check for levelness before the concrete sets to avoid any tilt in the final installation.
Are there any specific guidelines for positioning my mailbox post?
Yes, there are specific guidelines for positioning your mailbox post. The post should be set back 6 to 8 inches from the curb. The height of the mailbox should be between 41 and 45 inches from the ground to the bottom of the mailbox. It’s also important to ensure that your mailbox is easily accessible for mail carriers. Always check with your local post office for any additional guidelines or requirements.


