
If you're looking to enhance your mailbox with a personalized touch, creating a magnetic mailbox cover is a fun, affordable, and practical DIY project. Whether you're decorating for the holidays, displaying your address, or adding curb appeal, a magnetic cover allows for quick customization without permanently altering your mailbox.
In this comprehensive guide, we’ll walk you through the entire process of how to make a magnetic mailbox cover, from materials and measurements to design and installation. You don’t need advanced skills or expensive tools—just a bit of creativity and attention to detail. If you prefer not to make your own, you can easily purchase magnetic mailbox covers directly from our website. Browse a variety of designs and styles to suit every season and taste—ready to ship and simple to install.
What Is a Magnetic Mailbox Cover?
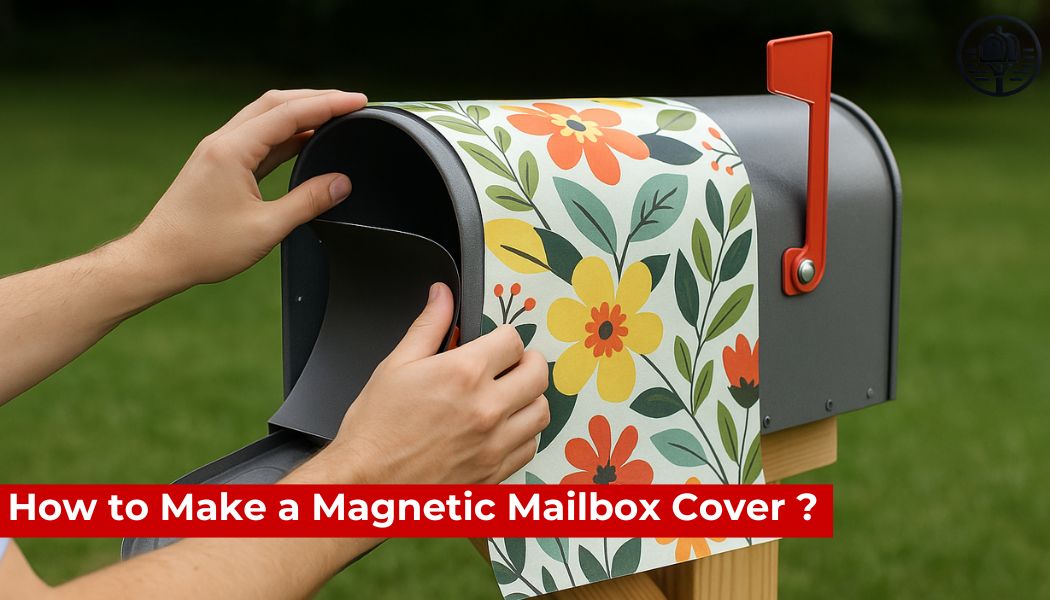
A magnetic mailbox cover is a decorative wrap made of flexible, magnetized material that adheres to metal mailboxes. These covers can be easily applied, removed, and swapped out for seasonal themes or updated designs. They're ideal for homeowners who want a changeable, non-permanent solution for decorating their curbside mailbox.
Why Make Your Own Magnetic Mailbox Cover?
While you can buy pre-made covers online or in stores, there are several reasons why making your own might be the better option:
-
Customization: Choose your own colors, patterns, or even family name and house number.
-
Cost Savings: DIY covers are often cheaper than store-bought alternatives.
-
Creativity: Express your personality or celebrate special occasions throughout the year.
-
Sustainability: Reuse materials and reduce packaging waste.
Materials You’ll Need
Before you begin making your magnetic mailbox cover, gather the following materials:
-
Magnetic sheet (flexible and weather-resistant, 24"x18" or larger)
-
Waterproof adhesive vinyl or printed outdoor decal
-
Scissors or a utility knife
-
Ruler or measuring tape
-
Pencil or chalk
-
Clear outdoor sealant spray (optional, for durability)
-
Your mailbox dimensions
You can find magnetic sheets and vinyl at most craft stores or online retailers. Make sure the magnetic sheet is rated for outdoor use and has strong adhesion.
Step 1: Measure Your Mailbox
Every mailbox is slightly different, so take accurate measurements to ensure a perfect fit. Standard USPS-approved mailboxes are typically around:
-
6.5 inches wide
-
8.5 inches tall
-
19 inches long
Measure the length, width, and height of the curved sides to determine how much material you’ll need. Don’t forget to include the mailbox door if you want the cover to wrap around the front.
Step 2: Cut the Magnetic Sheet
Using your measurements, mark the dimensions on the back of the magnetic sheet with a pencil or chalk. Then:
-
Use scissors or a utility knife to cut the sheet to size.
-
Round the corners slightly to prevent peeling or lifting.
-
Test the fit on your mailbox before proceeding. It should wrap neatly without overlapping too much or falling short.
Step 3: Design Your Cover
This is the fun part—customizing the look of your magnetic mailbox cover. You have several options:
-
Vinyl Decals: Apply pre-made or custom vinyl designs to the magnetic sheet.
-
Adhesive Outdoor Prints: Use weather-resistant sticker paper with your own designs.
-
Paint: For a handmade touch, use acrylic paint and seal it with a clear weatherproof coat.
Be sure your design aligns correctly with the shape and direction of your mailbox when applied.
Tip: Personalize It
Add your house number, last name, or a seasonal theme like snowflakes, pumpkins, or flags to make your mailbox stand out.
Step 4: Apply the Design to the Magnetic Sheet
Clean the magnetic sheet before applying any adhesive or paint. Then:
-
Carefully align your vinyl or sticker design and smooth it onto the magnetic surface to avoid bubbles or wrinkles.
-
Use a ruler or squeegee to press out air pockets.
-
Let it dry for a few hours if using any wet materials like paint or glue.
Optionally, spray a layer of clear sealant over the finished product to protect it from rain, UV rays, and scratches.
Step 5: Attach the Magnetic Cover to Your Mailbox
Once the design is complete and dry:
-
Clean the outside of your metal mailbox to ensure the magnet sticks properly.
-
Wrap the magnetic cover around the sides, top, and front of the mailbox.
-
Press firmly to secure the fit, adjusting as needed for alignment.
Make sure the mailbox flag remains uncovered and functional. If the flag is magnetic, test that it still moves freely.
Maintenance and Storage
To get the most life out of your DIY magnetic mailbox cover, follow these maintenance tips:
-
Remove and clean the cover periodically to prevent rust or residue buildup.
-
Store it flat in a cool, dry place when not in use.
-
Rotate designs seasonally for a fresh curbside look.
Benefits of Using Magnetic Mailbox Covers
-
Easy to Install: No tools or adhesives required
-
Weather Resistant: With proper materials, they hold up in rain, snow, and sun
-
Reusable: Swap out designs for holidays, events, or mood changes
-
Damage-Free: Won’t harm your mailbox's finish
Can You Use a Magnetic Cover on Any Mailbox?
Magnetic covers only work on metal mailboxes. If you have a plastic or wooden mailbox, the cover won’t stick. In those cases, you might consider adhesive vinyl wraps or painted designs instead.
Final Thoughts
Creating your own magnetic mailbox cover is a simple, satisfying DIY project that adds charm and personality to your home's exterior. With just a few materials and an hour or two of effort, you can create a functional piece of curbside décor that reflects your style and creativity.
Whether you want a spooky Halloween mailbox, a festive Christmas theme, or a sleek minimalist look, magnetic covers give you the flexibility to refresh your home’s first impression all year round.
FAQ
Can magnetic mailbox covers withstand bad weather?
Yes, when made with quality outdoor-rated materials and sealed properly, they can endure rain, sun, and snow.
Do magnetic mailbox covers work on plastic or wood mailboxes?
No, magnetic covers require a metal surface to adhere. For non-metal mailboxes, consider using vinyl wraps or paint instead.
How do I clean a magnetic mailbox cover?
Remove it periodically and wipe it down with a damp cloth. Avoid harsh chemicals that could damage the design.
Where can I buy magnetic sheets and vinyl?
You can find them at craft stores like Michaels or Hobby Lobby, or online through Amazon or specialty vinyl suppliers.
Will a magnetic cover damage my mailbox?
No, as long as the surface is clean and the magnet is used correctly. Avoid trapping moisture under the cover for extended periods.
How long does a DIY magnetic mailbox cover last?
With proper care, a homemade cover can last 6–12 months or more, depending on exposure to the elements and material quality.