Mounting a mailbox to a post may seem simple at first glance, but doing it properly ensures mail delivery reliability, durability, and curb appeal. Whether you’re replacing a damaged box or installing a brand-new mailbox system, it’s important to understand how to mount mailbox to post safely and in line with USPS guidelines.
In this comprehensive guide, we’ll walk you through everything from gathering the right tools to securely attaching your mailbox to its post. You’ll also find a helpful FAQ section at the end to answer common homeowner questions.
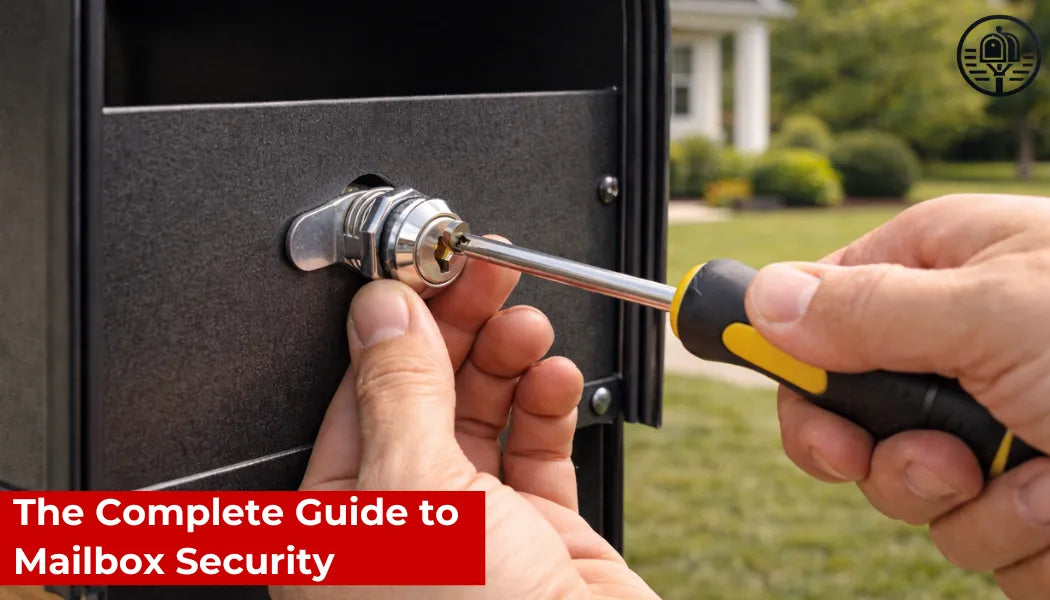
Why Proper Mailbox Mounting Matters
A poorly mounted mailbox can result in several problems: unstable mail retrieval, missed deliveries, exposure to the elements, and even postal service violations. On the other hand, a secure mailbox ensures your mail is safe, dry, and accessible—and that your setup meets legal standards. You can find a selection of high-quality mailbox posts right here on our website. Whether you're looking for a durable wooden post to match a rustic mailbox or a modern metal post with added stability, we offer options designed to fit standard mailboxes and meet USPS requirements. Explore our collection to complete your installation with the perfect post.
A correctly installed mailbox also enhances your home’s curb appeal, providing a clean and professional first impression.
Gather the Right Tools and Materials
Before learning how to mount a mailbox to a post, it’s essential to have the proper tools and mounting materials. Here’s a list of what you’ll need:
Tools:
-
Cordless drill or screwdriver
-
Tape measure
-
Level
-
Wrench or socket set
-
Pencil or marker
Materials:
-
Mailbox
-
Mounting bracket (if required)
-
Screws or bolts (typically included with the mailbox)
-
Mailbox post (wood, metal, or vinyl)
Optional but helpful: weatherproof sealant, rubber washers, decorative caps.
Check USPS Guidelines
Before installing, be sure your mailbox setup adheres to USPS installation standards:
-
The bottom of the mailbox should sit 41–45 inches above the road surface.
-
The front of the mailbox should be 6–8 inches back from the curb.
-
Address numbers must be clearly visible on the mailbox or post.
These standards ensure that your mail carrier can deliver efficiently without risk of damage or injury.
Determine the Mounting Method
There are two primary ways to mount a mailbox, depending on the product design:
1. Mounting Directly to a Flat Post Top
Some mailboxes have flat bases that are screwed directly onto the top of a flat wooden or composite post. This is one of the most common installations.
2. Mounting with a Bracket Arm
Many modern mailboxes—especially metal or locking mailboxes—are attached using a mounting bracket or support arm that extends from the post. This method provides greater stability and aesthetics.
Step-by-Step: How to Mount Mailbox to Post
Step 1: Measure and Align
Use a tape measure to ensure your post height complies with USPS guidelines (41–45 inches from the ground to the bottom of the mailbox). Check that your post location is set 6–8 inches from the road’s edge.
Place the mailbox on top of the post and use a pencil to mark where the mounting holes line up.
Step 2: Pre-Drill Pilot Holes
Remove the mailbox and drill small pilot holes into the post where you marked the mounting locations. This step helps avoid splitting wood and makes screw installation easier.
If using a metal or plastic post, make sure your drill bit is rated for that material.
Step 3: Attach the Mailbox
Align the mailbox base over the drilled holes and drive screws or bolts through the bottom of the mailbox into the post. If using a mounting bracket, secure the bracket to the post first, then attach the mailbox to the bracket according to the product’s instructions.
Make sure the mailbox is level front-to-back and side-to-side before tightening fully.
Step 4: Add Finishing Touches
Once securely mounted, check that:
-
The door opens and closes smoothly.
-
The mailbox sits level and is secure when shaken gently.
-
All screws or bolts are flush with the surface.
Optionally, apply a waterproof sealant around screw holes to prevent moisture from entering.
You can also install reflective numbers, weatherproof address decals, or a nameplate for extra clarity and personalization.
Common Mistakes to Avoid
Even simple DIY tasks can go wrong without proper planning. Avoid these common errors:
-
Using the wrong fasteners: Make sure to use weather-resistant screws or bolts that won’t rust over time.
-
Mounting without pre-drilling: Skipping pilot holes can cause the wood to split.
-
Mounting mailbox at incorrect height: Non-compliance with USPS height or curb distance can result in service disruptions.
-
Over-tightening: This can damage the mailbox or strip the mounting holes.
Maintenance Tips for a Secure Mailbox
Mounting the mailbox is only half the job—keeping it secure and attractive over time is the other half. Here are a few tips:
-
Inspect annually for loose screws, rust, or wobbling.
-
Apply touch-up paint to wood or metal posts to protect against weather damage.
-
If your area gets heavy snow, place a protective barrier in front of the mailbox to avoid damage from plows.
When to Replace vs. Repair a Mailbox
If your existing mailbox is:
-
Severely rusted
-
Warped or cracked
-
Lacking structural integrity
-
Difficult to open or close
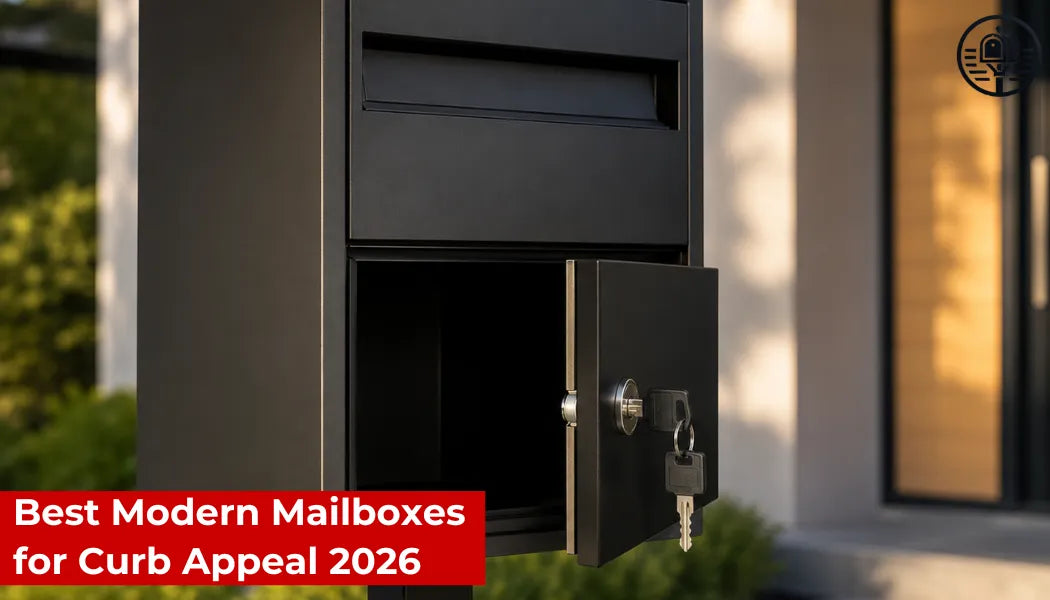
…it’s best to replace it entirely rather than attempt repairs. Modern models often include enhanced features like locking doors, larger capacities, and UV-resistant finishes.
FAQ – Frequently Asked Questions
Q: Can I use regular screws to mount my mailbox?
A: It’s best to use galvanized or stainless steel screws, as they resist rust and maintain strength in outdoor environments.
Q: Do all mailboxes require a mounting bracket?
A: No. Many wooden mailboxes or standard metal boxes mount directly to flat posts. However, some locking or decorative models come with (or require) a specific mounting bracket.
Q: Can I reuse my old mailbox post?
A: Yes, as long as the post is sturdy, level, and undamaged. Inspect for rot, rust, or cracks before reinstalling a new box.
Q: How long does it take to mount a mailbox to a post?
A: For most DIYers, the process takes 15 to 30 minutes, depending on whether you need to drill or install a bracket.
Q: Is it okay to mount the mailbox facing away from the road?
A: No. The mailbox opening must face the road so the mail carrier can easily deposit mail without leaving the vehicle.
Conclusion
Learning how to mount a mailbox to a post the right way ensures more than just functionality—it’s about security, durability, and complying with national standards. With the right tools, materials, and method, you can complete the installation confidently and enhance your home’s exterior.
Whether you're upgrading your existing box or starting from scratch, following these professional tips will help you create a mailbox setup that’s both practical and visually appealing.
Would you like an accompanying infographic or checklist for this guide? Let me know!