Installing a mailbox post may seem like a basic home improvement task, but doing it properly is what ensures your mailbox stays upright, secure, and functional for years. A rushed or poorly planned installation often leads to leaning posts, rotting wood, cracked concrete, or even mail delivery issues.
In this comprehensive guide, you’ll learn how to install a mailbox post the right way, using professional techniques adapted for DIY homeowners. The goal is simple: help you avoid mistakes, choose the right materials, and end up with a solid, durable, and regulation-compliant mailbox post that enhances your curb appeal and protects your mail.

Why a Properly Installed Mailbox Post Is So Important
A mailbox post is exposed to constant stress. Traffic vibrations, wind, rain, snow, freezing temperatures, and even accidental bumps all take a toll over time. If the post isn’t anchored correctly, it will eventually lean or loosen.
A strong installation improves mailbox stability, protects your mail from damage, and reduces long-term maintenance. It also improves safety by keeping the mailbox out of the roadway while remaining accessible to the mail carrier.
From a buyer’s perspective, installing the post correctly also protects your investment in a quality mailbox. Even the best mailbox will fail if the post beneath it is weak.
💡 Tips : Most mailbox problems come from poor post installation, not from the mailbox itself.
Mailbox Post Rules and Placement Basics
Before digging any holes, it’s important to understand the general placement guidelines followed by postal services in most regions.
While local rules may vary, standard recommendations usually include:
-
The bottom of the mailbox should sit 41 to 45 inches above the road surface
-
The post should be placed 6 to 8 inches back from the curb or road edge
-
The mailbox should face oncoming traffic
These dimensions allow carriers to deliver mail safely without exiting their vehicle.
⚠️ Warning : A mailbox post installed too close to the road may be damaged by vehicles or snowplows and could be flagged for relocation.
Choosing the Right Mailbox Post Material
The material you choose directly impacts durability, maintenance, and appearance. There is no single best option for everyone, but there is a best option for your climate and mailbox type.
Pressure-Treated Wooden Posts
Pressure-treated wood is the most common choice for residential mailbox posts. It’s affordable, widely available, and easy to cut or drill.
When installed correctly with proper drainage, wood posts can last many years. However, they remain vulnerable to moisture if neglected.
Metal Mailbox Posts
Galvanized steel and aluminum posts offer superior resistance to rot, insects, and moisture. They are ideal for heavy mailboxes, locking mailboxes, or areas with harsh weather.
Metal posts typically require less maintenance and provide a more modern appearance.
Composite or Vinyl Posts
Composite and vinyl mailbox posts are low-maintenance and resistant to moisture. They are best used with lightweight mailboxes and in mild climates.
They prioritize aesthetics over raw strength.
| Mailbox Post Material | Durability | Maintenance | Best For |
|---|---|---|---|
| Pressure-treated wood | High | Medium | Traditional residential installs |
| Galvanized steel | Very high | Low | Heavy or locking mailboxes |
| Composite / vinyl | Medium | Very low | Decorative, low-load setups |
Tools and Materials You’ll Need Before You Start
Preparation is key. Having everything ready before digging saves time and reduces frustration.
Essential tools:
-
Post hole digger or shovel
-
Level
-
Measuring tape
-
Power drill
-
Work gloves
Required materials:
-
Mailbox post
-
Fast-setting concrete mix
-
Gravel for drainage
-
Exterior-grade screws or bolts

✅ Advice : Always choose pressure-treated or galvanized materials rated for outdoor ground contact.
How Deep Should a Mailbox Post Be Installed?
Depth is one of the most critical factors in mailbox post installation.
As a general guideline:
-
Minimum depth: 20 inches
-
Ideal depth: 24 inches in loose soil or cold climates
Deeper posts resist frost heave, soil shifting, and wind stress. In regions with frequent freezing and thawing, depth matters even more.
💡 Tips : Deeper holes dramatically reduce the risk of leaning after winter.
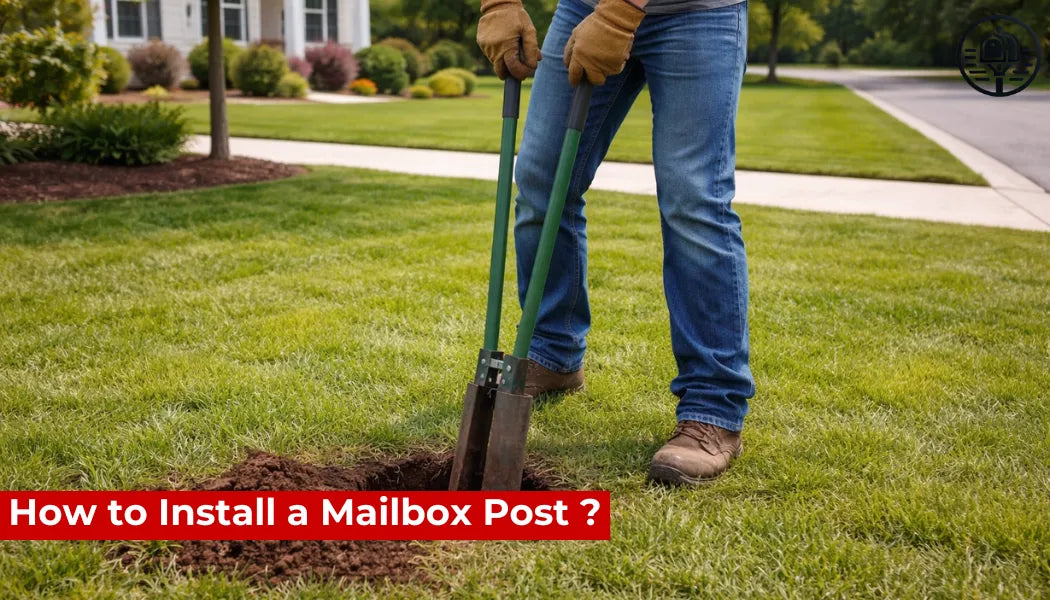
Step-by-step guide: How to Install a Mailbox Post
This complete step-by-step mailbox post installation guide covers the process from start to finish.
Step 1: Measure and Mark the Location
Measure the correct distance from the curb and mark the exact spot where the post will go.
Double-check the height calculation to ensure the mailbox will sit within the recommended range once installed.
Step 2: Dig the Post Hole
Use a post hole digger or shovel to dig a hole approximately:
-
8 to 10 inches wide
-
20 to 24 inches deep
Remove loose soil and compact the bottom of the hole slightly.

⚠️ Warning : Shallow holes are the most common cause of mailbox posts leaning over time.
Step 3: Add Gravel for Drainage
Pour 2 to 3 inches of gravel into the bottom of the hole.
Gravel prevents water from sitting against the base of the post, which is a leading cause of wood rot and corrosion.
Step 4: Position and Level the Post
Place the post into the hole and use a level to make sure it is perfectly vertical on all sides.
Brace the post temporarily using scrap wood or clamps to keep it steady.
💡 Tips : Take extra time here — correcting a crooked post after the concrete sets is nearly impossible.
Step 5: Pour the Concrete
Mix concrete according to the manufacturer’s instructions.
Pour it evenly around the post until the hole is filled. Slightly slope the top of the concrete away from the post to help water drain.
Allow the concrete to cure for at least 24 hours.
Step 6: Attach the Mailbox
Once the concrete is fully set, mount the mailbox using the manufacturer’s bracket or mounting plate.
Ensure the mailbox door opens smoothly and faces the road.

✅ Advice : Stainless steel or galvanized screws prevent rust and staining.
Installing a Mailbox Post Without Concrete: Pros and Cons
Some homeowners consider skipping concrete to save time or effort.
Pros:
-
Faster installation
-
Easier removal later
Cons:
-
Reduced stability
-
Higher risk of leaning
-
Shorter lifespan
For long-term durability, concrete is strongly recommended, especially for wooden posts.
Common Mistakes to Avoid
Digging Too Shallow
A shallow post may look fine at first but will shift over time.
Skipping Gravel
Without drainage, moisture accelerates rot and corrosion.
Using Untreated Wood
Standard lumber is not designed for ground contact and will fail quickly.
Ignoring Leveling
Even a small tilt becomes more noticeable over time.
⚠️ Warning : Never reuse an old post with hidden cracks or internal rot.
When Should You Replace a Mailbox Post Instead of Repairing It?
Replacement is often the smarter option if:
-
The post wobbles at ground level
-
There is visible rot or rust
-
The mailbox leans permanently
Modern posts offer improved strength, coatings, and weather resistance.
Choosing the Right Mailbox for Your New Post
A strong post deserves a quality mailbox.
Look for:
-
Weather-resistant finishes
-
Locking mechanisms for security
-
Adequate capacity for packages
Maintenance Tips to Extend the Life of Your Mailbox Post
Check your mailbox post once or twice per year.
Tighten mounting hardware, inspect for cracks, and reseal exposed wood or metal.
Simple maintenance can extend the life of your installation by several years.
💡 Tips : Sealing the base of a wooden post provides extra moisture protection.
FAQ: Mailbox Post Installation
How deep should a mailbox post be?
Typically 20 to 24 inches, depending on soil and climate.
Do I really need concrete?
Yes. Concrete greatly improves stability and longevity.
Can I install a mailbox post myself?
Yes, most homeowners can complete this project with basic tools.
How long does concrete take to cure?
Initial curing takes 24 hours, but full strength develops over several days.
What mailbox post material lasts the longest?
Galvanized steel posts generally offer the longest lifespan.
Can I move my mailbox post later?
Yes, but the concrete footing will need to be removed.
Are decorative mailbox posts strong enough?
Only if they are rated for outdoor structural use.
Conclusion: Install It Once, Do It Right
Learning how to install a mailbox post properly saves time, money, and frustration in the long run. By digging deep enough, using concrete, and choosing quality materials, you ensure your mailbox remains secure and straight for years.
If you’re installing a new mailbox or upgrading an old one, invest in a durable mailbox post and a weather-resistant mailbox. A professional-looking installation always starts below ground level.